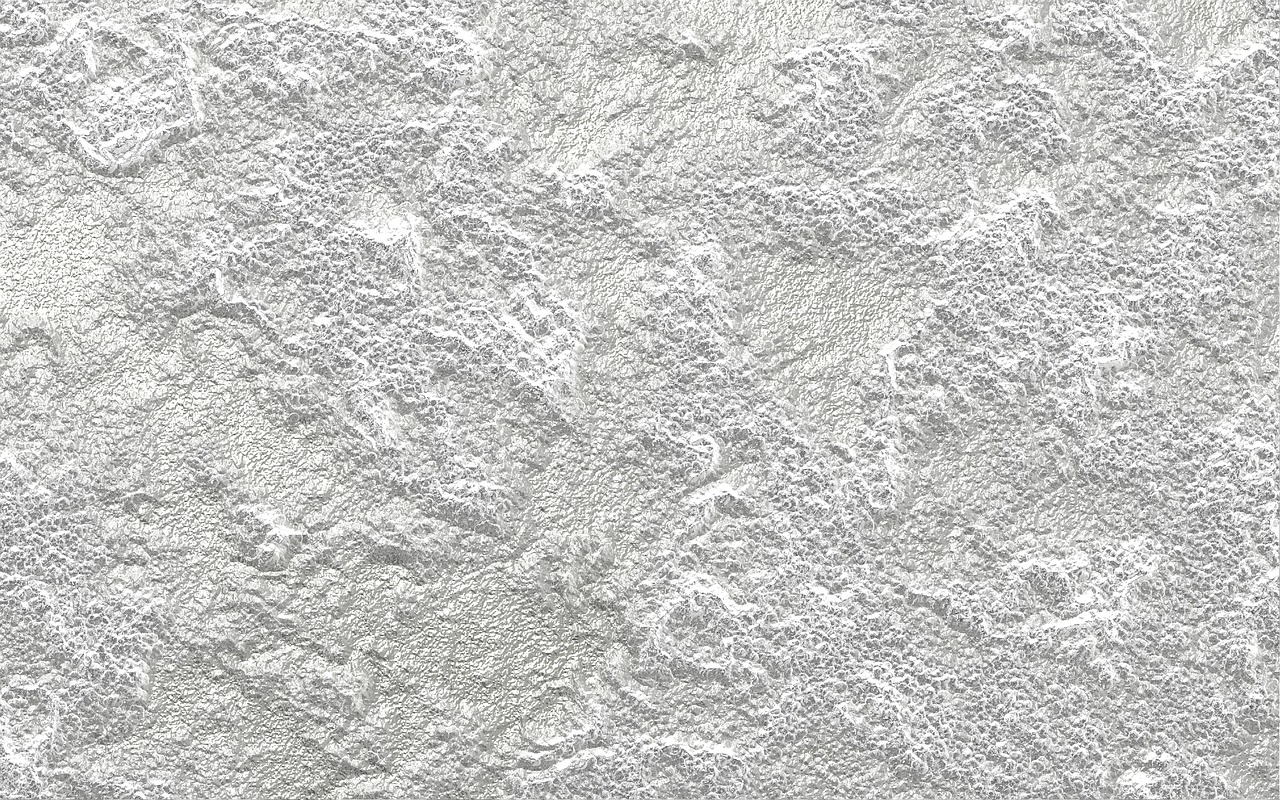
How to Create a Textured Wall Finish with Paint
Creating a textured wall finish with paint can add depth and character to any room, transforming a plain surface into a visually striking feature. By carefully selecting the right paint type and finish, gathering the necessary tools, and following the proper steps, you can achieve a unique textured look that enhances the overall aesthetic appeal of your space.
When it comes to choosing the right paint for textured walls, it's essential to opt for a paint type that is suitable for the desired texture effect. Matte or eggshell finishes are commonly used for textured walls as they help to highlight the texture while providing a smooth appearance. Additionally, consider using paint with added texture or mixing in additives to create a more pronounced textured finish.
Gathering the necessary tools is the next crucial step in creating a textured wall finish. You will need brushes, rollers, and texturing tools such as sponges or rags, depending on the chosen texturing technique. These tools will help you achieve the desired texture and ensure a professional-looking finish.
Before applying textured paint, preparing the wall surface is key to achieving a flawless result. This involves cleaning the wall to remove any dirt or debris, repairing imperfections like cracks or holes, and priming the surface to ensure proper adhesion of the paint and a smooth finish.
Once the wall surface is prepped, it's time to apply the base coat of paint. This base coat will serve as the foundation for the textured finish, so ensure even coverage and a smooth application. Allow the base coat to dry completely before moving on to the next steps.
Choosing a texturing technique is where you can get creative and experiment with different methods to achieve unique textures. Techniques like sponging, rag rolling, or stippling can create various effects, from subtle to dramatic, depending on your preference.
When applying the textured paint, follow the chosen technique carefully to achieve the desired textured effect. Work in small sections, blending the textures as you go to maintain consistency throughout the wall. Take your time and enjoy the process of creating a custom look for your space.
To add depth and dimension to the textured wall finish, consider layering paints or using glazes to create a multi-dimensional look. This additional step can enhance the texture and create a more visually dynamic surface, adding interest and sophistication to the room.
After completing the textured finish, adding final touches or designs can further personalize the look. Applying a sealant is essential to protect the finish and ensure its durability over time. Choose a sealant that is compatible with the paint type used and follow the manufacturer's instructions for best results.
Maintaining textured walls is relatively simple but essential to preserve the finish and keep it looking fresh. Regular dusting or vacuuming with a soft brush attachment can help remove dust and debris, while avoiding harsh cleaning agents that could damage the texture. With proper care, your textured walls can remain a stunning focal point in your space for years to come.
Choosing the Right Paint
When it comes to creating a textured wall finish with paint, choosing the right paint is crucial in achieving the desired results. The type of paint you select will not only impact the texture but also play a significant role in the overall look and feel of the finished wall. Texture paints are specially formulated to add depth and dimension to surfaces, creating a visually appealing textured effect that can transform any space.
There are various types of texture paints available, each offering unique characteristics and finishes. Acrylic texture paint is a popular choice for its durability and versatility, allowing for easy application and quick drying time. On the other hand, latex texture paint offers a smooth finish and is ideal for creating subtle textures. Oil-based texture paint provides a rich and glossy texture, perfect for adding a luxurious touch to walls.
Consider the desired texture and overall aesthetic you want to achieve when selecting the right paint. Whether you prefer a subtle texture for a modern look or a more pronounced texture for a rustic feel, the type of paint you choose will significantly impact the final result. Additionally, take into account factors such as color consistency, ease of application, and drying time to ensure a smooth painting process.
Before making a final decision, it's essential to test the paint on a small section of the wall to see how it looks once dried and textured. This will give you a better idea of how the paint will appear on the entire wall and allow you to make any necessary adjustments before proceeding with the full application.
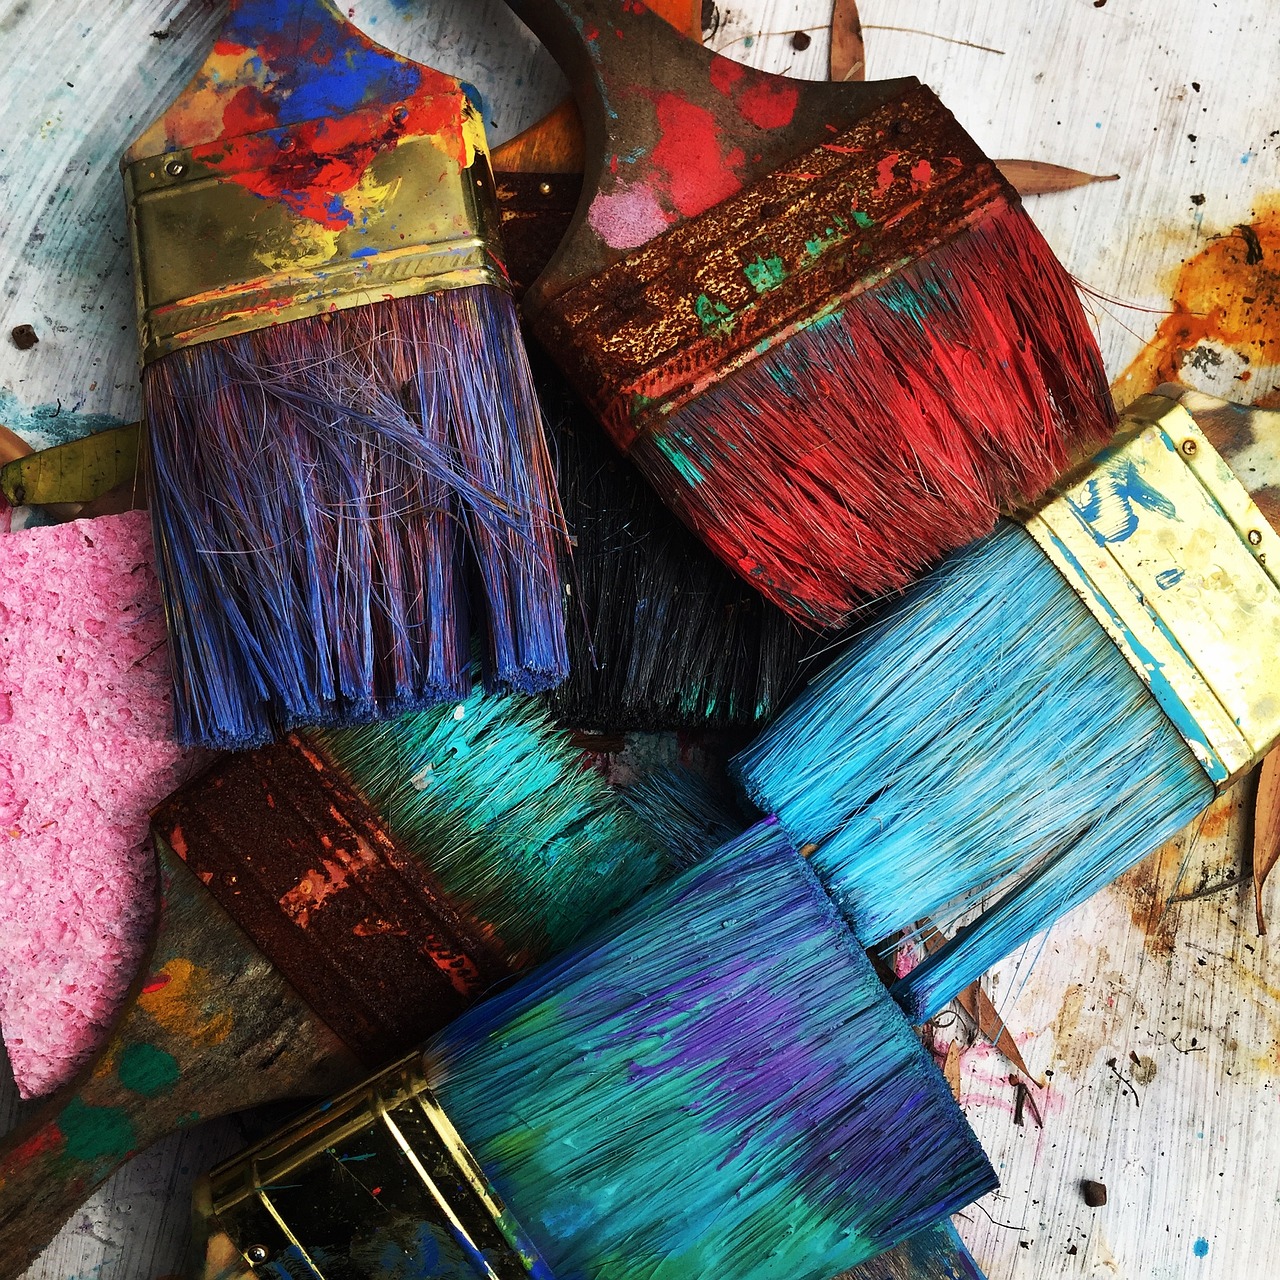
Gathering Necessary Tools
When it comes to creating a textured wall finish with paint, having the right tools at your disposal is essential to achieve the desired result. Before embarking on this creative journey, it's crucial to gather the necessary tools that will make the process smoother and more efficient. From brushes to rollers and texturing tools, each item plays a significant role in bringing your textured wall vision to life.
Brushes are a fundamental tool for painting textured walls, allowing you to apply paint with precision and control. Different brush sizes and shapes can create varying textures and patterns, adding depth and character to your walls. Rollers, on the other hand, are excellent for covering larger surface areas quickly and evenly, ensuring a consistent base coat before applying textured paint.
Texturing tools are indispensable for achieving intricate and unique textures on your walls. These tools come in a variety of designs, such as sponges, rollers, or trowels, each offering a different texture application method. Experimenting with various texturing tools can help you discover the perfect technique to achieve the desired textured effect.
Additionally, having painter's tape, drop cloths, and sandpaper on hand can aid in protecting surfaces, minimizing mess, and smoothing out imperfections on the wall surface before painting. By gathering these essential tools, you set yourself up for success in creating a stunning textured wall finish that transforms your space into a work of art.
Preparing the Wall Surface
Preparing the wall surface is a crucial step in achieving a successful textured wall finish with paint. Before diving into the creative process, it is essential to ensure that the surface is properly prepped to allow the paint to adhere effectively and create the desired texture.
First and foremost, start by thoroughly cleaning the wall surface to remove any dirt, dust, or grease that could hinder the paint's adhesion. Use a mild detergent solution and a sponge to clean the walls, ensuring that they are completely free of any contaminants.
Next, inspect the wall for any imperfections such as cracks, holes, or dents. These should be repaired using a suitable filler or spackling compound. Allow the filler to dry completely before sanding it smooth to create a seamless surface for painting.
After repairing any imperfections, it is essential to prime the wall surface before applying the textured paint. Primer helps the paint adhere better, provides a uniform surface for painting, and can also enhance the durability of the finish. Choose a primer that is suitable for the type of paint you will be using.
Additionally, consider the texture of the wall surface itself. If the walls are already textured, you may need to smooth them out before applying the textured paint for a more consistent finish. Sanding or skim coating can help achieve a smoother surface for better results.
Lastly, protect the surrounding areas from paint splatter or spills by using painter's tape to mask off edges and trim. Cover floors and furniture with drop cloths to prevent any accidental paint damage during the application process. Taking these precautions will ensure a cleaner and more efficient painting experience.
Applying the Base Coat
When it comes to creating a textured wall finish with paint, one of the crucial steps is applying the base coat. This foundational layer sets the tone for the overall texture and appearance of the final result. Before diving into the application process, it's essential to ensure that the wall surface is clean, smooth, and properly primed. A well-prepared surface will allow the base coat to adhere evenly and provide a solid foundation for the textured finish.
Before applying the base coat, gather all the necessary tools and materials, including high-quality paint, brushes, rollers, and painter's tape. These tools will help you achieve a professional-looking finish and ensure that the paint is applied smoothly and evenly. Additionally, consider the type of paint you are using and its compatibility with the texturing techniques you plan to employ.
When applying the base coat, start by cutting in the edges and corners of the wall with a brush to ensure precision and clean lines. Once the edges are done, use a roller to apply the paint to the main surface area. Make sure to work in small sections, blending the paint as you go to avoid visible seams or patchiness. Apply the paint in thin, even layers to prevent drips and achieve a smooth finish.
Depending on the desired texture and color of the final result, you may need to apply multiple coats of the base paint. Allow each coat to dry completely before applying the next layer to avoid mixing or smudging the paint. Take your time during this step to ensure that the base coat is applied evenly and covers the entire surface area effectively.
Choosing a Texturing Technique
When it comes to creating a textured wall finish with paint, one of the crucial decisions you'll need to make is choosing the right texturing technique. This choice will significantly impact the final look and feel of your walls, adding depth and character to your space. There are several popular texturing techniques you can consider, each offering a unique result that can transform a plain wall into a visually appealing focal point.
One common technique is sponging, which involves applying paint with a natural sea sponge to create a soft, mottled effect on the surface. This method is versatile and can be used to achieve both subtle textures and more dramatic finishes, depending on the application technique and paint colors used.
Another popular option is rag rolling, where a rolled-up rag is dipped in paint and then rolled onto the wall to create a textured pattern. This technique can produce a variety of looks, from a gentle, marbled effect to a more pronounced texture, depending on the pressure and movement applied during the rolling process.
For those looking to add a more intricate texture to their walls, stippling is a technique worth considering. Stippling involves dabbing a stippling brush or other textured tool onto the painted surface to create a raised, patterned effect. This method can be used to mimic the look of stucco or create a unique, tactile finish that adds visual interest to the walls.
Each of these texturing techniques offers a different result, allowing you to choose the one that best suits your aesthetic preferences and complements the overall design of your space. Experimenting with different techniques and combinations can lead to stunning and personalized textured wall finishes that elevate the look of any room.
Applying the Textured Paint
When it comes to applying textured paint to your walls, it's essential to have a clear plan and technique in mind to achieve the desired result. Textured paint can add depth and character to any room, transforming a plain wall into a visually interesting focal point. Before you begin the application process, consider the type of texture you want to create and the tools needed to execute the technique effectively.
One popular method for applying textured paint is sponging, which involves using a sponge to dab or stipple the paint onto the wall. This technique creates a soft, mottled effect that adds a subtle texture to the surface. Another option is rag rolling, where a rolled-up rag is used to apply the paint in a swirling motion, resulting in a more pronounced texture with a unique pattern. For a more dramatic look, stippling can be used, which involves using a stippling brush to create small, raised dots on the wall.
Before you start applying the textured paint, it's crucial to ensure that the base coat has dried completely. This will provide a stable foundation for the textured finish and prevent the paint from blending with the base coat. Begin by loading your chosen texturing tool with the paint mixture, making sure to remove any excess to avoid drips or uneven application. Work in small sections, applying the paint in a consistent manner to maintain a uniform texture across the entire surface.
As you apply the textured paint, consider the direction and pressure of your strokes to control the depth and intensity of the texture. Experiment with different techniques and tools to achieve the desired effect, whether you want a subtle texture or a more pronounced pattern. Don't be afraid to get creative and try out different methods to see which one works best for your space.
Once you have finished applying the textured paint, step back and assess the overall look of the wall. Make any necessary touch-ups or adjustments to ensure a seamless finish. Allow the paint to dry completely before adding any additional layers or decorative elements to avoid smudging or disrupting the texture. With the right technique and attention to detail, you can create a stunning textured wall that enhances the aesthetic appeal of your home.
Adding Depth and Dimension
When it comes to creating a textured wall finish with paint, adding depth and dimension is a crucial step in achieving a visually appealing result. Think of your walls as a canvas, ready to come to life with the right techniques. By layering paints or using glazes, you can create a multi-dimensional look that adds richness and character to the space.
Imagine your walls as a piece of art, with each layer of paint contributing to the overall texture and depth. By strategically applying different shades and finishes, you can create a sense of depth that draws the eye and adds interest to the room. Whether you prefer a subtle textured effect or a more dramatic finish, the key lies in experimenting with different techniques to find what works best for your space.
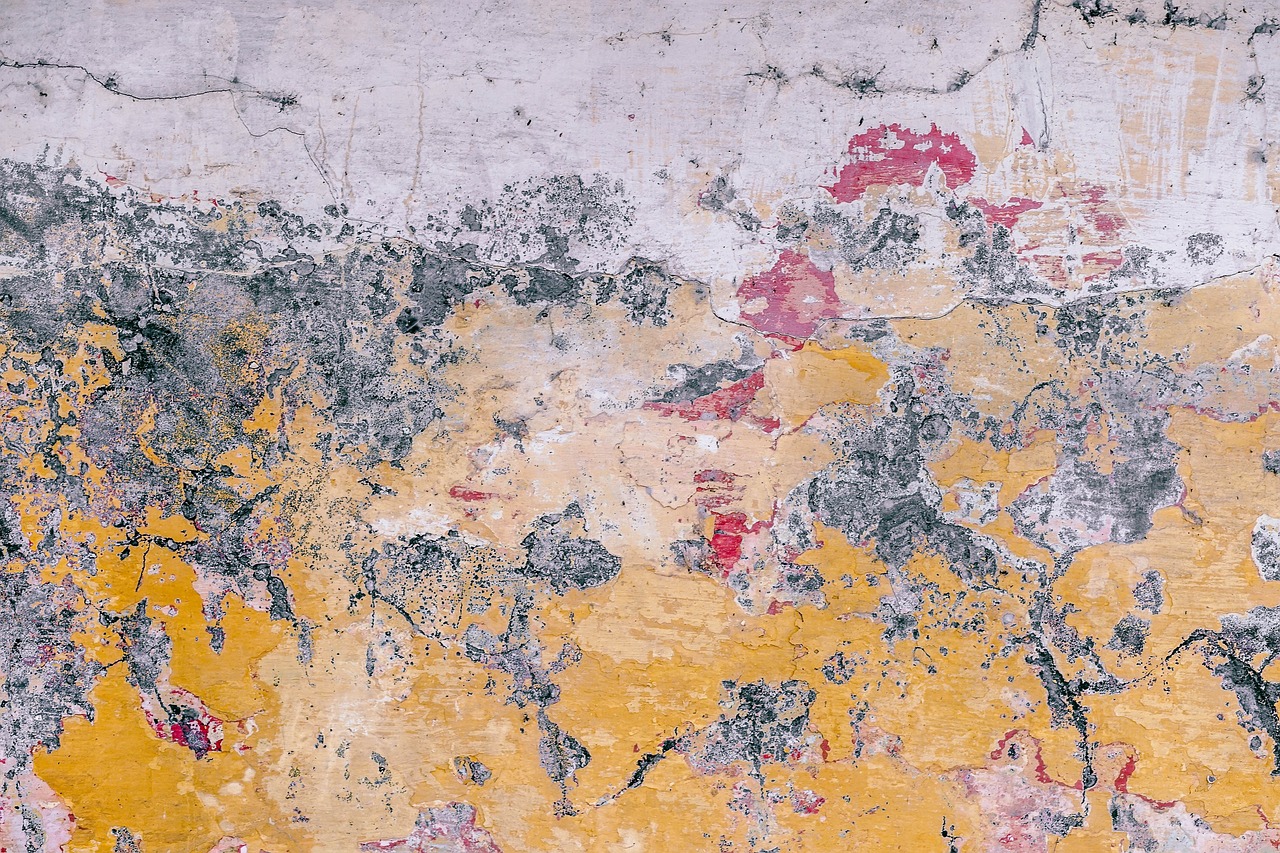
One effective way to add depth is by layering paints. Start with a base coat in a solid color, then gradually build up layers using lighter or darker shades to create depth and shadow. This technique can mimic the look of aged or weathered surfaces, adding a sense of history and character to your walls.
Another method to enhance dimension is by using glazes. Glazes are translucent coatings that can be applied over the base coat to create a subtle sheen or color shift. By strategically applying glazes in certain areas, you can highlight textures and create a sense of movement on the walls. This technique is particularly effective for creating a luxurious or antiqued look in your space.
Consider the overall aesthetic you want to achieve in the room. Do you prefer a rustic, earthy feel or a more modern and sleek look? The way you add depth and dimension to your textured walls can greatly impact the atmosphere of the space. Experiment with different techniques and colors to see what resonates with your personal style and complements the rest of your decor.
Finishing Touches and Sealant
When it comes to finishing touches and sealing your textured wall, attention to detail can make all the difference in achieving a polished look. Once you have applied the textured paint and allowed it to dry completely, it's time to add those final touches that will elevate the overall appearance of your wall. Whether you decide to incorporate subtle accents or bold designs, these finishing touches can truly transform the texture and visual appeal of your space.
One popular method for adding depth and interest to textured walls is the use of glazes. Glazes are translucent coatings that can be applied over the textured paint to create a subtle sheen or color variation. By strategically applying glazes in specific areas, you can enhance the texture of the wall and create a more dynamic finish. Experimenting with different shades and application techniques can result in a truly unique and eye-catching look.
In addition to glazes, consider incorporating metallic paints or finishes for a touch of glamour and sophistication. Metallic paints can add a reflective quality to the textured surface, catching and reflecting light in a way that highlights the texture and creates a sense of depth. Whether you choose to apply metallic accents to specific areas or create an all-over shimmer, these finishes can bring a touch of luxury to your textured walls.
Once you are satisfied with the overall look of your textured wall, it's important to seal the surface to protect the finish and ensure its longevity. A clear sealant or topcoat can help to prevent chipping, fading, and wear over time, keeping your textured walls looking fresh and vibrant. Be sure to follow the manufacturer's instructions for the specific sealant you choose, and apply it evenly to achieve a uniform finish.
When adding finishing touches and sealant to your textured walls, remember that the goal is to enhance the texture and visual appeal while also providing protection and durability. By paying attention to the details and experimenting with different techniques, you can create a textured wall finish that is not only visually stunning but also long-lasting and resilient.
Maintaining Textured Walls
Once you have successfully created a stunning textured wall finish, it is essential to maintain it properly to ensure its longevity and visual appeal. Textured walls can accumulate dust and dirt over time, impacting the overall look of the finish. Regular maintenance is key to preserving the beauty of your textured walls.
One effective way to maintain textured walls is by using a soft brush or vacuum with a brush attachment to gently remove dust and debris. Avoid using harsh cleaning tools or abrasive materials that can damage the textured surface. Additionally, you can wipe the walls with a damp cloth or sponge to remove any stubborn dirt or stains, but be gentle to avoid altering the texture.
It is crucial to address any stains or spills on textured walls promptly. Use a mild detergent or soap mixed with water to gently clean the affected area. Test the cleaning solution on a small, inconspicuous spot first to ensure it does not damage the paint or texture. After cleaning, dry the area thoroughly to prevent water damage or discoloration.
Regular inspection of textured walls is recommended to identify any signs of wear or damage. Look out for peeling paint, cracks, or areas where the texture has worn off. Promptly address these issues by repairing the damaged areas with matching paint and texture to maintain a seamless finish.
Applying a protective sealant over the textured walls can help enhance durability and make cleaning easier. Choose a sealant specifically designed for textured surfaces and follow the manufacturer's instructions for application. This additional layer of protection can safeguard the textured finish from everyday wear and tear.
Lastly, consider avoiding excessive moisture in rooms with textured walls, as prolonged exposure to high humidity or moisture can affect the paint and texture. Use dehumidifiers or proper ventilation to maintain optimal conditions for your textured walls. By following these maintenance tips, you can keep your textured walls looking fresh and captivating for years to come.
Frequently Asked Questions
- Can any type of paint be used to create a textured wall finish?
While many types of paint can be used to achieve a textured wall finish, it is essential to select a paint that is specifically designed for textured applications. These paints are formulated to hold the texture well and create the desired effect on the wall surface.
- Do I need special tools to create a textured wall finish with paint?
Yes, you will need specific tools to create a textured wall finish with paint. Some of the essential tools include brushes, rollers, texturing tools, and possibly stencils or sponges, depending on the technique you choose to use for creating the texture.
- How can I fix imperfections on the wall surface before applying textured paint?
Prior to applying textured paint, it is crucial to repair any imperfections on the wall surface. This can be done by filling in cracks, smoothing out bumps, and sanding rough areas. Once the surface is properly prepared, it will ensure a more even and professional-looking textured finish.
- Is it necessary to apply a sealant to the textured wall finish?
Applying a sealant to the textured wall finish is highly recommended as it helps protect the surface from damage, makes it easier to clean, and enhances the longevity of the textured finish. A sealant also adds a subtle sheen to the texture, giving it a more polished appearance.
- How do I maintain textured walls to keep them looking fresh?
To maintain textured walls and keep them looking fresh, regularly dusting or vacuuming the surface can help prevent dirt and grime buildup. In case of any stains or marks, gentle cleaning with a damp cloth and mild detergent is advised to preserve the textured finish without causing damage.