Tips for Preparing Your Walls Before Painting
Properly preparing your walls before painting is crucial for a successful paint job. These tips will help you achieve a smooth and long-lasting finish on your walls.
Cleaning the walls is the first step in preparing them for painting. Remove dust, dirt, and grease using a mild detergent solution and a sponge. Clean walls ensure better adhesion of the paint and a more professional-looking finish.
Repairing any wall imperfections is essential for a flawless paint job. Fill in holes, cracks, or dents with spackling compound. Once dry, sand the patched areas smooth to create a seamless surface for painting.
Protecting your floors and furniture is crucial during the painting process. Cover the floors with drop cloths and move furniture away from the walls to prevent any accidental paint spills or splatters. Ensuring your belongings are safe will make the painting process smoother.
Before painting, remove any wall decorations such as frames or mirrors. Fill the holes left behind with spackling compound to give yourself a clean surface to work with and avoid any obstacles during painting.
Using painter's tape along the edges of trim, ceilings, and other areas you want to protect from paint will help you achieve clean and straight lines without any paint bleeding onto adjacent surfaces. This step is crucial for a professional-looking finish.
Priming the walls before painting can hide imperfections, improve paint adhesion, and provide a more uniform finish. Choose a primer that suits the type of paint you will be using for the best results.
When selecting paint and tools, opt for high-quality paint in the finish of your choice and ensure you have the right tools such as brushes, rollers, and trays. Using the correct paint and tools can make a significant difference in the final outcome of your paint job.
Avoid painting in humid conditions as it can affect the drying time and finish of the paint. Opt for a dry day with moderate temperatures to ensure the paint dries properly and adheres well to the walls.
Clean the Walls
Properly preparing your walls before painting is crucial for a successful paint job. These tips will help you achieve a smooth and long-lasting finish on your walls.
When it comes to painting, starting with clean walls is essential. Dust, dirt, and grease can prevent paint from adhering properly, leading to a less professional finish. To clean your walls effectively, use a mild detergent solution and a sponge to remove any grime. This simple step ensures better adhesion of the paint and a more polished final look.
Think of cleaning your walls like preparing a canvas for a masterpiece - a clean surface sets the foundation for a beautiful painting. Just as a painter wouldn't start on a dirty canvas, you shouldn't paint on dirty walls.
If you're wondering how to clean walls efficiently, consider using a solution of water and mild dish soap. This gentle yet effective mixture can help remove stubborn stains without damaging the paint or wall surface.
Remember, cleanliness is key when it comes to achieving a flawless paint job. Taking the time to clean your walls thoroughly will pay off in the long run, ensuring a professional-looking finish that lasts.
Repair Wall Imperfections
When it comes to achieving a flawless paint job, repairing wall imperfections is a crucial step that should not be overlooked. Before you start painting, take the time to inspect your walls for any holes, cracks, or dents that may need attention. These imperfections can disrupt the smooth finish you desire and affect the overall appearance of the painted surface.
One effective way to address wall imperfections is by using spackling compound. This versatile material is perfect for filling in small to medium-sized holes and cracks. Simply apply the spackling compound to the damaged area using a putty knife, making sure to fill the imperfection completely. Once the compound is dry, sand the area gently to create a level surface that seamlessly blends with the rest of the wall.
It's important to note that different types of wall imperfections may require specific repair techniques. For larger holes or more significant damage, you may need to use a patching material or even replace a section of drywall. Assess the extent of the damage carefully to determine the best course of action for each imperfection.
Before proceeding with painting, ensure that all repaired areas are completely dry and smooth. Running your hand over the patched spots can help you detect any roughness or unevenness that needs further attention. Taking the time to properly repair wall imperfections will not only enhance the visual appeal of your walls but also contribute to a professional-looking paint job that lasts.

Protect Floors and Furniture
When it comes to painting, one of the essential steps is to protect your floors and furniture. This not only ensures a clean and hassle-free painting process but also safeguards your belongings from accidental spills or splatters. To achieve this, start by covering the floors with durable drop cloths that can catch any paint drips. Additionally, make sure to move furniture away from the walls to create ample space for painting without the risk of damaging your valuable items.
Moreover, investing in painter's tape can be a game-changer when it comes to protecting surfaces that you don't want to paint. By carefully applying painter's tape along the edges of trim, baseboards, ceilings, and any other areas that need safeguarding, you can achieve crisp and clean paint lines. This meticulous step prevents paint bleed and ensures a professional-looking finish.
Remove Wall Decorations
When it comes to painting your walls, it's essential to start with a clean slate. Removing any wall decorations, such as frames, mirrors, or artwork, is a crucial step in preparing your walls for a fresh coat of paint. These decorations not only get in the way during the painting process but can also hinder the adhesion of the paint to the wall surface.
Before you begin removing wall decorations, make sure to take down any items that are hanging on the walls. Carefully remove any nails or hooks used to hang these decorations to avoid damaging the walls. Once the decorations are off the walls, assess the condition of the wall surface.
If there are any holes or damage left behind from the wall decorations, use spackling compound to fill them in. Allow the compound to dry completely before sanding the patched areas smooth. This will ensure a seamless surface for painting and prevent any imperfections from showing through the new coat of paint.
After filling in any holes and sanding the walls, wipe down the surface with a damp cloth to remove any dust or debris. This will help ensure that the paint adheres properly to the walls and results in a smooth finish. Once the walls are clean and dry, they are ready for the next steps in the painting process.

Use Painter's Tape
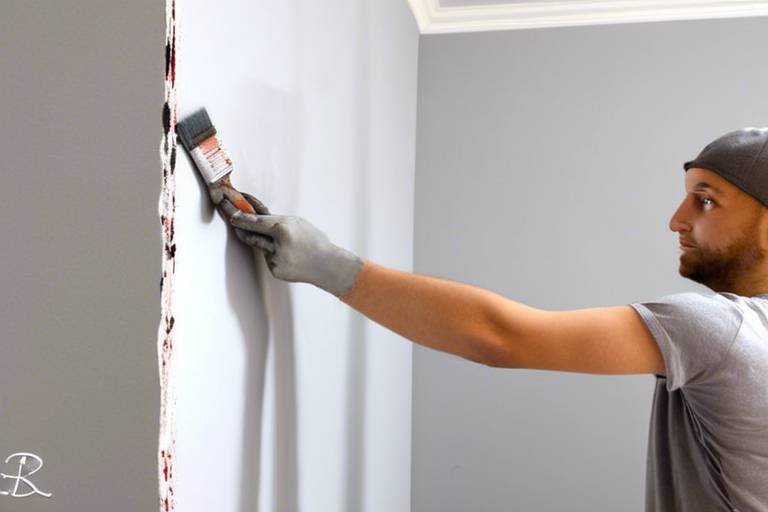
When it comes to painting, using painter's tape is a crucial step in achieving clean and professional results. This specialized tape is designed to create sharp lines and protect areas that you don't want to be painted. By applying painter's tape along the edges of trim, ceilings, and any other surfaces you want to keep paint-free, you can ensure a neat and precise finish.
Painter's tape is available in different widths to suit various painting needs. It is essential to choose the right width of tape based on the specific areas you are masking off. Thicker tapes are ideal for broader surfaces, while thinner tapes are more suitable for detailed work and smaller spaces.
Before applying painter's tape, make sure the surface is clean and dry to ensure proper adhesion. Press down firmly on the edges of the tape to create a tight seal and prevent any paint from seeping underneath. Take your time to apply the tape carefully, following the contours of the surfaces to achieve seamless lines.
When painting, always remove the painter's tape before the paint is completely dry to avoid peeling off any dried paint along with the tape. Remove the tape at a 45-degree angle to ensure a clean edge. If any paint does bleed through, use a small brush to touch up the affected areas for a flawless finish.
Prime the Walls
When it comes to painting your walls, one crucial step that should not be overlooked is priming. Priming the walls before painting can make a significant difference in the final outcome of your paint job. It serves as a preparatory coat that helps hide imperfections, promotes better adhesion of the paint, and ensures a more uniform finish.
Before priming, it's important to choose the right type of primer that complements the paint you will be using. Different paints may require specific primers, so be sure to select one that suits your project. Using the appropriate primer can enhance the durability and longevity of your paint job.
Additionally, priming the walls can help in achieving a more consistent color and sheen across the entire surface. It creates a uniform base for the paint to adhere to, resulting in a smoother and more professional-looking finish. Think of primer as the foundation that sets the stage for your paint to shine.
When applying the primer, make sure to use even strokes and cover the entire surface evenly. Allow the primer to dry completely before proceeding with the painting process to ensure optimal results. Properly primed walls can make a world of difference in the overall appearance and longevity of your paint job.
Select the Right Paint and Tools
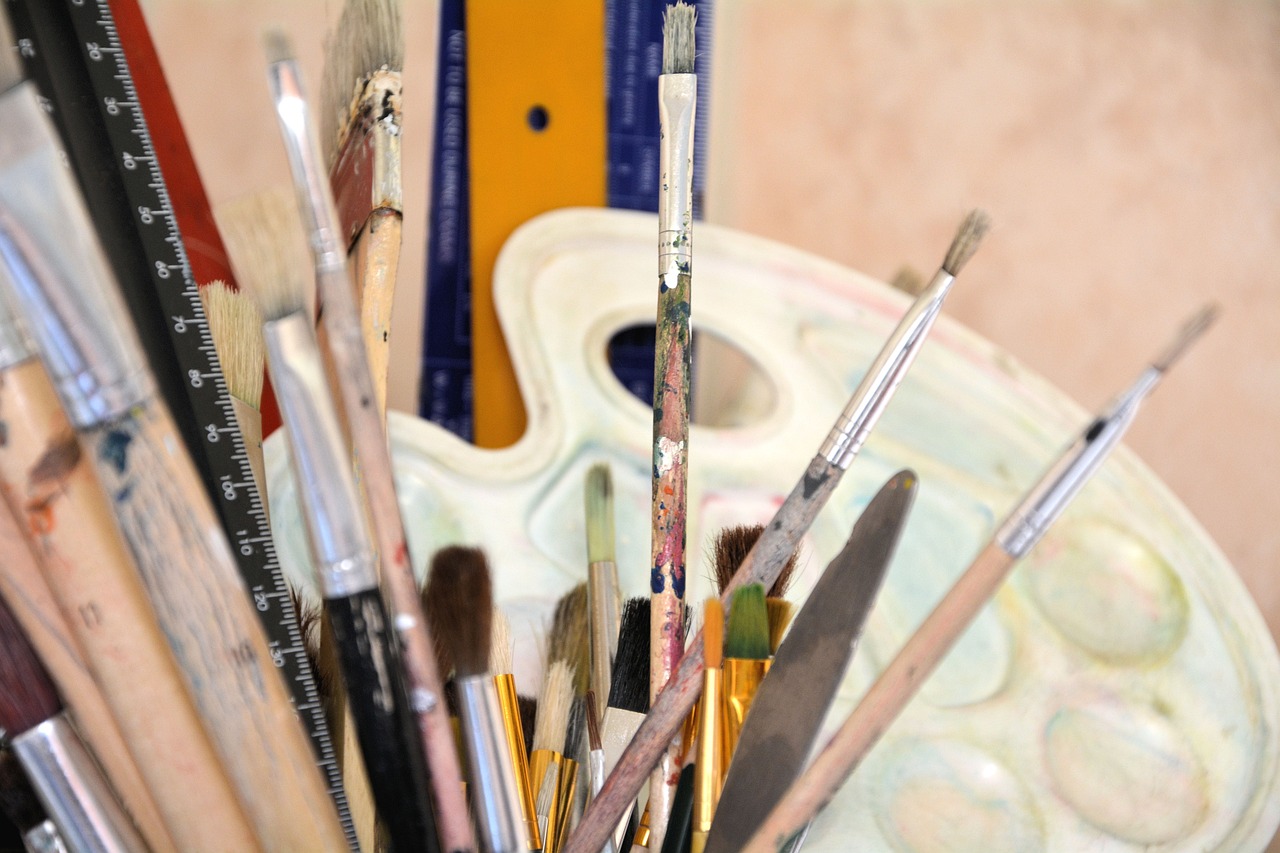
When it comes to painting your walls, selecting the right paint and tools is essential for achieving a professional finish that will last. The type of paint you choose, as well as the tools you use, can significantly impact the outcome of your painting project. High-quality paint in the finish of your preference is crucial for a smooth and durable result. Additionally, having the correct tools, such as brushes, rollers, and trays, will make the painting process easier and more efficient.
Before heading to the store to purchase your paint, consider the surface you will be painting and the desired finish. Different types of paint are suitable for various surfaces, so make sure to choose one that is compatible with your walls. Whether you opt for a matte, eggshell, satin, or gloss finish, selecting the right paint will affect the overall look and durability of the paint job.
When it comes to tools, investing in high-quality brushes and rollers can make a significant difference in the application of the paint. Quality tools will help you achieve smooth and even coverage, resulting in a professional-looking finish. Additionally, having the appropriate trays for pouring and mixing paint will streamline the painting process and reduce mess.
Consider the size of the area you will be painting when selecting your tools. For larger surfaces, a roller may be more efficient, while brushes are ideal for detailed work and trim. Having a variety of tools on hand will ensure that you can tackle any painting task effectively and efficiently.
Avoid Humid Conditions
When it comes to painting your walls, one crucial factor to consider is the humidity levels in the environment. High humidity can significantly impact the paint job, affecting both the drying time and the overall finish of the paint. Painting in humid conditions can lead to issues such as slow drying, uneven application, and even potential peeling or bubbling of the paint.
Humidity essentially refers to the amount of moisture present in the air. Excess moisture in the air can interfere with the paint's ability to dry properly, leading to a longer drying time than expected. This extended drying time can make the paint more susceptible to dust, dirt, or other particles settling on the surface, compromising the smoothness of the finish.
Moreover, high humidity can also affect the adhesion of the paint to the walls. In humid conditions, the paint may not adhere as effectively, resulting in a less durable finish that is prone to chipping or peeling over time. This can ultimately lead to the need for repainting sooner than anticipated, increasing both time and cost.
To avoid these issues, it is essential to choose a day with moderate humidity levels for your painting project. Ideally, aim for a day with lower humidity, as this will promote faster drying and better adhesion of the paint. Additionally, using a dehumidifier in the room can help reduce moisture levels and create a more suitable environment for painting.
By taking the necessary precautions and avoiding painting in humid conditions, you can ensure a smoother and more durable finish for your walls. Remember, the key to a successful paint job lies not only in the quality of the paint and tools but also in the environmental conditions in which you paint.
Frequently Asked Questions
- Can I skip priming the walls before painting?
While priming is not always mandatory, it is highly recommended to prime your walls before painting. Priming helps hide imperfections, improves paint adhesion, and ensures a more uniform finish.
- Do I need to use painter's tape?
Using painter's tape is essential to achieve clean and straight lines in your painting project. It helps protect areas you don't want to paint and prevents paint bleeding onto adjacent surfaces.
- What should I do to protect my floors during painting?
It is important to cover your floors with drop cloths and move furniture away from the walls before painting to prevent any accidental spills or splatters. Protecting your floors and furniture is crucial during the painting process.
- How do I know which paint finish to choose?
The paint finish you choose depends on the desired look and the area you are painting. For example, high gloss finishes are more durable and easier to clean, while flat finishes help hide imperfections.
- Can I paint in humid conditions?
It is best to avoid painting in high humidity as it can affect the drying time and finish of the paint. Choose a dry day with moderate temperatures for optimal painting conditions.

