
How to Build a DIY Vertical Wall Planter
Are you ready to elevate your plant game and create a stunning vertical wall planter all by yourself? Imagine the satisfaction of building a space-saving oasis of greenery right in your own home. This step-by-step guide will walk you through the process, from selecting the materials to choosing the perfect plants for your vertical masterpiece.
Materials Needed
When embarking on the journey of building your very own DIY vertical wall planter, it's essential to gather all the necessary materials to ensure a smooth and successful construction process. The key materials needed for this project include:
1. Wood Planks: Select sturdy and weather-resistant wood planks to build the frame of your vertical wall planter. Opt for treated wood to ensure durability against outdoor elements.
2. Screws: Choose appropriate screws to secure the wooden pieces together. Make sure to have different sizes on hand to accommodate various parts of the planter.
3. Drill: A drill is essential for creating holes for screws and ensuring precise assembly. Consider having a variety of drill bits for different tasks.
4. Paint: Pick paint in your preferred color scheme to add a personal touch to your vertical wall planter. Opt for outdoor paint to protect the wood from moisture and sunlight.
5. Plant Containers: Select plant containers that fit well within the design of your wall planter. Ensure they have proper drainage holes to prevent waterlogging.
By gathering these materials, you'll be well-equipped to start your DIY vertical wall planter project and bring a touch of greenery into your living space.
Planning Your Design
When it comes to planning the design of your vertical wall planter, you have the exciting opportunity to unleash your creativity and personalize the project to suit your style and space. Consider the layout of the plant containers - do you want them evenly spaced or clustered together for a more dynamic look? Think about the overall size of the planter - will it be a statement piece or a subtle addition to your wall? Additionally, ponder the color scheme that will complement your home decor - will you go for a natural wood finish or a bold pop of color to make a statement?

Building the Frame
When it comes to constructing the frame for your DIY vertical wall planter, precision and sturdiness are key. The frame serves as the backbone of your planter, providing support for the plant containers and ensuring the overall stability of the structure. To begin, you will need to gather your materials, including the wood planks, screws, and a drill. Consider the size and layout of your planter design to determine the dimensions of the frame. Planning is crucial at this stage to ensure a seamless construction process.
Start by measuring and cutting the wood planks according to your desired dimensions. Use a saw to make precise cuts, ensuring that each piece fits together snugly. Next, assemble the frame by attaching the pieces with screws. It's essential to secure the joints properly to prevent wobbling or shifting once the plant containers are added. Take your time during this step to guarantee a sturdy and well-built frame.
As you put together the frame, consider the aesthetic aspect as well. You can choose to paint the wood in a color that complements your home decor or leave it natural for a more rustic look. Adding a coat of weather-resistant paint can also protect the wood from outdoor elements if you plan to place the vertical wall planter outside. Additionally, think about incorporating hooks or hangers on the frame for easy installation and display.
Once the frame is complete, it's time to attach the plant containers. Position them on the frame according to your design layout, ensuring they are evenly spaced and securely fastened. Proper placement of the plant containers will not only enhance the visual appeal of your vertical wall planter but also promote healthy plant growth by allowing adequate sunlight and airflow.
Remember, the frame is the foundation of your vertical wall planter, so attention to detail and craftsmanship are crucial. By following these steps and taking the time to build a solid frame, you can create a stunning and functional piece of greenery that will brighten up any space.

Attaching the Plant Containers
When it comes to attaching the plant containers to your vertical wall planter, it's crucial to ensure they are securely fastened to the frame. This not only provides stability for your plants but also enhances the overall aesthetic appeal of the planter. One common method is to use screws or brackets to attach the containers to the wooden frame. Make sure to space the containers evenly along the frame to allow for proper plant growth and easy maintenance.
If you are looking for a more organized approach, you can create a grid system using wooden slats or metal wires to hold the plant containers in place. This method not only adds a modern touch to your vertical wall planter but also makes it easier to rearrange or replace plants as needed. Additionally, incorporating a drip tray at the bottom of each container can help prevent water from dripping onto lower plants and maintain a clean appearance.
Another creative way to attach plant containers is by using adjustable hooks or hangers. These allow you to customize the height and spacing of each container based on the size and growth of your plants. By utilizing hooks, you can easily move the containers around to create different arrangements or access specific plants for care without disrupting the rest of the planter.
For a more decorative touch, consider painting the plant containers in coordinating colors or patterns that complement your home decor. This not only adds a personal flair to your vertical wall planter but also helps tie the overall design together. Additionally, you can add labels or tags to each container to identify the plants and add a charming detail to the display.

Adding Drainage System
When it comes to creating a successful vertical wall planter, ensuring proper drainage is crucial for the health of your plants. Without adequate drainage, excess water can accumulate, leading to root rot and other issues. To incorporate an efficient drainage system, consider using a combination of materials like gravel, sand, and a permeable fabric. Placing a layer of gravel at the bottom of each plant container can help prevent waterlogging by allowing excess water to drain away from the roots. Additionally, adding a layer of sand can further improve drainage by promoting water flow. Finally, lining the containers with a permeable fabric can help prevent soil from clogging the drainage layers while still allowing water to pass through. By implementing these simple yet effective drainage solutions, you can create a healthy environment for your plants to thrive in your vertical wall planter.
Painting and Finishing Touches
When it comes to adding the final touches to your DIY vertical wall planter, the painting and finishing stage is where you can truly make it your own. This is the part where you can let your creativity shine and customize your planter to match your style and home decor perfectly.
Before you start painting, make sure to choose a high-quality outdoor paint that is suitable for wood and will withstand the elements. Consider the color scheme of your home or outdoor space to ensure your vertical wall planter complements its surroundings.
One popular option is to use a neutral color for the frame of the planter and add a pop of color to the plant containers themselves. This can create a visually appealing contrast and draw attention to your plants.
Additionally, you can add decorative elements such as stencils, patterns, or even hand-painted designs to make your vertical wall planter truly unique. Just make sure to use weather-resistant paint and sealant to protect your creation from the elements.
As you finish painting, consider adding hooks or brackets to the back of the frame for easy hanging on your wall. This will not only make installation a breeze but also ensure that your vertical wall planter is securely in place.
Lastly, don't forget about the finishing touches. You can add decorative stones, pebbles, or even fairy lights around the base of the planter to enhance its visual appeal. These small details can make a big difference in the overall look of your vertical wall planter.
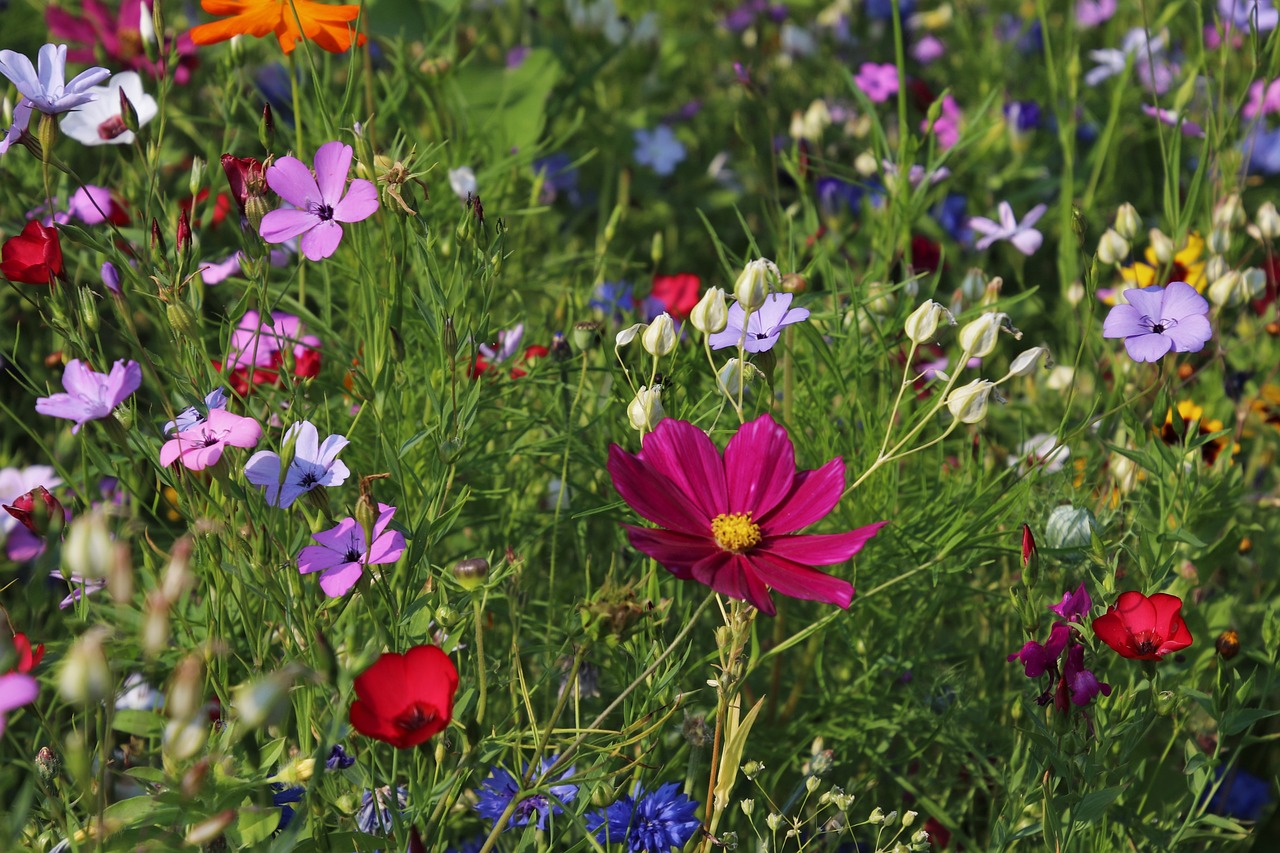
Choosing the Right Plants
When it comes to choosing the right plants for your vertical wall planter, there are several factors to consider to ensure a thriving and visually appealing display. First and foremost, assess the light conditions of the area where the planter will be placed. Select plants that match the amount of sunlight they will receive, whether it's full sun, partial shade, or shade. This will help your plants flourish and prevent them from becoming stressed due to inadequate light.
Additionally, consider the watering needs of the plants you choose. Some plants require more frequent watering, while others prefer to dry out between waterings. Make sure to select plants with similar watering requirements to simplify your maintenance routine and prevent over or under-watering.
Furthermore, think about the overall aesthetic you want to achieve with your vertical wall planter. Mix and match plants with different textures, colors, and growth habits to create a visually dynamic and captivating display. Consider how the plants will complement each other and the surrounding decor to achieve a harmonious look.
It's also crucial to take into account the mature size of the plants you select. Ensure that the plants you choose have enough space to grow vertically without overcrowding each other. This will not only promote healthy growth but also prevent the need for frequent pruning and maintenance.
Lastly, don't forget to research the specific care requirements of each plant before adding them to your vertical wall planter. Some plants may need regular fertilizing, while others may be sensitive to certain environmental conditions. By understanding the individual needs of your plants, you can provide them with the best care possible and enjoy a flourishing green wall.
Maintenance Tips
After setting up your vertical wall planter, it's crucial to understand how to properly maintain it to ensure the health and longevity of your plants. Regular maintenance is key to keeping your vertical garden flourishing and looking its best. Here are some essential maintenance tips to keep in mind:
1. Watering: Proper watering is essential for the health of your plants. Make sure to water your vertical wall planter regularly, especially during hot weather, but be cautious not to overwater, as it can lead to root rot.
2. Fertilizing: To promote healthy growth, consider fertilizing your plants periodically. Choose a fertilizer that is suitable for the types of plants in your vertical wall planter and follow the instructions carefully.
3. Pruning: Keep an eye on your plants and trim any dead or overgrown parts to encourage new growth and maintain a tidy appearance. Regular pruning can also help prevent diseases and pest infestations.
4. Monitoring: Regularly inspect your vertical wall planter for signs of pests, diseases, or nutrient deficiencies. Early detection can help you address issues promptly and prevent them from spreading to other plants.
5. Seasonal Care: Adjust your maintenance routine according to the seasons. During colder months, protect your plants from frost, while in the warmer months, provide adequate shade and hydration to prevent heat stress.
6. Support and Stability: Periodically check the stability of your vertical wall planter and ensure that it is securely attached to the wall. Make any necessary repairs or adjustments to prevent accidents and maintain the safety of your plants.
By following these maintenance tips, you can enjoy a thriving vertical wall planter that enhances the beauty of your space and provides a green oasis for your plants.
Frequently Asked Questions
- Can I use any type of wood for building a vertical wall planter?
While you can use various types of wood, it is recommended to choose a durable and weather-resistant option like cedar or redwood for longevity and to protect against moisture damage.
- How do I ensure proper drainage in my vertical wall planter?
Ensure there are drainage holes in the bottom of each plant container and consider adding a layer of gravel or perlite to improve drainage. Additionally, tilt the planter slightly to allow excess water to flow out.
- What are some low-maintenance plants suitable for a vertical wall planter?
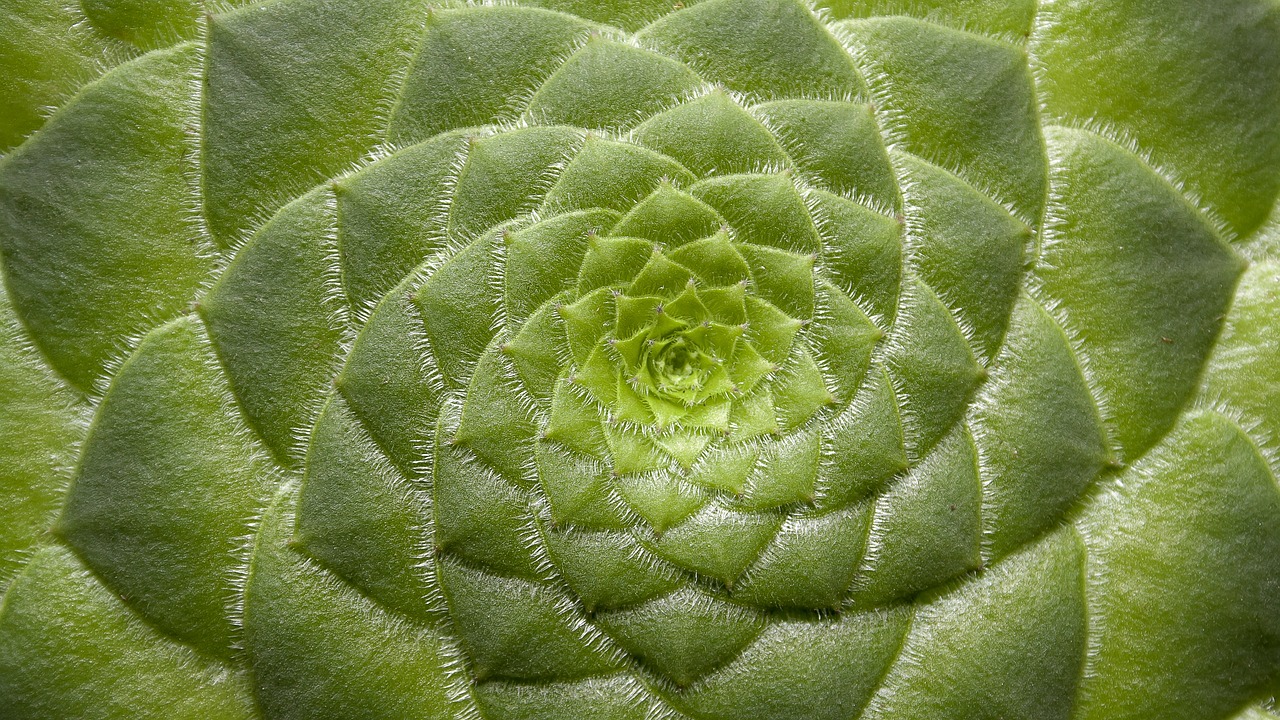
Plants like succulents, air plants, spider plants, and pothos are great options as they require minimal care and can thrive in a vertical environment with proper light and watering.
- How often should I water the plants in a vertical wall planter?
The frequency of watering depends on the type of plants and the environment. Generally, it is recommended to check the moisture levels regularly and water when the top layer of soil feels dry to the touch.
- Can I customize the design of my vertical wall planter to fit my space?
Absolutely! Feel free to adjust the size, shape, and color of your vertical wall planter to suit your preferences and space constraints. Get creative and make it uniquely yours!


