How to Create a Faux Finish with Paint Techniques
Creating a faux finish with paint techniques is a fantastic way to add depth and texture to your walls and furniture. By exploring various painting methods, you can achieve professional-looking results right in the comfort of your own home. Whether you're aiming for a rustic, aged look or a sleek, modern finish, faux painting techniques offer endless possibilities for transforming your living space.

Choosing the Right Paint
Exploring various paint techniques and methods to achieve a faux finish, adding depth and texture to walls and furniture. Learn step-by-step instructions and tips for creating professional-looking faux finishes in your home.
When embarking on a faux finishing project, selecting the appropriate paint is crucial to achieving the desired effect. Different types of paint are suitable for faux finishes, including glazes, metallic paints, and specialty faux finish paints. Each type offers unique characteristics that can significantly impact the final look of your project. Consider the following factors when choosing the right paint for your faux finish:
Glazes are translucent paints that allow the base coat to show through, creating depth and dimension. They are ideal for creating subtle effects and adding richness to the finish. Metallic paints, on the other hand, contain metallic particles that produce a shimmering effect, perfect for adding a touch of glamour to your surfaces. Specialty faux finish paints come in a variety of textures and finishes, such as crackle, suede, or concrete, offering endless possibilities for creativity.
Before making a decision, consider the overall aesthetic you want to achieve and the compatibility of the paint with the surface you are working on. Experimenting with sample boards can help you visualize how different paints will look in your space and ensure you select the right paint for your desired effect.
Prepping the Surface
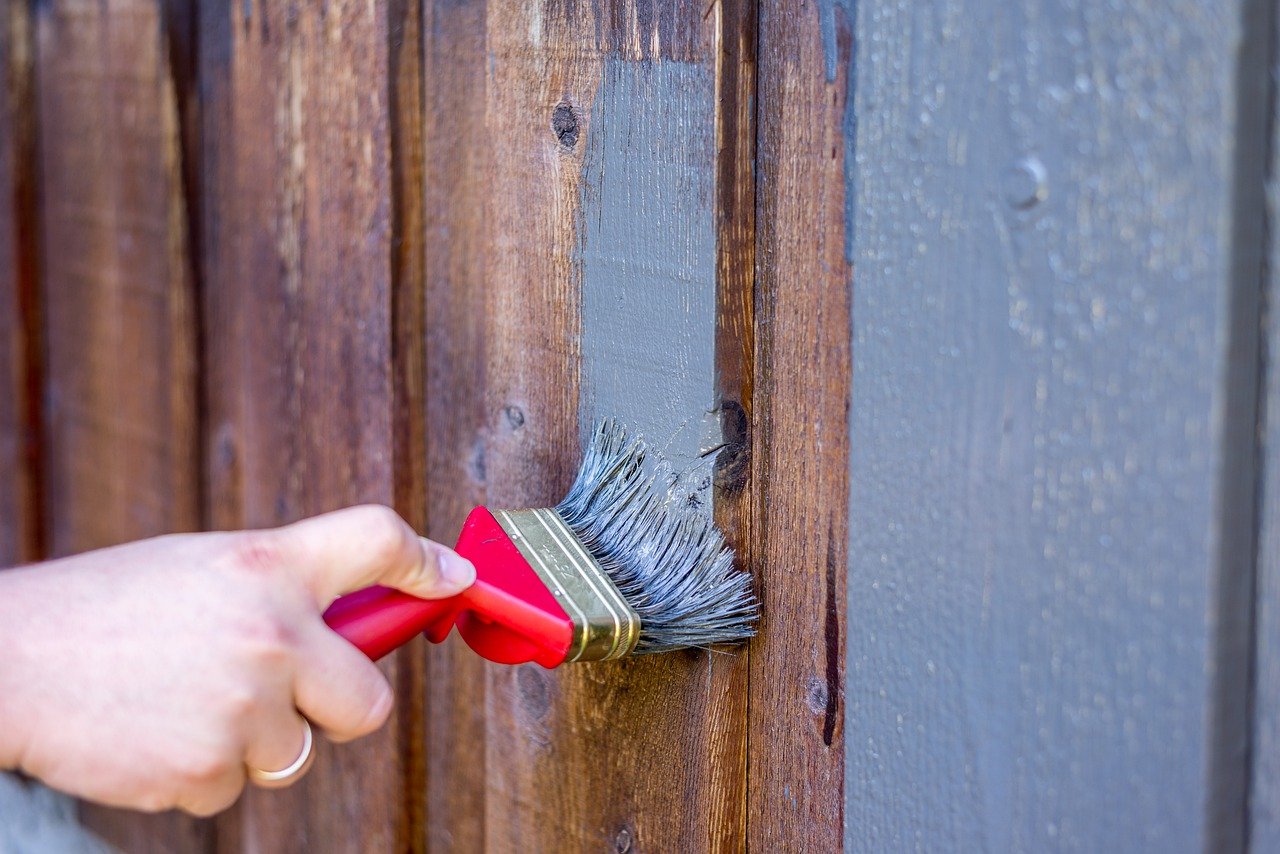
Before diving into the world of faux finishes, it's crucial to prepare the surface properly. This step sets the foundation for a successful and long-lasting finish that will truly stand out. Prepping the surface involves a series of essential steps that ensure the paint adheres well and the final result is smooth and flawless.
First and foremost, cleaning the surface is key. Any dust, dirt, or grease will interfere with the paint's adhesion, leading to an uneven finish. Make sure to thoroughly clean the surface using a mild detergent and water, and allow it to dry completely before proceeding.
Next, sanding the surface is essential for creating a smooth base. Sanding helps to remove any imperfections, such as bumps or rough patches, and provides a clean canvas for the paint to adhere to. Use fine-grit sandpaper to gently sand the surface, being careful not to overdo it and damage the material.
After cleaning and sanding, priming the surface is the next crucial step. Primer not only helps the paint adhere better but also ensures a more uniform finish. Choose a primer that is suitable for the surface you are working on, whether it's wood, drywall, or metal, and apply it evenly according to the manufacturer's instructions.
Properly prepping the surface before applying a faux finish is like laying the groundwork for a masterpiece. Taking the time to clean, sand, and prime will make a world of difference in the final result, ensuring a professional-looking finish that will impress anyone who lays eyes on it.

Basic Faux Finish Techniques
When it comes to creating a faux finish, mastering basic techniques is essential to achieving professional-looking results. One of the most popular basic faux finish techniques is sponging, which involves using a sponge to create a textured effect on the surface. This technique is versatile and can be used to achieve a variety of looks, from subtle to dramatic.
Ragging is another basic faux finish technique that involves using a rag to apply paint in a stippled or swirling motion. This technique creates a soft, mottled effect that adds depth and interest to the surface. Color washing is a technique that involves applying a translucent glaze over a base coat of paint to create a soft, washed-out look. This technique is great for adding a subtle hint of color and texture to walls or furniture.
Mastering these basic faux finish techniques is a great starting point for anyone looking to add depth and texture to their home decor. By experimenting with different application methods and color combinations, you can create custom effects that reflect your personal style and creativity.

Advanced Faux Finish Techniques
When it comes to taking your faux finish game to the next level, advanced techniques offer a whole new world of possibilities. One of the most popular advanced faux finish techniques is marbling, which involves creating the look of luxurious marble on surfaces like countertops or columns. By using a combination of specialized tools and layering different colors, you can achieve a stunningly realistic marble effect that adds sophistication to any space.
Another advanced technique worth exploring is wood graining, which allows you to mimic the appearance of various wood grains on surfaces like doors or furniture. With the right tools and a keen eye for detail, you can transform plain surfaces into rich, textured wood finishes that are indistinguishable from the real thing. This technique is perfect for adding warmth and character to your home decor.
For those looking to add a touch of glamour to their faux finishes, metallic finishes are the way to go. By incorporating metallic paints or powders into your painting process, you can create shimmering surfaces that catch the light and add a touch of luxury to any room. Whether you opt for a subtle metallic accent or go all out with a full metallic finish, this technique is sure to make a statement.

Combining Techniques for Unique Effects
Combining different faux finish techniques can lead to stunning and unique effects on your walls or furniture. By layering and blending techniques, you can create a one-of-a-kind finish that reflects your personal style and creativity. Imagine the surprise and delight of guests as they admire the intricate textures and patterns that result from the fusion of various techniques.
One effective way to combine techniques is by starting with a base coat using one method, such as sponging, and then adding depth with another technique like ragging or color washing. This layering creates a multidimensional look that adds visual interest to the surface. It's like creating a masterpiece with different brush strokes, each contributing to the overall beauty of the artwork.
Experimenting with blending techniques is another way to achieve unique effects. By softly blending two or more colors or finishes together while they are still wet, you can create a seamless transition between different sections of the surface. This blending technique can result in a harmonious and cohesive finish that appears natural and organic.
Consider using stencils or templates in combination with other techniques to add intricate designs or motifs to your faux finish. By strategically placing stencils and applying different techniques around them, you can create a focal point or a repeating pattern that enhances the overall aesthetic of the surface. It's like adding a touch of elegance and sophistication to your creation.
Remember, the key to successfully combining techniques for unique effects is to practice and experiment. Don't be afraid to try new combinations and variations to see what works best for your desired outcome. With patience and creativity, you can achieve a faux finish that is truly one-of-a-kind and showcases your artistic flair.
Tools and Materials Needed
When embarking on a faux finish project, having the right tools and materials is essential to achieve professional-looking results. The tools you use can greatly impact the final outcome of your faux finish, so it's important to choose wisely. Here are some of the key tools and materials you will need:
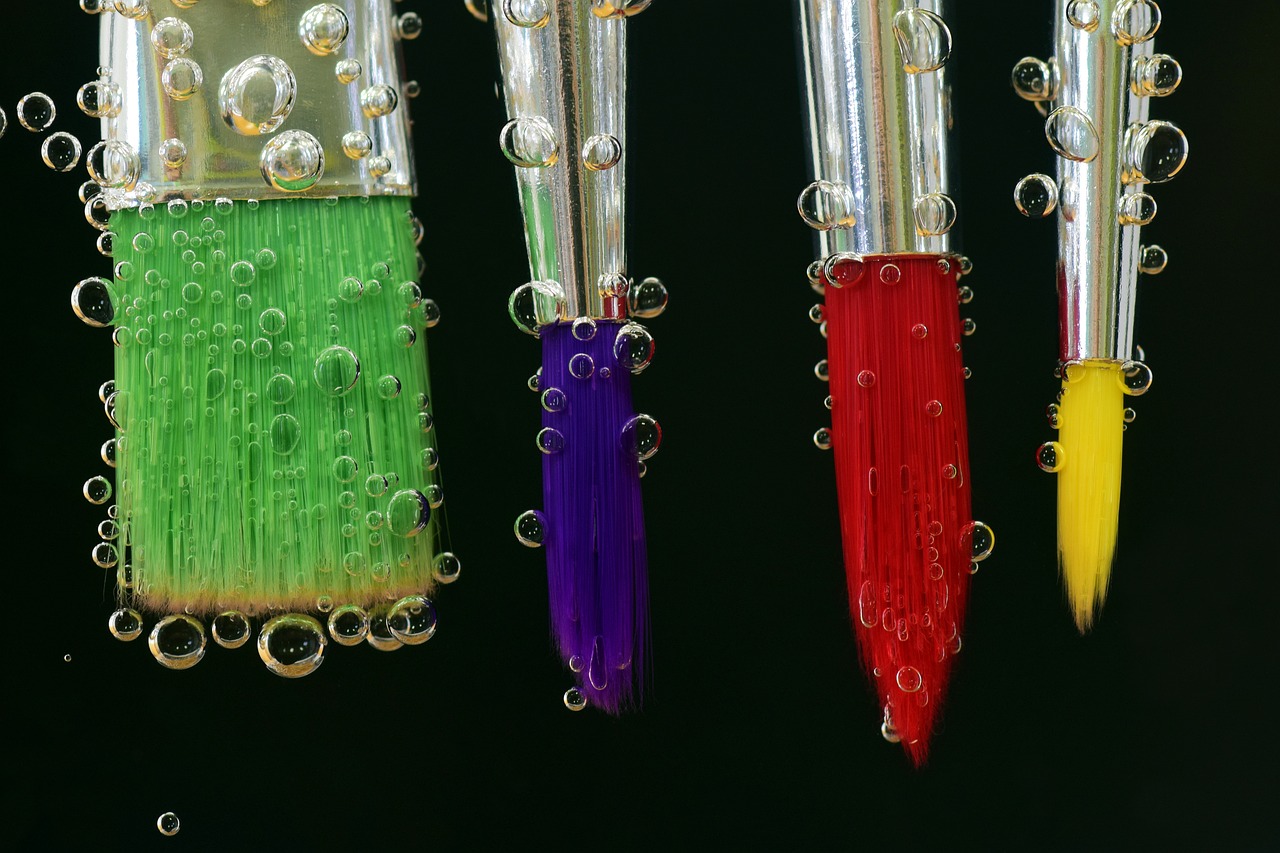
Brushes: High-quality brushes are crucial for applying paint evenly and smoothly. Different types of brushes can create various textures and effects, so having a selection of brushes in different sizes and shapes is recommended.
Sponges: Sponges are versatile tools that can be used to create unique textures and patterns in your faux finish. Natural sea sponges are often preferred for their ability to create a soft, organic look.
Specialty Tools: There are a variety of specialty tools available for faux finishing, such as combs, graining tools, and stippling brushes. These tools can help you achieve specific effects like wood grain or marble veining.
Painter's Tape: Painter's tape is essential for creating clean, crisp lines and protecting areas you don't want to paint. It helps ensure precise edges and professional-looking results.
Drop Cloths: Protecting your floors and furniture from paint splatters and spills is crucial during a faux finish project. Use drop cloths or plastic sheeting to cover surfaces and prevent damage.
Primer: Using a good quality primer is key to ensuring proper adhesion and a smooth finish for your faux finish. Make sure to choose a primer that is suitable for the surface you are working on.
Paints: Depending on the faux finish technique you choose, you may need different types of paint such as glazes, metallic paints, or specialty faux finish paints. Select paints in the colors and finishes that will achieve your desired effect.
Sealant: Once your faux finish is complete, it's important to protect it with a sealant to ensure durability and longevity. Choose a sealant that is compatible with the type of paint you used and follow the manufacturer's instructions for application.
Protecting and Sealing the Finish
Protecting and sealing the finish of your faux painting masterpiece is a crucial step to ensure its longevity and durability. By applying the right sealant, you can safeguard your work from wear and tear, moisture, and other external factors that may compromise the finish over time.
One of the key considerations when protecting a faux finish is choosing the appropriate sealant for the type of paint used. Different paints require specific sealants to enhance their durability without altering the appearance of the finish. For instance, water-based paints typically need a water-based sealant, while oil-based paints may require an oil-based sealant for optimal protection.
Before applying the sealant, make sure the painted surface is completely dry to prevent any moisture from getting trapped underneath the sealant, which could lead to bubbling or peeling. Additionally, ensure the surface is free of dust, debris, and any imperfections that may affect the final outcome.
When it comes to applying the sealant, follow the manufacturer's instructions carefully to achieve the best results. Use a high-quality brush or roller to evenly distribute the sealant over the surface, working in smooth, overlapping strokes to avoid streaks or uneven coverage. Allow the sealant to dry completely between coats, and apply multiple coats as needed for added protection.
After sealing the finish, it's essential to regularly maintain and clean the painted surface to prolong its lifespan. Avoid using harsh chemicals or abrasive cleaners that could damage the sealant and the finish underneath. Instead, opt for gentle cleaning solutions and soft cloths to gently wipe down the surface and remove any dirt or stains.
By taking the necessary steps to protect and seal your faux finish, you can enjoy its beauty and elegance for years to come. Investing time and effort in sealing the finish will not only enhance its appearance but also ensure that your hard work pays off in the long run.

Troubleshooting Common Issues
When working on faux finish projects, it's common to encounter some issues that can affect the final result. Understanding how to troubleshoot these common problems can help you achieve a professional-looking finish. One common issue that DIYers face is streaking in the finish. This can occur due to improper application techniques or using the wrong type of paint. To avoid streaking, make sure to apply the paint evenly and in the same direction.
Another issue that may arise is uneven coverage, where certain areas appear darker or lighter than others. This can be caused by insufficient priming or not blending the paint properly. To address uneven coverage, consider applying an additional coat of paint or using a glaze to even out the color.
Color discrepancies can also be a challenge when working on faux finishes. Sometimes the color may appear different once it dries or when applied over a different base coat. To prevent color discrepancies, always test the paint on a small area before applying it to the entire surface. Additionally, ensure that you mix the paint thoroughly to maintain consistency.
If you encounter bubbling or cracking in the finish, it may be due to improper surface preparation or applying paint in unfavorable conditions. To troubleshoot these issues, sand down the affected areas, reapply the paint, and ensure proper ventilation and temperature control during application.
By being aware of these common issues and knowing how to troubleshoot them, you can overcome challenges that may arise during the faux finishing process and achieve a flawless result.
Frequently Asked Questions
- What types of faux finishes can I create with paint techniques?
There are various faux finishes you can achieve using paint techniques, including sponging, ragging, color washing, marbling, wood graining, metallic finishes, and more. Each technique offers a unique texture and look to enhance your walls or furniture.
- Do I need special tools to create faux finishes?
While you can start with basic tools like brushes and sponges, some advanced faux finish techniques may require specialty tools such as graining combs or metallic finish applicators. Having the right tools can help you achieve professional-looking results.
- How do I protect and seal the faux finish?
It is essential to protect your faux finish by applying a sealant. Choose a sealant suitable for the type of paint and finish you used, and follow the manufacturer's instructions for proper application. Sealing the finish ensures its durability and longevity.
- What should I do if I encounter issues during the faux finishing process?
If you face common issues like streaking, uneven coverage, or color discrepancies, don't worry. There are troubleshooting tips available to help you address these problems and achieve a flawless finish. Identifying the issue early and taking corrective measures can save your project.