How to Make Homemade Lemon Bars from Scratch
Are you ready to embark on a culinary adventure in your own kitchen? Making homemade lemon bars from scratch is not only a rewarding experience but also a delightful treat for your taste buds. Imagine the explosion of citrusy flavors dancing on your palate with each bite of these tangy delights. Let's dive into the step-by-step process of creating these mouthwatering lemon bars that will leave everyone craving for more.
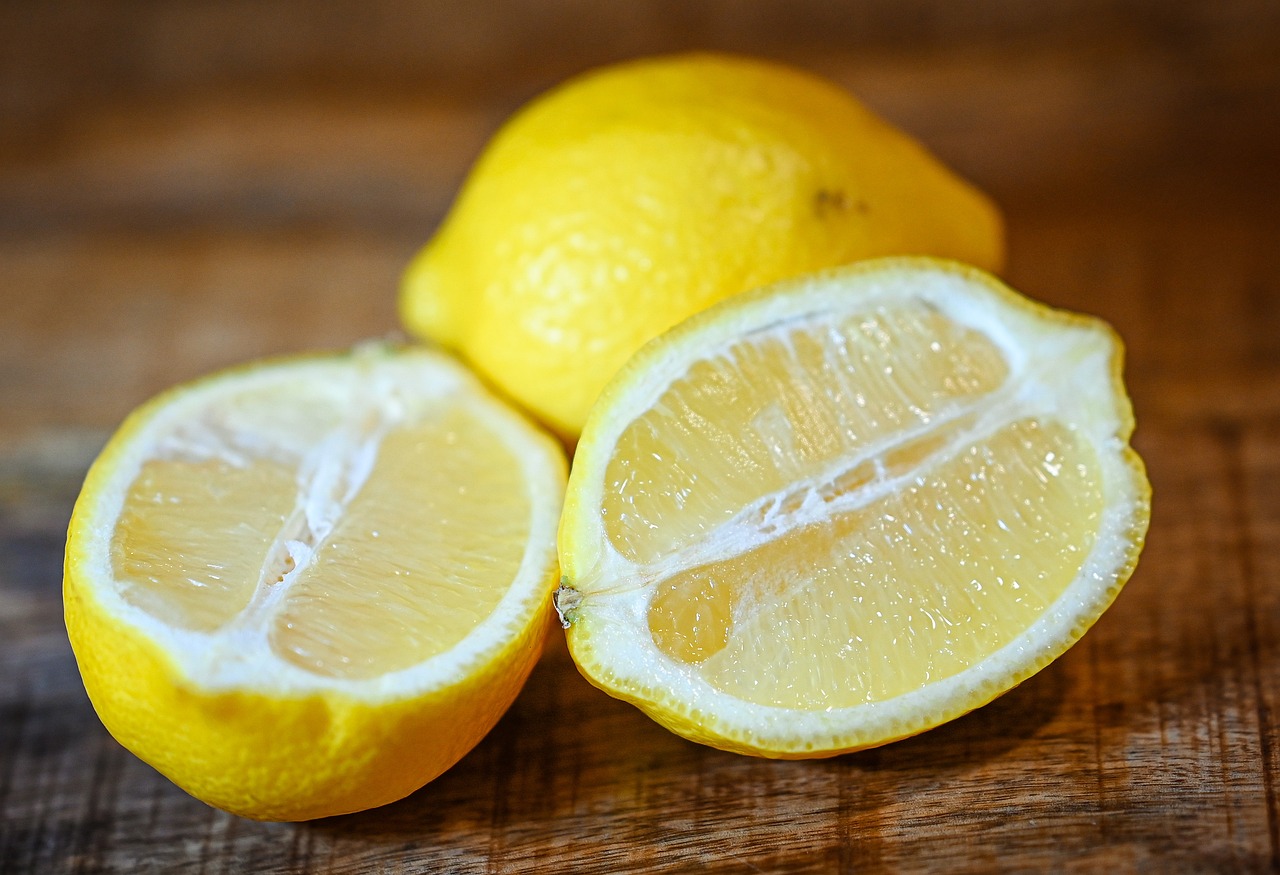
First and foremost, gather all the essential ingredients required for this recipe. Fresh lemons are the star of the show, providing that zesty kick, while flour, sugar, and butter form the foundation of the luscious lemon bars. Make sure your kitchen is stocked with these key components before you begin your baking journey.
Now, let's focus on crafting the perfect shortbread crust that will cradle the luscious lemon filling. Picture a buttery and crumbly base that melts in your mouth, complementing the sharpness of the lemon. Follow the instructions carefully to achieve a crust that is not just a base but a flavor-packed partner to the tangy lemon layer.
As we move on to preparing the lemon filling, get ready to unlock the secrets of achieving a smooth and zesty texture that defines a great lemon bar. Balancing the sweetness and tartness is crucial to creating a harmonious flavor profile that will tantalize your taste buds. It's all about finding that perfect equilibrium.
Once the lemon bars are in the oven, the anticipation builds as the aroma of freshly baked treats fills your kitchen. Follow the baking instructions diligently to ensure that your lemon bars emerge golden-brown and irresistible. Remember, patience is key, so allow the bars to cool adequately before slicing and serving for the best results.
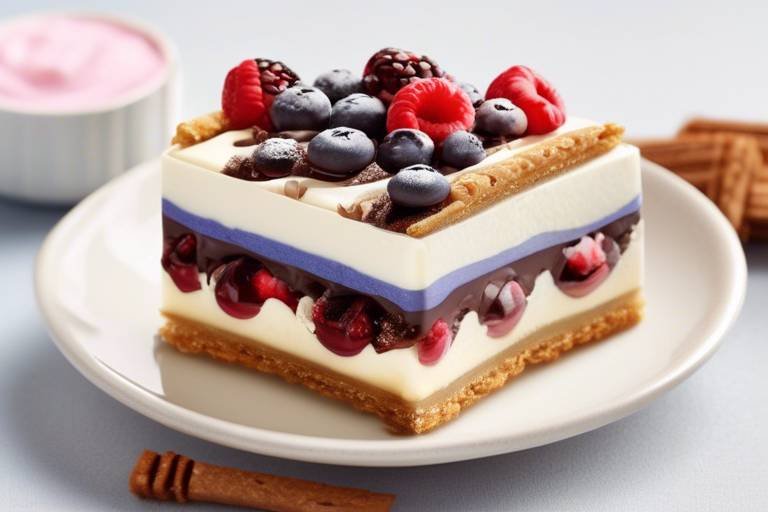
Now comes the moment of truth - cutting and serving your homemade lemon bars. Precision is key here; aim for perfect squares that showcase the layers of shortbread and lemon filling. Consider different serving suggestions and garnishes to elevate the presentation and make your dessert a feast for the eyes as well as the taste buds.
When it comes to storing any leftover lemon bars (if there are any), knowing the right techniques is essential to preserve their freshness and flavor. Discover the best practices for storing these delectable treats, including the ideal storage conditions and how long you can keep them without compromising on taste.
Feeling adventurous? Explore various variations and additions to customize your homemade lemon bars. Whether you want to experiment with a meringue topping for a touch of elegance or introduce other citrus flavors to the mix, let your creativity run wild and surprise your palate with new and exciting twists.
Lastly, in case you encounter any bumps along the way while making your lemon bars, fret not. Our troubleshooting tips are here to save the day. From tackling soggy crusts to adjusting overly tart fillings, we've got you covered with solutions to ensure that your baking endeavor ends on a high note.

Gathering Ingredients
When it comes to making delicious homemade lemon bars, the first step is gathering all the necessary ingredients. The key components for this recipe include fresh lemons, all-purpose flour, granulated sugar, and unsalted butter. These basic ingredients form the foundation of the tangy and sweet flavors that define a perfect lemon bar. Before you begin the baking process, double-check your kitchen to ensure you have everything you need at hand.
If you want to add a unique twist to your lemon bars, consider incorporating additional ingredients like lemon zest for extra citrusy flavor or a touch of vanilla extract to enhance the overall taste. While the core ingredients remain essential, these optional additions can elevate your lemon bars to a whole new level of deliciousness. Experimenting with different flavors and textures can result in a truly customized dessert experience that suits your preferences.
Creating a harmonious balance of flavors is crucial when gathering ingredients for homemade lemon bars. The acidity of fresh lemons should complement the sweetness of sugar, while the richness of butter adds a luxurious texture to the shortbread crust. Each ingredient plays a vital role in the overall taste and texture of the final product, so be sure to use high-quality ingredients for the best results. By paying attention to the details during the ingredient-gathering stage, you set the stage for a successful and mouthwatering baking adventure.
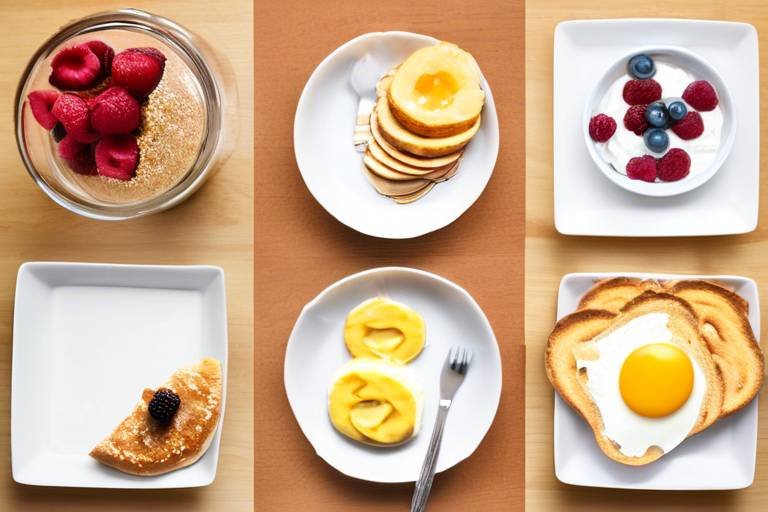
For those who prefer a more visual approach to cooking, consider organizing your ingredients in a neat and orderly manner before you begin. Lay out your lemons, flour, sugar, and butter on the countertop, creating a picturesque display that not only looks appealing but also helps you stay organized during the baking process. This visual arrangement can add an element of excitement and anticipation as you prepare to transform these simple ingredients into a delectable dessert that will impress your friends and family.

Making the Shortbread Crust
When it comes to creating the perfect homemade lemon bars, mastering the art of making the shortbread crust is essential. This buttery and crumbly base provides the ideal foundation for the tangy lemon filling, adding a delightful contrast in texture and flavor.
To make the shortbread crust, you will need a few key ingredients: flour, sugar, and butter. The key to achieving the perfect texture lies in the proper combination of these components. The flour adds structure, the sugar brings sweetness, and the butter provides richness and flavor.
Start by combining the flour and sugar in a mixing bowl, ensuring they are well blended. Then, gradually incorporate the butter into the mixture, using your hands or a pastry cutter to create a crumbly texture. The goal is to achieve a consistency that holds together when pressed but remains tender and light.
Once the shortbread crust mixture is ready, press it firmly into the bottom of a greased baking pan, creating an even layer. Use the back of a spoon or your fingers to smooth out the surface, ensuring a uniform thickness throughout. This step is crucial for ensuring that the crust bakes evenly and provides a sturdy base for the lemon filling.
Before baking the shortbread crust, it's recommended to chill it in the refrigerator for about 30 minutes. This helps firm up the butter in the dough, preventing it from spreading too much during baking and ensuring a crisp and flaky texture.
When it's time to bake the shortbread crust, preheat your oven to the specified temperature and place the pan in the center. Keep a close eye on the crust as it bakes, ensuring it turns a light golden brown color. This indicates that it's fully cooked and ready for the lemon filling.
Once the shortbread crust is baked to perfection, remove it from the oven and allow it to cool completely before adding the lemon filling. This cooling period is essential for setting the crust and preventing it from becoming soggy when topped with the zesty lemon mixture.
By following these steps and paying attention to the details, you can create a buttery and flavorful shortbread crust that complements the bright and citrusy lemon filling in your homemade lemon bars.
Preparing the Lemon Filling
When it comes to preparing the perfect lemon filling for your homemade lemon bars, attention to detail is key. The process begins with juicing fresh lemons to extract the vibrant citrus flavor that will be the star of your dessert. The zest of the lemons can also be incorporated for an extra burst of tanginess and aroma.
Once you have your lemon juice ready, it's time to combine it with sugar, eggs, and a touch of flour to create a smooth and velvety filling. The sugar helps balance the tartness of the lemons, while the eggs provide structure and richness to the mixture. Mixing these ingredients thoroughly is crucial to ensure a consistent texture in your lemon bars.
For those looking to elevate the flavor profile of their lemon bars, a dash of vanilla extract or a hint of lemon extract can add depth and complexity to the filling. Experimenting with different ratios of ingredients allows you to tailor the filling to your personal taste preferences, whether you prefer a more intense lemon flavor or a sweeter, milder taste.
When pouring the lemon filling over the pre-baked shortbread crust, make sure to spread it evenly to create a uniform layer that will bake to perfection. The filling should be just set when you remove the bars from the oven, with a slight jiggle in the center indicating that they are ready to be cooled and sliced.
Overall, preparing the lemon filling for your homemade lemon bars is a delightful process that allows you to infuse your dessert with the bright and refreshing essence of lemons. With a few simple ingredients and a bit of patience, you can create a treat that is sure to impress your guests and leave them craving more.

Baking and Cooling
When it comes to baking and cooling your homemade lemon bars, precision and patience are key. Once you have prepared the shortbread crust and the luscious lemon filling, it's time to pop them in the oven and let the magic happen. The baking process is crucial to achieving that perfect balance of textures and flavors in your lemon bars. As the bars bake, your kitchen will be filled with the tantalizing aroma of buttery crust and zesty lemon.
It's essential to follow the baking instructions carefully to ensure that your lemon bars come out golden brown and delicious. The exact baking time may vary depending on your oven, so keep an eye on them towards the end to prevent over-browning. Once the bars are baked to perfection, resist the temptation to cut into them immediately. Allow them to cool completely in the pan before attempting to slice them into neat squares.
Proper cooling is crucial as it allows the lemon filling to set and the flavors to meld together harmoniously. Rushing this step may result in a messy presentation and a less-than-ideal texture. So, exercise restraint and let your lemon bars cool at room temperature for the specified time. Once they have cooled sufficiently, you can proceed to the final step of cutting and serving these delectable treats.
Cutting and Serving
When it comes to cutting and serving your homemade lemon bars, precision is key to achieving that picture-perfect presentation. Start by ensuring that your bars have completely cooled down to avoid any crumbling or messy edges. Use a sharp knife to slice through the bars, creating clean and straight lines for a professional finish.
For a neat and uniform look, consider wiping the knife clean between each cut to prevent the lemon filling from sticking and smudging the edges. This simple step can make a big difference in the overall appearance of your lemon bars, giving them a polished and refined look that will impress your guests.
Once you have cut your lemon bars into individual squares, carefully transfer them to a serving platter using a spatula or a cake lifter. This will help maintain the shape of the bars and prevent any breakage during the serving process. Arrange the bars neatly on the platter, leaving some space between each piece for an elegant presentation.
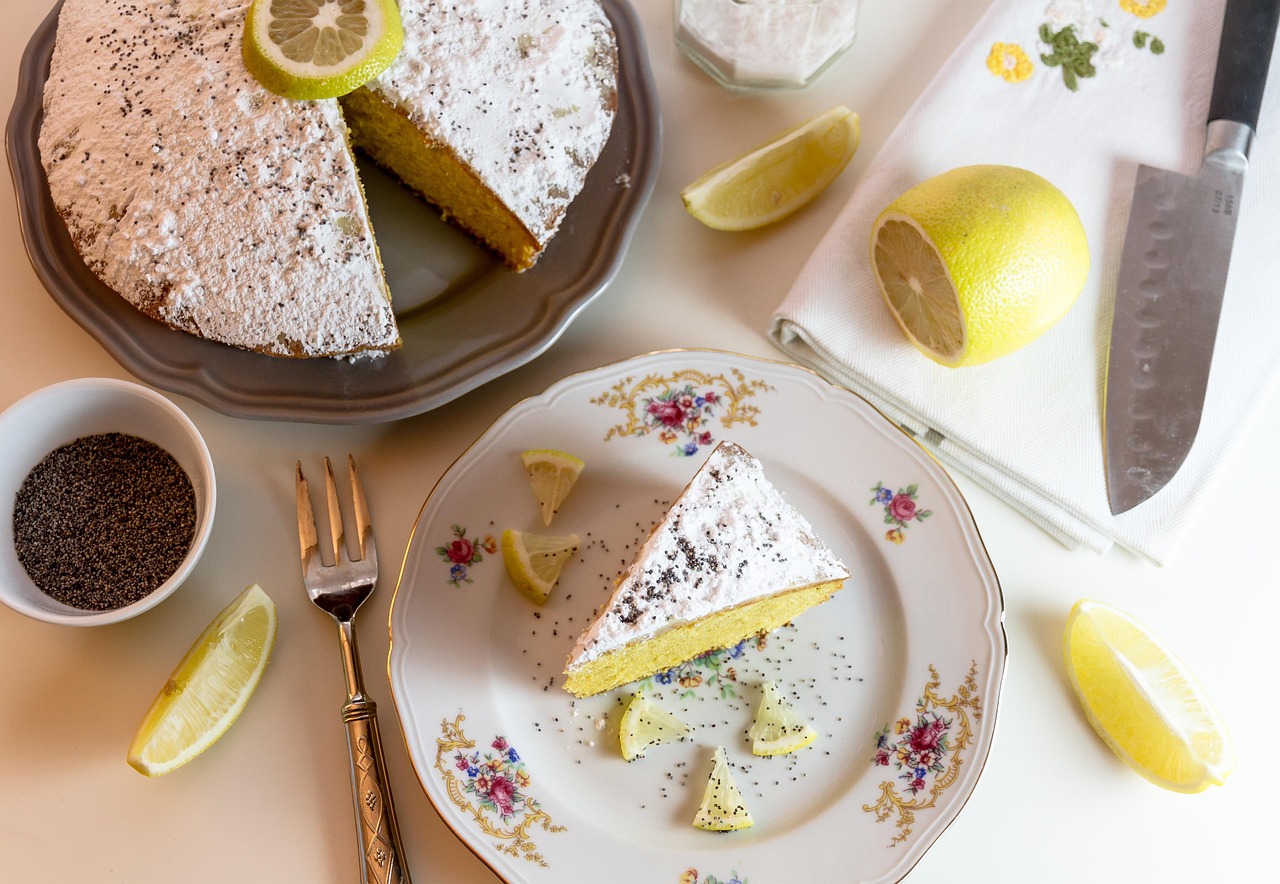
To elevate the serving experience, consider dusting the tops of your lemon bars with a sprinkle of powdered sugar for a touch of sweetness and a visually appealing finish. You can also garnish each bar with a thin slice of fresh lemon or a sprig of mint for a pop of color and added freshness.
When serving your homemade lemon bars, think about pairing them with a dollop of whipped cream or a scoop of vanilla ice cream for a delightful contrast of flavors and textures. The creamy accompaniment will complement the tangy lemon filling and buttery crust, creating a harmonious dessert that will leave your guests craving more.

Storing Leftovers
When it comes to storing leftover lemon bars, it's essential to follow a few key practices to ensure they maintain their freshness and flavor for as long as possible. After all, you want to be able to enjoy these delicious treats for days to come. One of the best ways to store leftover lemon bars is to keep them in an airtight container. This helps prevent them from drying out and absorbing any odors from the fridge.
Another important tip is to store the lemon bars in the refrigerator rather than at room temperature. The cool environment of the fridge helps preserve the texture and taste of the bars. If you prefer a slightly firmer texture, you can even chill the bars in the fridge before serving.
It's also a good idea to separate layers of lemon bars with parchment paper or wax paper to prevent them from sticking together. This way, you can easily grab a piece whenever you're craving a sweet and tangy treat without any hassle.
When storing lemon bars, be mindful of their shelf life. While they can last for several days in the refrigerator, it's best to consume them within a week for the best taste and quality. If you find yourself unable to finish them within that time frame, consider freezing the bars for longer storage.
By following these storage tips, you can enjoy your homemade lemon bars long after they come out of the oven. Whether you savor them slowly over the week or indulge in a quick snack, proper storage ensures that every bite is just as delightful as the first.

Variations and Additions
When it comes to homemade lemon bars, there are endless opportunities to get creative and add your own unique twist to this classic dessert. One popular variation is to incorporate different citrus flavors alongside the lemon to create a citrus medley of flavors. Consider adding a splash of orange juice or zest to the lemon filling for a refreshing and vibrant twist. The combination of multiple citrus fruits can elevate the overall taste profile of the lemon bars, adding complexity and depth to each bite.
For those looking to take their lemon bars to the next level, consider experimenting with various toppings and additions. A common addition is a fluffy meringue topping that adds a light and airy texture to the dessert. To achieve the perfect meringue, whip egg whites with sugar until stiff peaks form, then spread it over the lemon filling before baking. The result is a beautifully golden and slightly caramelized topping that complements the tangy lemon filling perfectly.
If you're a fan of texture contrast in your desserts, try sprinkling toasted coconut or chopped nuts on top of the lemon bars before baking. The added crunch and nuttiness provide a delightful contrast to the smooth and creamy lemon filling, creating a harmonious balance of flavors and textures in every bite.
For those with a sweet tooth, consider drizzling a simple glaze over the cooled lemon bars. A mixture of powdered sugar and lemon juice creates a sweet and tangy glaze that not only adds a pop of flavor but also enhances the visual appeal of the dessert. Drizzle the glaze in a zig-zag pattern over the bars for a professional finish that will impress both your taste buds and your guests.

Troubleshooting Tips
Encountering issues while making lemon bars is not uncommon, but with the right troubleshooting tips, you can overcome any challenges that may arise. One common problem that bakers face is a soggy crust, which can result from not baking the shortbread base long enough before adding the lemon filling. Ensure that the crust is golden brown and fully baked before pouring in the filling to avoid this issue.
If you find that your lemon bars have an overly tart filling, it may be due to using too much lemon juice or not enough sugar. Adjust the balance of sweetness and tartness by adding a bit more sugar to the filling mixture. Taste and adjust until you achieve the perfect harmony of flavors.
Another issue that can occur is cracking on the surface of the lemon bars after baking. This usually happens when the bars are overbaked or when there are drastic temperature changes during the cooling process. To prevent cracking, bake the bars just until set and allow them to cool gradually at room temperature before transferring to the refrigerator.
If you notice that your lemon bars are not setting properly and remain too runny even after baking, it could be a sign that the filling was not cooked long enough. Make sure to follow the recommended baking time and temperature for the best results. If the bars are still too soft, you can place them back in the oven for additional baking time, checking regularly to avoid overcooking.
Lastly, if you encounter issues with the texture of your lemon bars, such as a grainy or curdled filling, it may be due to overmixing the ingredients. Be gentle when combining the lemon filling to avoid incorporating too much air, which can result in a less smooth texture. Follow the recipe instructions carefully and mix just until everything is combined.
Frequently Asked Questions
- Can I use bottled lemon juice instead of fresh lemons for the lemon filling?
While fresh lemons are recommended for the best flavor, you can use bottled lemon juice as a substitute. Just make sure it is 100% pure lemon juice without any added sugar or preservatives.
- How long do homemade lemon bars last?
Properly stored in an airtight container in the refrigerator, homemade lemon bars can last up to 5 days. However, for the best taste and texture, it is recommended to consume them within 2-3 days.
- Can I freeze leftover lemon bars?
Yes, you can freeze leftover lemon bars for up to 3 months. Wrap them tightly in plastic wrap and then in aluminum foil before placing them in the freezer. Thaw them in the refrigerator before serving.
- How can I prevent my shortbread crust from becoming soggy?
To prevent a soggy crust, make sure to fully bake the crust before adding the lemon filling. You can also sprinkle a thin layer of flour or ground nuts on the crust before pouring the filling to create a barrier.
- What can I do if my lemon filling turns out too tart?
If your lemon filling is too tart, you can balance it out by adding a bit more sugar or mixing in a small amount of sweetened condensed milk. Taste and adjust until you reach the desired level of sweetness.