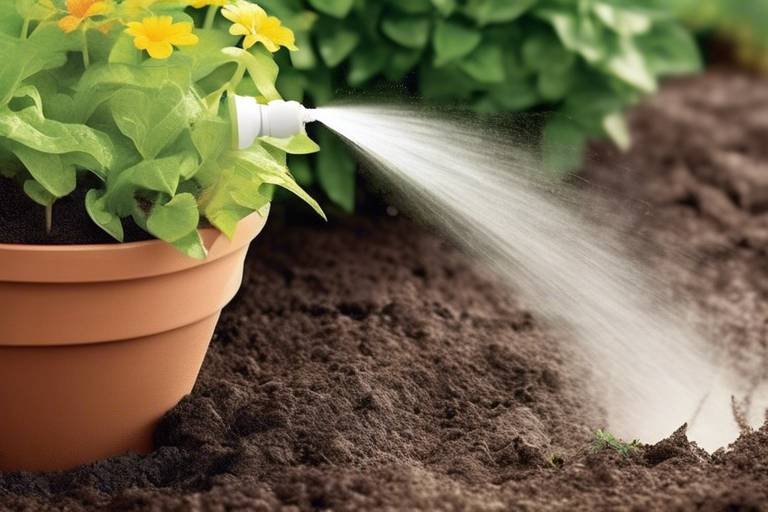
How to Build a DIY Garden Path with Gravel
Are you looking to add a touch of elegance and functionality to your outdoor space? Building a DIY garden path with gravel is a fantastic way to achieve just that. Not only is it a cost-effective landscaping solution, but it also allows for endless customization to suit your garden's unique style and layout.
When planning your garden path design, start by determining the location, length, and width of the path. Consider the overall aesthetic of your garden and choose a gravel type that complements it beautifully. Sketch out your design on paper and gather all the necessary tools and materials to bring your vision to life.
Before laying down the gravel, it's essential to prepare the path area properly. Clear away any vegetation and debris to create a clean slate. Mark the borders of the path using stakes and string for guidance. Excavate the soil to the desired depth to create a stable base for the gravel.
Installing edging along the path is crucial to define its borders and prevent the gravel from spreading. Choose from a variety of materials such as metal, plastic, or natural stone edging to suit your garden's style. This step not only adds a polished look but also helps maintain the path's integrity over time.
Once the edging is in place, it's time to lay the gravel base. Start by spreading a layer of landscaping fabric to suppress weed growth and ensure long-term durability. Pour and spread the gravel evenly across the path area, creating a solid foundation for your garden path.
To add a decorative touch, consider incorporating stepping stones, pavers, or plants along the path. Play around with different gravel colors and sizes to create unique patterns and visual interest. This is your opportunity to get creative and make your garden path truly one-of-a-kind.
After laying the gravel, compacting the path is crucial to ensure stability and longevity. Use a compactor to firmly pack the gravel base and create a smooth surface. Regularly rake and top up the gravel to maintain its level and address any drainage issues promptly to prevent water accumulation.
Enhancing safety and accessibility is key when designing a garden path. Install lighting along the path for visibility at night and ensure the path is wide enough for easy passage. Consider adding handrails if needed to make the path accessible to all visitors.
Personalizing your garden path is the final step in creating a welcoming outdoor space. Add personal touches such as garden ornaments, seating areas, or planters along the path to reflect your style and create a warm atmosphere. Let your creativity shine through and make your garden path a true reflection of your personality.
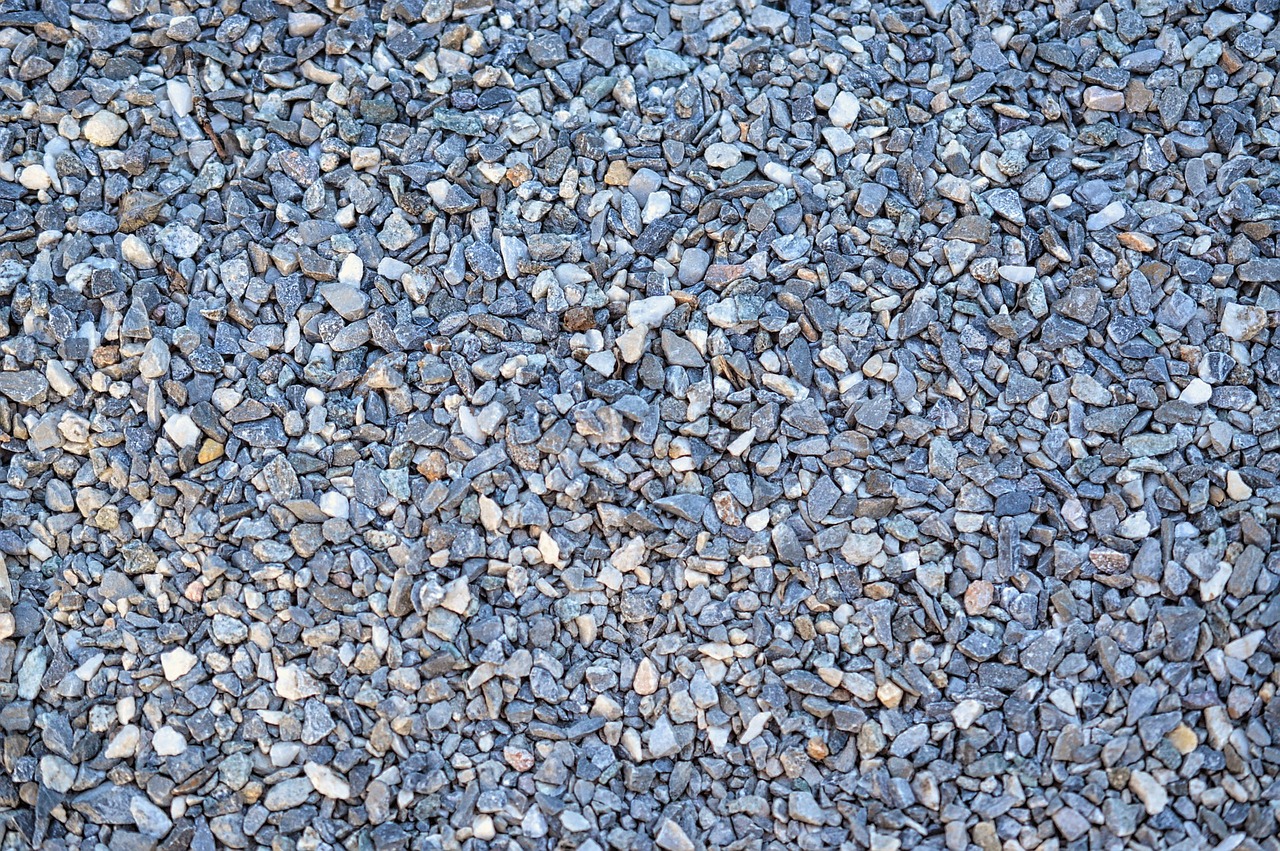
Planning Your Garden Path Design
When embarking on the journey of creating a beautiful garden path with gravel, the first step is crucial - planning. Picture your outdoor space transformed by a meandering path, adding both functionality and charm. But how do you begin? It all starts with envisioning the path's design and purpose. Consider the location where you want the path to lead, whether it's a direct route or a winding trail through your garden oasis.
Next, think about the length and width of the path. Will it be a short, straight path from your patio to a seating area, or a longer path that guides visitors through your garden beds? The dimensions will impact the overall look and feel of your outdoor space. Once you have a clear idea of the path's layout, it's time to select the gravel type. Choose a color and size that harmonizes with your garden's existing elements, such as plants, hardscaping, and outdoor furniture.
Grab a pen and paper to sketch out your design, marking where the path will flow and any curves or turns it may take. This visual representation will help you solidify your vision and serve as a guide during the installation process. With the design in hand, gather the necessary tools and materials. From shovels and rakes to gravel and edging materials, having everything ready will streamline the construction of your DIY garden path.

Preparing the Path Area
When it comes to preparing the path area for your DIY garden path with gravel, thorough planning and proper execution are essential for a successful outcome. Before you start laying down gravel, it's crucial to ensure that the path area is well-prepared to provide a stable foundation and long-lasting durability.
The first step in preparing the path area is to clear it of any existing vegetation, rocks, or debris. This process allows you to create a clean and level surface for the gravel to be laid upon. By removing obstacles, you can prevent unevenness and ensure a smooth path that is visually appealing.
Once the path area is cleared, the next step is to mark the borders of the path using stakes and string. This step helps define the path's shape and size, allowing you to visualize the final design before proceeding further. Properly marking the borders ensures that the gravel stays within the designated path area, preventing it from spilling over into surrounding areas.
After marking the borders, it's time to excavate the soil to the desired depth for the gravel base. The depth of the excavation will depend on the type of gravel you are using and the overall design of your garden path. A deeper excavation allows for a thicker layer of gravel, providing better stability and support for foot traffic.
Consider incorporating landscaping fabric into the excavation process to help suppress weed growth and maintain the integrity of the path area. This fabric acts as a barrier between the soil and gravel, preventing weeds from sprouting up and disrupting the path's appearance. Additionally, it helps with drainage and overall maintenance of the path.
Properly preparing the path area sets the foundation for a well-constructed and visually appealing garden path. Taking the time to clear, mark, excavate, and protect the path area ensures that your DIY project will stand the test of time and enhance the beauty of your outdoor space.
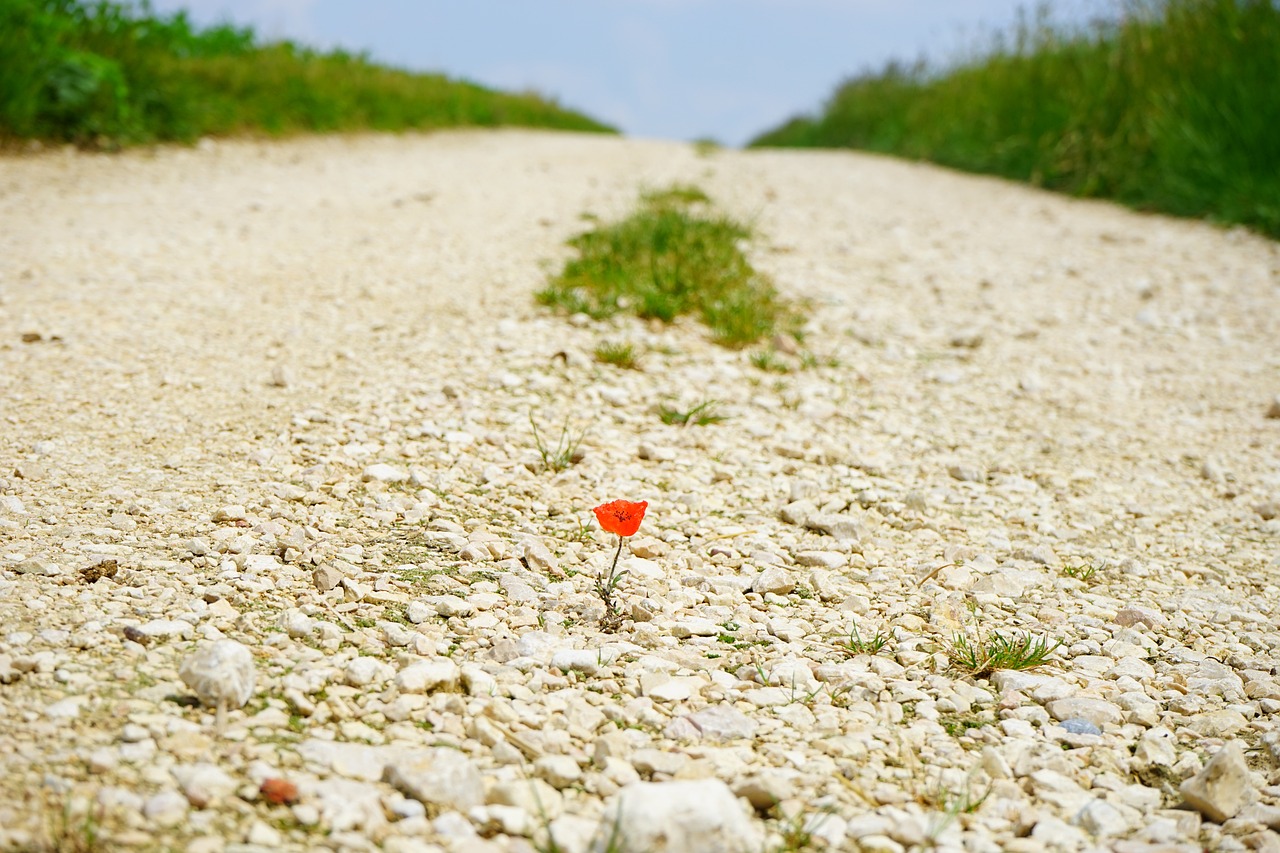
Installing Edging for the Path
When it comes to creating a garden path with gravel, installing edging is a crucial step in defining the borders of the path and preventing the gravel from spreading beyond its intended area. Edging not only enhances the visual appeal of the path but also helps maintain its structure and functionality over time.
There are various options available for edging materials, including metal, plastic, or natural stone edging. Each material offers different aesthetic qualities and levels of durability, so it's essential to choose one that aligns with your garden's overall design and maintenance needs.
Metal edging provides a sleek and modern look, perfect for contemporary garden designs. It offers excellent durability and can withstand the elements well. Plastic edging, on the other hand, is more budget-friendly and easy to install, making it a popular choice for DIY garden projects.
Natural stone edging adds a rustic and natural touch to the garden path, blending seamlessly with the outdoor environment. While it may require more effort to install, the timeless beauty of stone edging can significantly enhance the overall aesthetic of your garden space.
Before installing the chosen edging material, ensure that the path area is properly prepared, with the borders clearly marked and the gravel base leveled. Secure the edging along the path's edges, making sure it is firmly anchored in place to prevent shifting or displacement over time.
Properly installed edging not only adds a finishing touch to your DIY garden path but also serves a functional purpose in maintaining the integrity of the design and ensuring long-term durability. Choose edging materials that complement your garden's style and enhance the overall appeal of your outdoor space.
Laying the Gravel Base
When it comes to creating a sturdy foundation for your DIY garden path, laying the gravel base is a crucial step in the process. The gravel base serves as the support system for the path, providing stability and durability over time. By following the correct techniques, you can ensure that your garden path remains intact and visually appealing.
Before laying the gravel base, it is essential to prepare the path area properly. Clearing the path of any vegetation and debris is the first step to create a clean surface for the gravel. This ensures that the base layer adheres well and prevents any unwanted growth or unevenness in the path.
Once the path area is clear, spreading and leveling a layer of landscaping fabric is recommended to suppress weed growth. This fabric acts as a barrier, preventing weeds from penetrating through the gravel and disrupting the path's integrity. Additionally, it helps maintain a neat and tidy appearance for your garden path.
Next, pour and spread a base layer of gravel evenly across the path area. The gravel acts as the main component of the base, providing a solid foundation for the path. It is important to spread the gravel evenly to ensure a level surface and proper drainage for the path.
When choosing the gravel type, consider factors such as size, shape, and color to complement your garden's aesthetic. You can opt for a single type of gravel or mix different colors and sizes to create a unique and visually appealing design. Experimenting with different combinations can add depth and texture to your garden path.
After laying the gravel base, compacting the gravel is essential to ensure stability and prevent shifting over time. Using a compactor, firmly pack the gravel base to create a solid surface that can withstand foot traffic and weather conditions. Regular maintenance, such as raking and topping up the gravel, will help keep the path smooth and level for years to come.

Adding Decorative Touches
When it comes to creating a captivating garden path with gravel, adding decorative touches can truly elevate the overall aesthetic of your outdoor space. One way to enhance the visual appeal is by incorporating stepping stones strategically along the path. These can not only provide a functional purpose but also add an element of charm and whimsy to the design. Additionally, consider integrating pavers into the gravel path to create interesting patterns or focal points that draw the eye.
Another way to infuse personality into your garden path is by introducing plants or flowers alongside the gravel. This botanical addition can bring a pop of color and texture, creating a harmonious blend between the natural elements of your garden and the gravel pathway. Selecting plants that thrive in your local climate and require minimal maintenance can ensure long-lasting beauty along your path.
To further customize your gravel garden path, experiment with different gravel colors or sizes to create a unique and eye-catching look. Mixing various gravel types can add depth and dimension to the pathway, making it a visually engaging feature in your outdoor landscape. Whether you opt for a cohesive color scheme or a playful mix of hues, the choice of gravel can significantly impact the overall design aesthetic.

Compact and Maintain the Path
After laying down the gravel base for your garden path, the next crucial step is to compact and maintain it properly. This ensures the longevity and stability of your pathway, keeping it looking pristine for years to come. Using a compactor, you can firmly pack the gravel base, creating a solid surface that can withstand foot traffic and weather conditions. Compact the gravel evenly to avoid uneven surfaces that can lead to tripping hazards.
Regular maintenance is key to preserving the appearance and functionality of your garden path. By regularly raking the gravel and topping it up as needed, you can keep the surface smooth and level. This not only enhances the path's aesthetics but also prevents the gravel from shifting and creating uneven areas. Additionally, addressing any drainage issues promptly can prevent water buildup, which can damage the path over time.
One effective way to maintain your garden path is to establish a routine schedule for upkeep. Whether it's weekly raking or monthly top-ups, consistent maintenance efforts can prevent the need for extensive repairs down the line. By dedicating a small amount of time regularly, you can ensure that your gravel path remains a beautiful and functional feature in your outdoor space.
Enhancing Safety and Accessibility
Enhancing Safety and Accessibility in your garden path is crucial to ensure a pleasant and secure outdoor experience for yourself and your visitors. By incorporating thoughtful design elements and practical features, you can create a path that is both visually appealing and functional.
One key aspect of safety is proper lighting along the path. Installing lights can not only enhance the beauty of your garden at night but also provide visibility and guidance for those walking along the path. Consider solar-powered lights for an eco-friendly and cost-effective solution.
Accessibility is another important consideration when designing your garden path. Ensure that the path is wide enough to accommodate easy passage, especially for individuals with mobility challenges or those using assistive devices. Adding handrails along the path can provide extra support and stability where needed.
When it comes to materials, opt for non-slip surfaces to prevent accidents, especially in wet or slippery conditions. Choose gravel sizes that are comfortable to walk on and won't shift underfoot. Additionally, regular maintenance such as sweeping and leveling the gravel can help keep the path safe and accessible over time.
Thinking about the user experience is essential in enhancing safety and accessibility. Consider the needs of all potential users, including children, elderly individuals, and individuals with disabilities. By designing a path that is welcoming and easy to navigate, you create a space that can be enjoyed by everyone.

Personalizing Your Garden Path
When it comes to personalizing your garden path, the possibilities are endless. Adding unique touches along the path can truly make it your own and enhance the overall aesthetic of your outdoor space. One way to personalize your garden path is by incorporating garden ornaments. These can range from whimsical statues to elegant sculptures, adding a touch of personality and charm to the path.
Another way to personalize your garden path is by creating small seating areas along the way. Placing a bench or a couple of chairs in strategic spots allows you to sit and enjoy the beauty of your garden while taking a leisurely stroll. It provides a cozy retreat within your outdoor oasis.
Planters are also a fantastic way to personalize your garden path. By adding colorful flowers, lush greenery, or even herbs in planters placed strategically along the path, you can create a vibrant and inviting atmosphere. These planters not only add visual interest but also bring a touch of nature closer to you as you walk.
Consider incorporating small signs or plaques with inspirational quotes or personalized messages. These can add a sense of whimsy or provide a personal touch that resonates with you and your visitors. These small details can make a big impact on the overall ambiance of your garden path.
Frequently Asked Questions
- What type of gravel is best for a garden path?
Choosing the right gravel for your garden path depends on your desired aesthetic and practical needs. Common options include pea gravel, crushed stone, and river rock. Pea gravel is ideal for a softer, more natural look, while crushed stone provides a more stable surface. River rock offers a decorative touch but may be less practical for high-traffic areas.
- Do I need to use landscaping fabric under the gravel?
Using landscaping fabric under the gravel base can help suppress weed growth and maintain the path's stability over time. It also aids in drainage and prevents the gravel from mixing with the soil below. While optional, landscaping fabric can prolong the life and appearance of your garden path.
- How do I prevent the gravel from spreading outside the path?
Installing edging along the borders of the path is essential to prevent the gravel from spreading. Options such as metal, plastic, or natural stone edging can create a barrier that keeps the gravel contained. Properly securing the edging in place during installation will help maintain the path's shape and prevent displacement.


