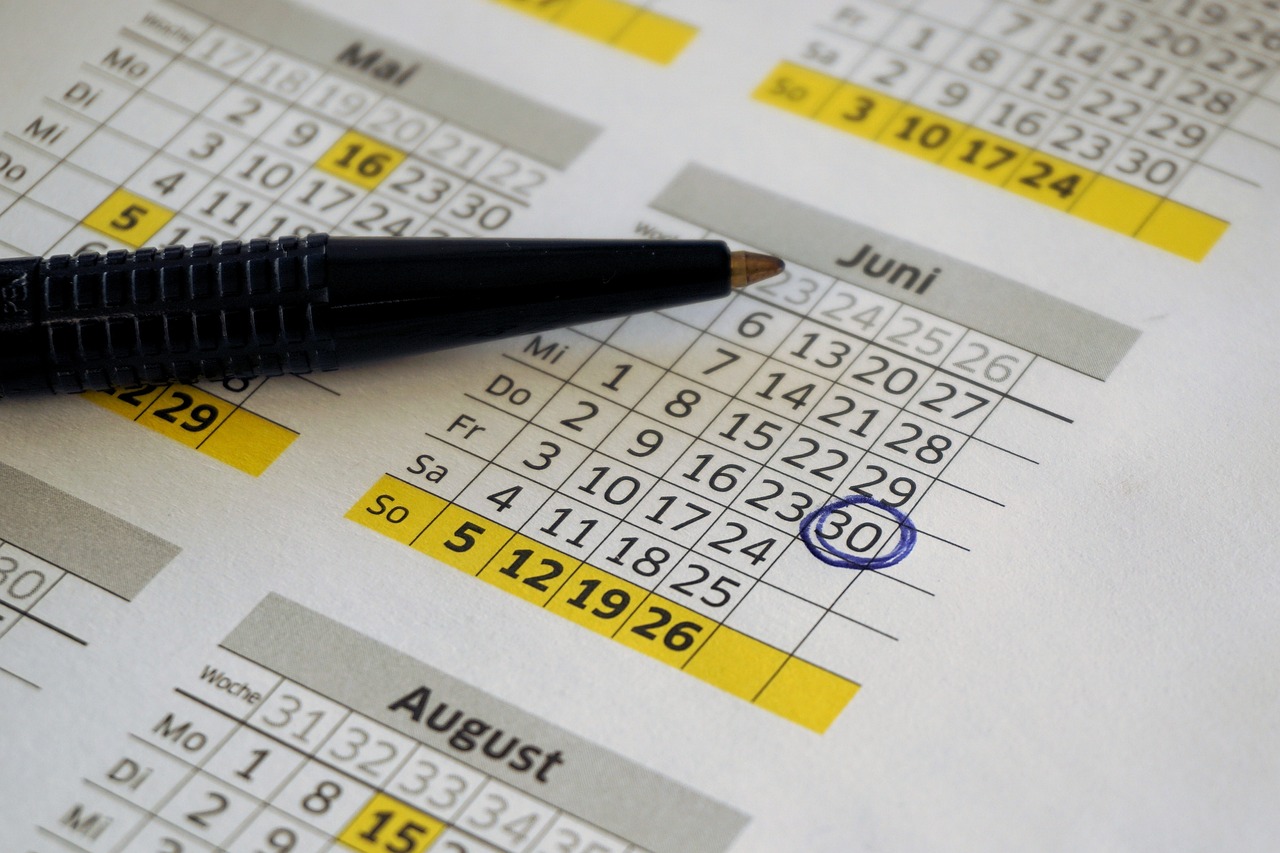
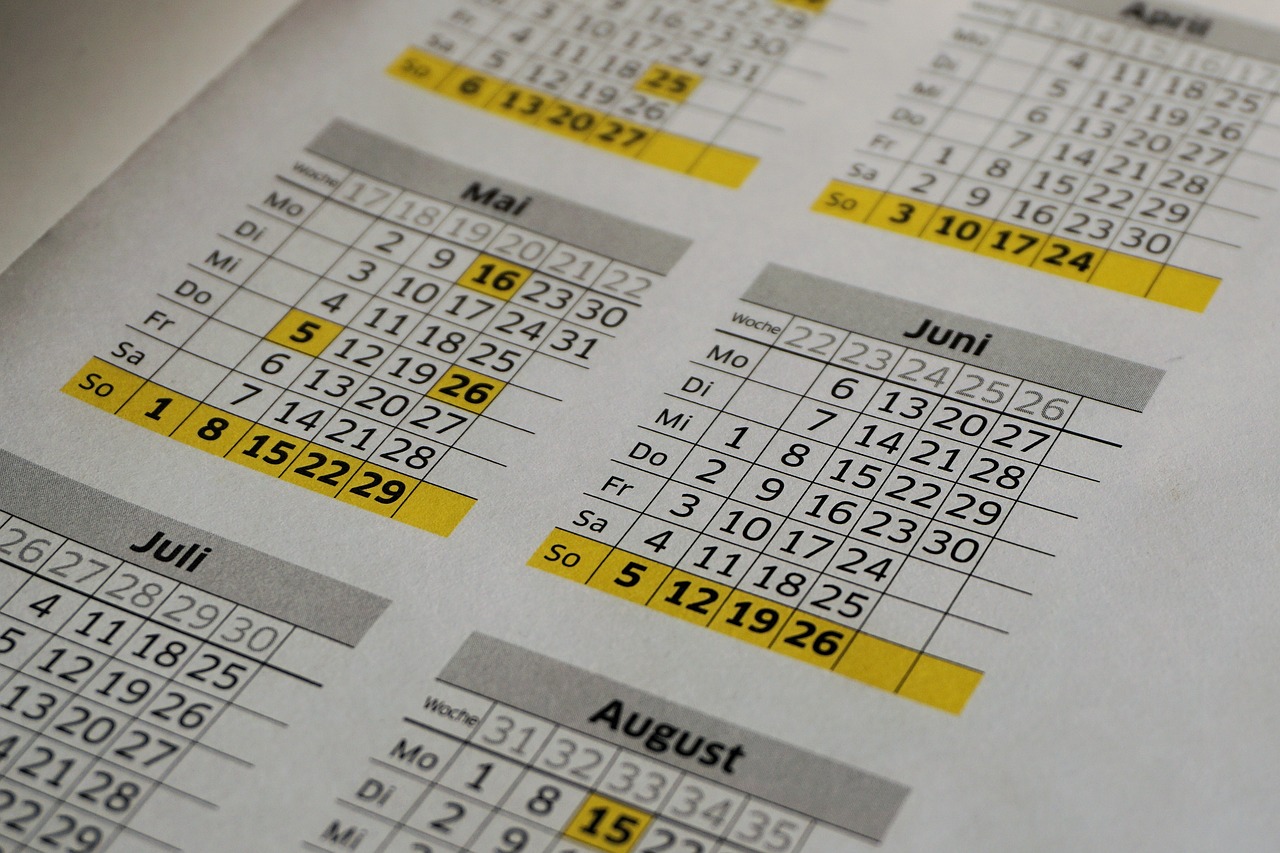
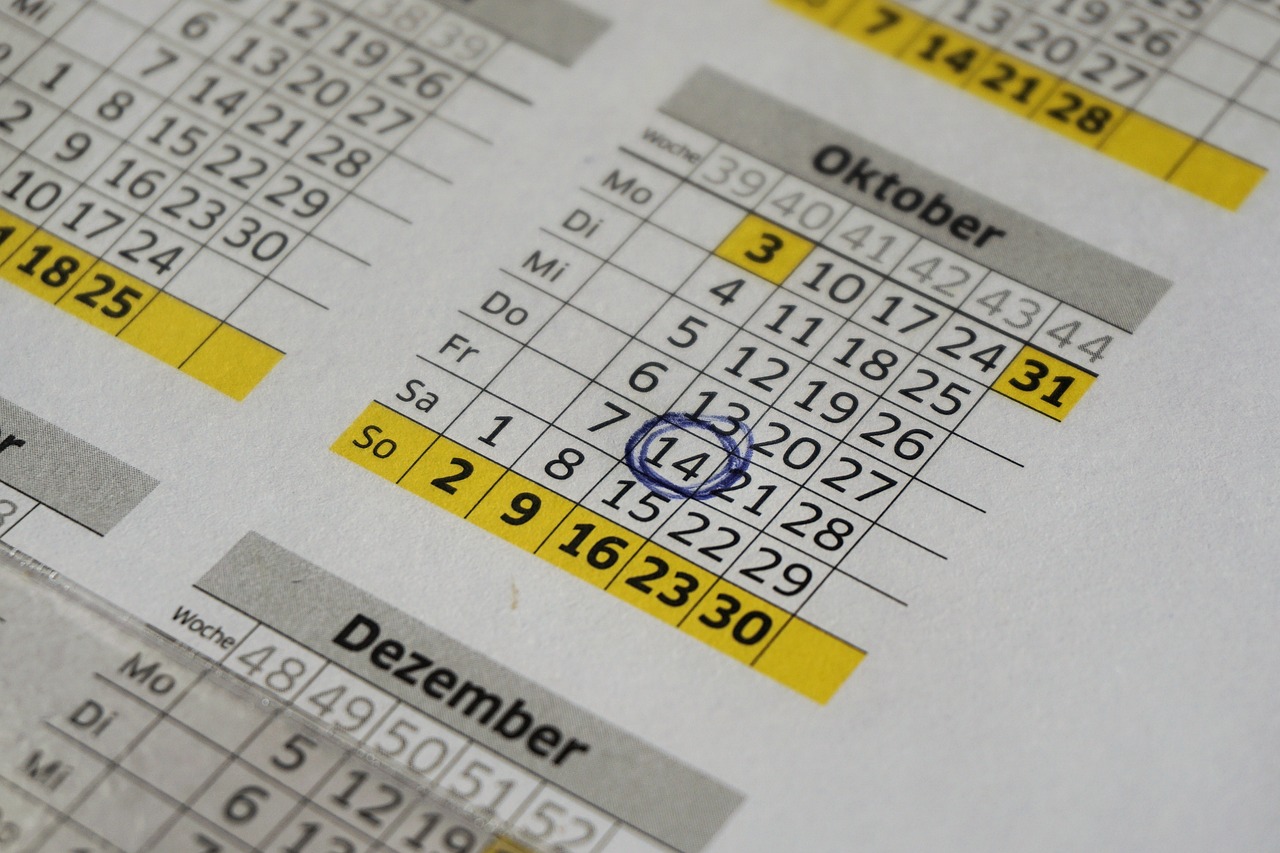
How to Create a DIY Calendar for Your Wall
Are you ready to add a personal touch to your space with a unique DIY calendar hanging on your wall? Creating your own calendar can be a fun and rewarding project that allows you to showcase your creativity while staying organized. Let's dive into the exciting world of DIY calendars and explore how you can design and make one that truly reflects your style and personality.
Gathering Supplies
In this article, we will explore creative ways to design and make a do-it-yourself calendar to hang on your wall, adding a personalized touch to your space.
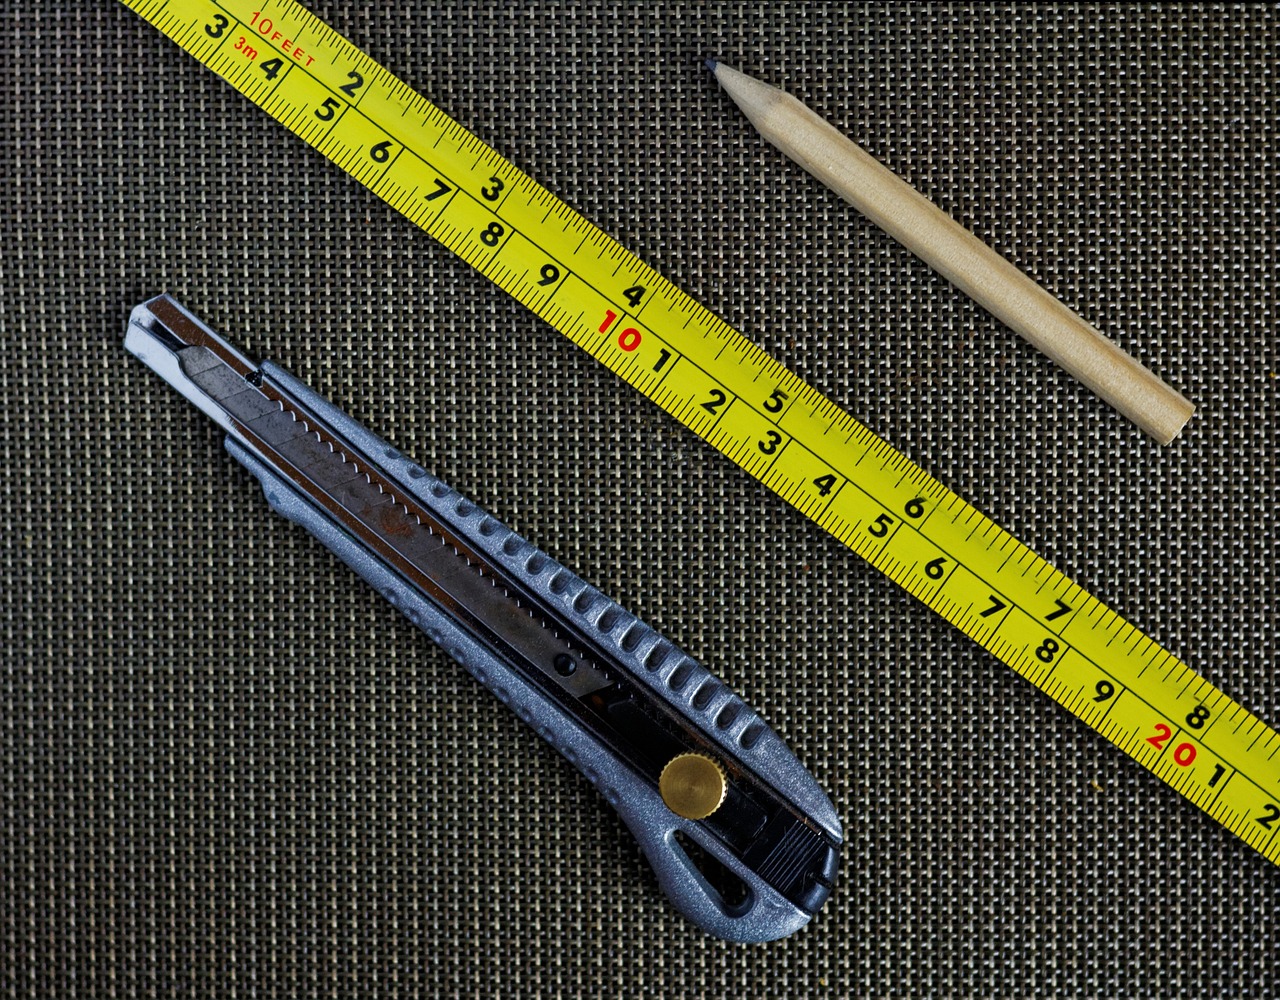
When embarking on your DIY calendar project, the first step is gathering the necessary supplies. You will need basic materials such as high-quality paper that can withstand daily use, vibrant markers to add color, playful stickers for a fun touch, and any other decorative elements that speak to your creative vision. Think of these supplies as your artistic ammunition, ready to bring your calendar to life with a burst of creativity.
Choosing a Layout
In this article, we will explore creative ways to design and make a do-it-yourself calendar to hang on your wall, adding a personalized touch to your space.
When it comes to choosing a layout for your DIY calendar, the possibilities are endless. You can opt for a traditional grid format, providing a classic and organized look. Alternatively, a minimalist design offers a sleek and modern aesthetic, perfect for those who prefer simplicity. For the more adventurous, consider an artistic and unique arrangement that showcases your creativity in every month.
If you're someone who loves variety, why not mix and match different layouts for each month? This approach can add an element of surprise and excitement every time you flip the page, keeping your calendar visually engaging throughout the year.
Another idea is to create a theme-based layout, where each month follows a particular theme or color scheme. This can give your calendar a cohesive and harmonious look, tying all the months together like pieces of a puzzle.
Remember, the layout you choose should reflect your personality and style, so don't be afraid to experiment and have fun with it!
Adding Personalization
When it comes to adding personalization to your DIY calendar, the possibilities are endless. You can infuse your calendar with elements that truly reflect your personality and style, making it a unique and meaningful addition to your space. One way to personalize your calendar is by including special dates that hold significance for you. Whether it's birthdays, anniversaries, or other important events, marking these dates on your calendar can add a personal touch and serve as gentle reminders throughout the year.
Another way to add a personal flair to your calendar is by incorporating inspirational quotes or meaningful phrases. These can provide daily motivation and positivity as you glance at your calendar each day. Additionally, you can include photos or illustrations that resonate with you, whether they are images of loved ones, places you cherish, or simply artwork that brings you joy. These visual elements can enhance the overall aesthetic of your calendar and make it truly one-of-a-kind.
Consider incorporating elements that reflect your hobbies and interests. If you're a nature lover, you could feature botanical illustrations or scenic landscapes for each month. For those passionate about art, integrating artistic designs and color schemes can make your calendar a work of art in itself. By infusing your calendar with elements that speak to your passions, you can create a personalized masterpiece that brightens your space and inspires you throughout the year.
To take personalization a step further, you may also consider adding customizable sections to your calendar. This could include space for daily reflections, goal-setting, or even a creative corner for doodling or sketching. By tailoring your calendar to suit your needs and preferences, you transform it from a simple timekeeping tool into a reflection of your individuality and creativity.
Designing Each Month
Designing each month of your DIY calendar is where your creativity can truly shine. Imagine each page as a blank canvas waiting to be transformed into a unique piece of art that captures the essence of that particular month. Whether you prefer vibrant colors, intricate illustrations, or elegant simplicity, the design possibilities are endless.
You can start by brainstorming themes for each month that resonate with the season or any special events that occur during that time. For example, a snowy landscape for January, blooming flowers for May, or spooky motifs for October can set the tone for the entire month. Consider creating a color scheme that flows harmoniously from one month to the next, creating a cohesive look for your calendar.
Experiment with different fonts and typography styles to highlight the month's name and dates. Bold, playful fonts can add a touch of whimsy, while elegant cursive can bring a sense of sophistication to your design. Don't forget to leave enough space for the actual calendar grid, ensuring that it remains clear and easy to read.
If you enjoy drawing or painting, this is the perfect opportunity to showcase your artistic skills. Create custom illustrations or patterns that complement the overall theme of each month. You can also incorporate inspirational quotes, fun facts, or personal anecdotes to add a meaningful touch to your calendar.
Consider using a table to organize your design ideas for each month, listing the color palette, motifs, fonts, and any special elements you want to include. This can serve as a visual guide as you bring your creative vision to life on paper.
Assembling the Calendar
Assembling the calendar is where all your hard work and creativity come together to form a beautiful and functional piece of art for your wall. Once you have designed each month and personalized your calendar, it's time to put it all together seamlessly.
First, gather all the pages you have created for each month, ensuring they are in the correct order. Lay them out on a flat surface to see how they flow together and make any necessary adjustments to the arrangement.
Next, consider how you want to bind your calendar. You can use a hole punch and binder rings for a simple and adjustable option, or opt for a spiral binding for a more professional look. Choose a method that suits your style and the overall aesthetic of your calendar.
If you prefer a more rustic or handmade feel, consider using twine or ribbon to bind the pages together. This adds a charming touch and allows for easy hanging on a hook or nail on your wall.
Once your pages are bound together, it's time to add a hanger. You can attach a hook to the back of your calendar for easy hanging, or get creative with a decorative string or wire for a unique display.
Finally, ensure that your calendar is durable and long-lasting by laminating the pages or using a protective spray to prevent damage from daily handling. This will keep your DIY calendar looking fresh and vibrant throughout the year.
Incorporating Functional Elements
When creating your DIY calendar, it's essential to not only focus on the visual appeal but also on the functionality it offers. Incorporating functional elements into your calendar can elevate its usability and make it more than just a decorative piece on your wall.
One way to enhance the functionality of your DIY calendar is by including dedicated space for notes, reminders, or to-do lists. This allows you to jot down important tasks, appointments, or events directly on the calendar, keeping everything organized and easily accessible.
Consider adding a section for weekly goals or priorities, where you can outline your objectives for the week ahead. This not only helps you stay on track but also serves as a motivational tool to keep you focused and productive.
If you have a busy schedule, incorporating a color-coded system for different types of activities can be incredibly useful. Assigning specific colors to work-related tasks, personal events, or leisure activities can provide a quick visual reference to help you manage your time effectively.
Another functional element to consider is including a section for meal planning or fitness tracking. By integrating these aspects into your calendar, you can streamline your daily routine, stay on top of your health goals, and ensure a balanced lifestyle.
Moreover, don't forget to leave space for inspirational quotes, affirmations, or motivational messages. These small additions can uplift your spirits, boost your mood, and provide a daily dose of positivity as you navigate through each month.
By incorporating these functional elements into your DIY calendar, you can transform it into a practical tool that not only helps you stay organized but also inspires and motivates you every day.
Displaying Your Creation
Once you have completed your DIY calendar masterpiece, the next step is to decide how you want to display it in your space. The way you choose to showcase your creation can significantly impact the overall aesthetic of the room. One popular method is to use clips to hang the calendar on a blank wall, allowing for easy flipping of pages and a casual, laid-back look.
If you prefer a more polished and refined display, consider placing your calendar in a frame. This not only adds a touch of elegance but also protects the pages from wear and tear. You can choose a frame that complements your decor style, whether it's sleek and modern or rustic and vintage.
For those who enjoy creating a visual focal point in their living space, why not incorporate your DIY calendar into a gallery wall? Mix and match with other artwork, photographs, or decorative elements to create a cohesive and eye-catching display. This allows your calendar to be part of a larger artistic arrangement, adding depth and interest to the room.
Experiment with different display options to see what works best for your space and personal style. Whether you opt for a simple clip-on method, a framed presentation, or part of a gallery wall, the key is to showcase your creation in a way that enhances the overall look of the room and brings attention to your creative endeavor.
Updating and Reusing
Updating and reusing your DIY calendar is a fantastic way to keep it fresh and relevant year after year. By incorporating some simple yet effective strategies, you can transform your calendar into a versatile and sustainable piece of decor that will continue to bring joy and functionality to your space.
One approach to updating your calendar is to use removable elements that allow for easy customization. Consider using dry-erase markers on a laminated surface or sticky notes that can be moved around as needed. This way, you can update important dates, events, or tasks without having to recreate the entire calendar each time.
Another creative way to refresh your calendar is by changing the color scheme or theme for each new year. Whether you prefer a bright and vibrant look for one year or a more subdued and elegant style for the next, experimenting with different designs can add a fun and dynamic element to your calendar.
When it comes to reusing your DIY calendar, think about how you can repurpose it in innovative ways. For example, you could transform old calendar pages into gift wrap or origami projects, giving them a new life beyond their original purpose.
To ensure that your calendar remains in good condition for future use, store it in a protective sleeve or folder during the off-season. This will help prevent damage from dust, sunlight, or other environmental factors, prolonging the lifespan of your creative creation.
Remember, updating and reusing your DIY calendar is not only a practical way to stay organized and inspired but also a sustainable choice that reduces waste and promotes creativity. By infusing your calendar with new ideas and personal touches each year, you can turn a simple project into a cherished tradition that evolves with you over time.
Frequently Asked Questions
- Can I use any type of paper for my DIY calendar?
Yes, you can use a variety of paper types for your DIY calendar, including cardstock, scrapbook paper, or even plain printer paper. The key is to choose a paper that suits your design aesthetic and is sturdy enough to hold up throughout the year.
- Do I need to be artistically inclined to create a personalized calendar?
No artistic skills are required to create a personalized calendar. You can use simple techniques like stencils, stickers, or printed images to add flair to your design. The goal is to make it unique to you, so feel free to get creative in your own way!
- How can I ensure my calendar is durable enough for daily use?
To ensure your DIY calendar lasts, consider laminating the pages or using a clear protective cover. You can also reinforce the binding with tape or hole reinforcements. By taking these extra steps, your calendar will withstand daily use and remain in good condition.