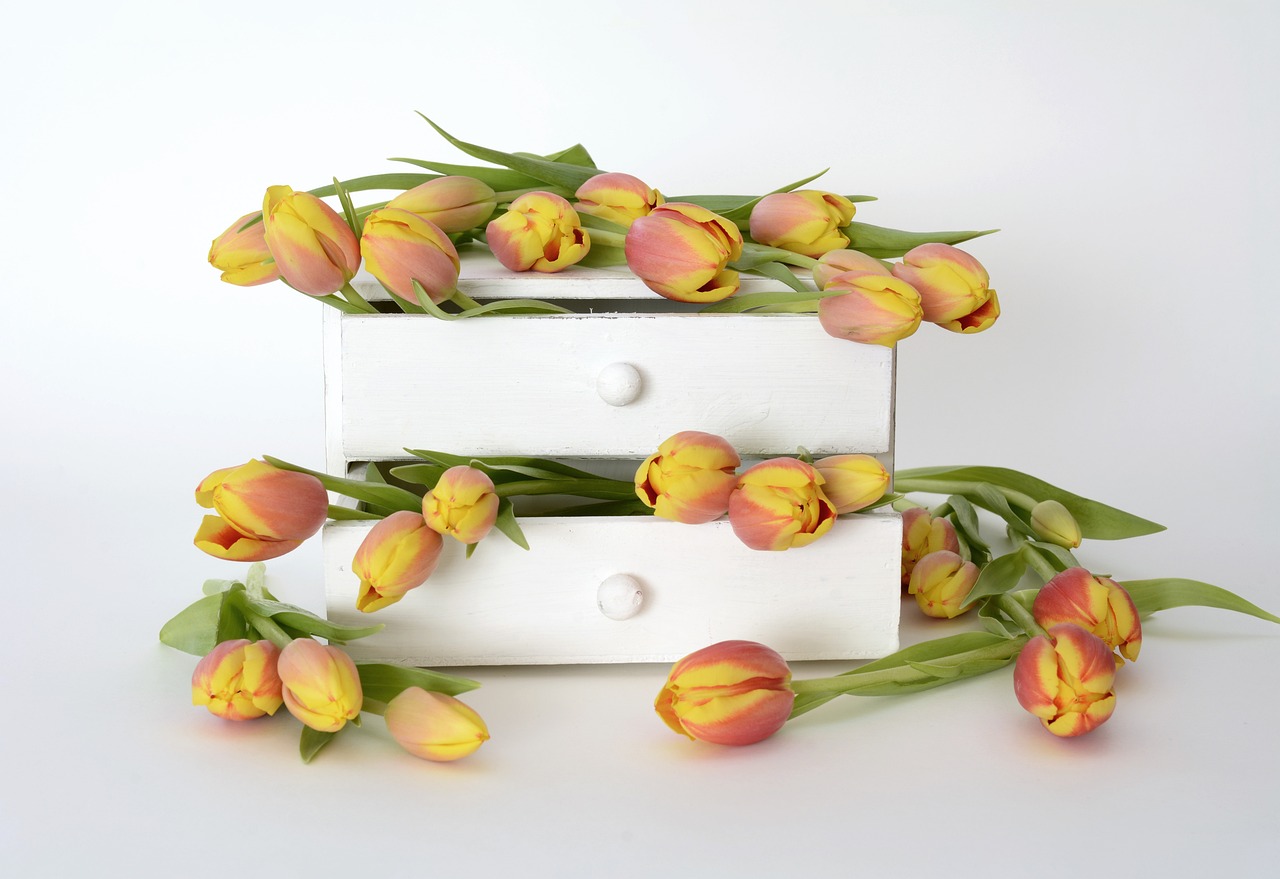
How to Make Your Own DIY Drawer Organizers
This article will guide you through the process of creating your own DIY drawer organizers to declutter and beautify your living space. By following these step-by-step instructions, you can transform ordinary drawers into efficient storage solutions that reflect your personal style and organizational needs.
Imagine the satisfaction of opening a drawer and finding everything neatly arranged in custom-made compartments, designed specifically for your belongings. With a few simple materials and a touch of creativity, you can achieve a sense of order and harmony in your home that will leave you feeling both accomplished and inspired.
Embark on this creative journey by gathering essential materials such as sturdy cardboard, colorful fabric, reliable glue, sharp scissors, and a measuring tape. These basic supplies will serve as the building blocks for your DIY drawer organizers, allowing you to customize each piece to fit seamlessly into your existing furniture.
Before diving into the hands-on work, take some time to plan the layout and design of your organizers. Consider the items you intend to store in each drawer and visualize how you can best utilize the available space. By mapping out your design in advance, you can ensure a cohesive look and functional organization that meets your unique requirements.
Accurate measurements and precise cutting are crucial steps in creating effective drawer organizers. Take the time to measure your drawer dimensions carefully and cut the cardboard pieces with precision to achieve a snug fit. Remember, attention to detail in this stage will result in organizers that not only look professional but also serve their purpose efficiently.
As you begin constructing your DIY drawer organizers, follow the provided instructions closely to assemble the compartments and sections according to your design. Whether you opt for simple dividers or intricate tray systems, focus on creating a structure that accommodates your specific storage needs while maximizing the use of space.
To add a personal touch to your organizers, consider incorporating decorative elements such as patterned fabric, colorful paper, or labels. These embellishments not only enhance the visual appeal of your organizers but also make it easier to identify and access your stored items. Let your creativity shine through as you customize each piece to reflect your individual style.
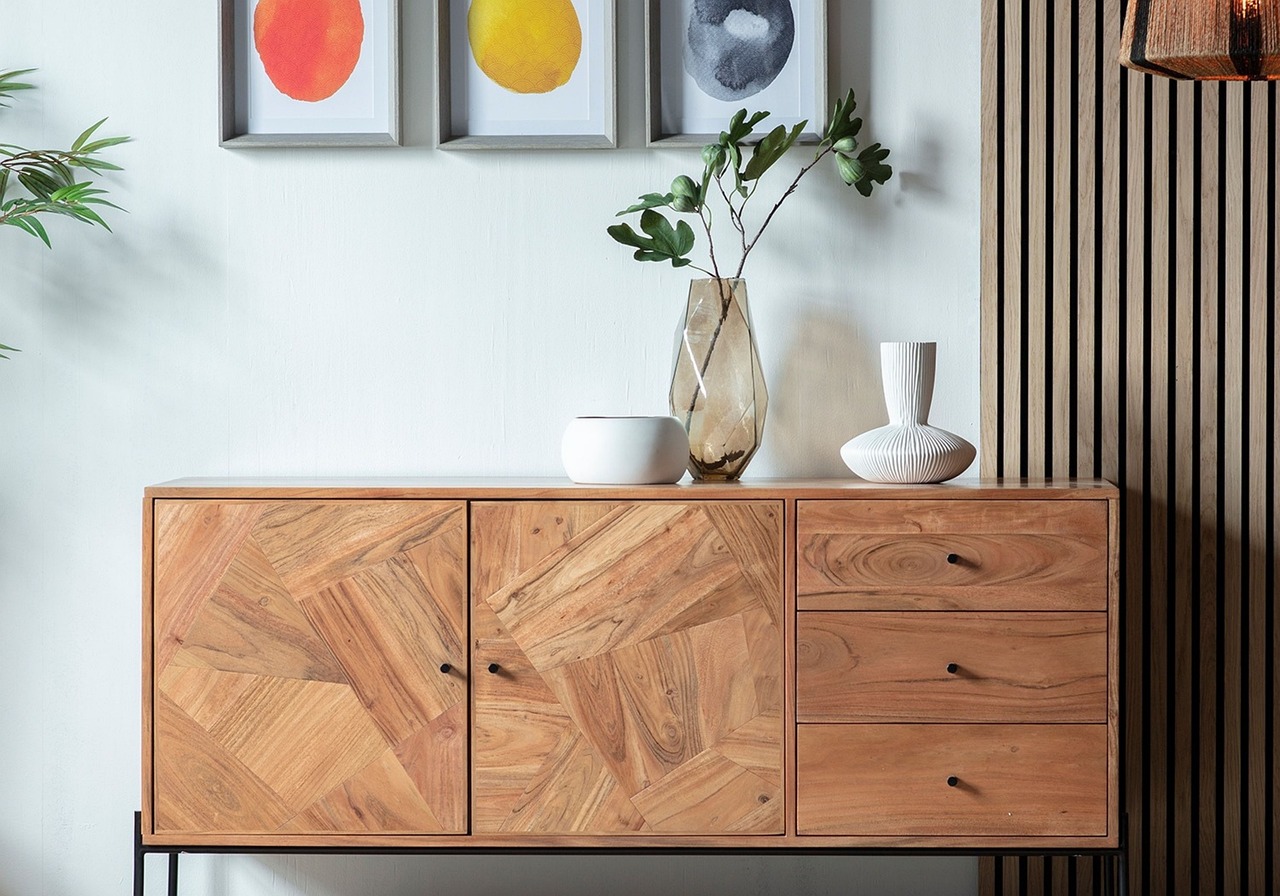
Explore different compartment styles and configurations to optimize the storage capacity of your drawers. From adjustable dividers to stackable trays, choose the organizational system that best suits the items you plan to store. By tailoring the compartments to your belongings, you can ensure a clutter-free and efficient storage solution.
As you tailor your DIY drawer organizers to accommodate specific items like jewelry, office supplies, or kitchen utensils, consider the unique shapes and sizes of each object. Create compartments that can hold these items securely and prevent them from shifting or getting damaged during use. By customizing your organizers for specific purposes, you can streamline your daily routines and keep your essentials within easy reach.
Once your DIY drawer organizers are in place, it's essential to maintain their durability and cleanliness for long-term use. Follow the provided tips to keep your organizers in top condition, and don't hesitate to repurpose or modify them as your storage needs evolve. With a little care and creativity, your handmade organizers can adapt to changes in your lifestyle and continue to serve you well in the years to come.
Materials Needed
When it comes to creating your own DIY drawer organizers, having the right materials is essential for a successful project. Before diving into the crafting process, it's crucial to gather all the necessary items to ensure a smooth and efficient workflow. Let's take a look at the key materials you'll need to bring your customized drawer organizers to life.
First and foremost, cardboard serves as the foundation for your DIY drawer organizers. This versatile material provides the structure and support needed to create compartments and sections within your drawers. Opt for sturdy cardboard that can withstand the weight of your items while maintaining its shape.
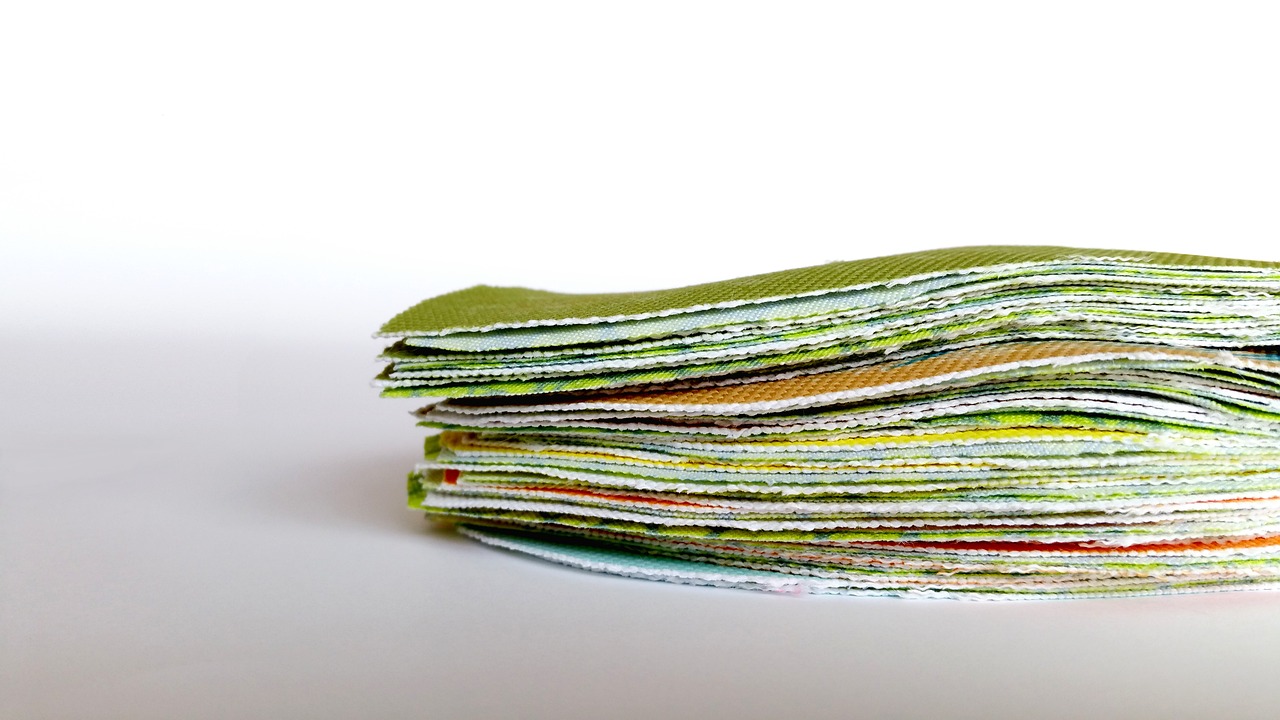
Next on the list is fabric, which adds a touch of style and elegance to your organizers. Choose a fabric that complements your home decor and personal taste. Whether you prefer a classic solid color or a vibrant pattern, the fabric will not only enhance the appearance of your organizers but also protect your belongings from scratches.
Glue is a crucial component in assembling your DIY drawer organizers. Select a strong adhesive that can securely bond the cardboard and fabric together. A reliable glue will ensure that your organizers remain durable and long-lasting, standing the test of time.
Scissors are indispensable tools for cutting and shaping the cardboard and fabric to fit your drawer dimensions. Invest in a sharp pair of scissors that can make clean and precise cuts, allowing you to create custom compartments with ease. Accurate cutting is key to achieving a professional-looking result.
Lastly, a measuring tape is essential for ensuring accuracy in sizing and spacing when constructing your DIY drawer organizers. Take precise measurements of your drawers to tailor the organizers to fit perfectly. A measuring tape will help you avoid errors and discrepancies, resulting in a seamless final product.
Planning Your Design
When it comes to planning the design of your DIY drawer organizers, it's essential to consider the functionality and aesthetics you want to achieve. Think about the items you intend to store in the drawers and how you want them to be organized. Visualize the layout of the organizers based on the types of items you have, whether it's stationery, accessories, or kitchen tools. Consider the dimensions of your drawers and the available space to create organizers that fit snugly and maximize storage efficiency.
One approach to planning your design is to sketch out a rough blueprint or diagram of the organizers before you start assembling them. This can help you visualize the compartments, dividers, and sections you want to include in each organizer. By planning ahead, you can ensure that the design meets your storage needs and complements the interior of your drawers.
Additionally, think about the materials and colors you want to use for your DIY drawer organizers. Whether you prefer a minimalist look with neutral tones or a vibrant design with patterned fabrics, the choice of materials can enhance the overall appeal of the organizers. Consider mixing and matching different textures and colors to create a visually appealing and cohesive set of organizers.
Furthermore, take into account the ease of access and usability when planning your design. Ensure that the compartments are easily accessible and functional for storing and retrieving items. Think about how you can optimize the layout to make it convenient for everyday use, whether it's by grouping similar items together or creating specific sections for frequently used belongings.
Remember, the key to successful design planning is to balance practicality with aesthetics. Create organizers that not only serve their purpose efficiently but also add a touch of style to your drawers. By carefully planning the design of your DIY drawer organizers, you can customize them to suit your needs and elevate the organization of your living spaces.
Measuring and Cutting
When it comes to creating DIY drawer organizers, one of the most crucial steps is . Precision is key in ensuring that your organizers fit perfectly into your drawers and effectively store your items. Before you start cutting any materials, take the time to measure your drawer dimensions accurately. Use a measuring tape to determine the length, width, and depth of the inside of your drawers. These measurements will serve as the basis for creating organizers that are tailored to your specific needs.
Once you have your measurements, it's time to move on to cutting the materials for your DIY drawer organizers. Whether you're using cardboard, fabric, or any other materials, make sure to use sharp scissors or a cutting tool for clean and accurate cuts. Follow the measurements you have taken to cut the materials into the desired shapes and sizes. Remember, a little extra precision during cutting can save you a lot of time and effort during the assembly process.
If you are creating multiple compartments or sections within your drawer organizers, consider using a ruler or a straight edge to ensure straight lines and consistent sizing. Consistency in cutting is essential for a cohesive and organized final product. Take your time during this step to avoid any mistakes that could affect the functionality and aesthetics of your DIY organizers.
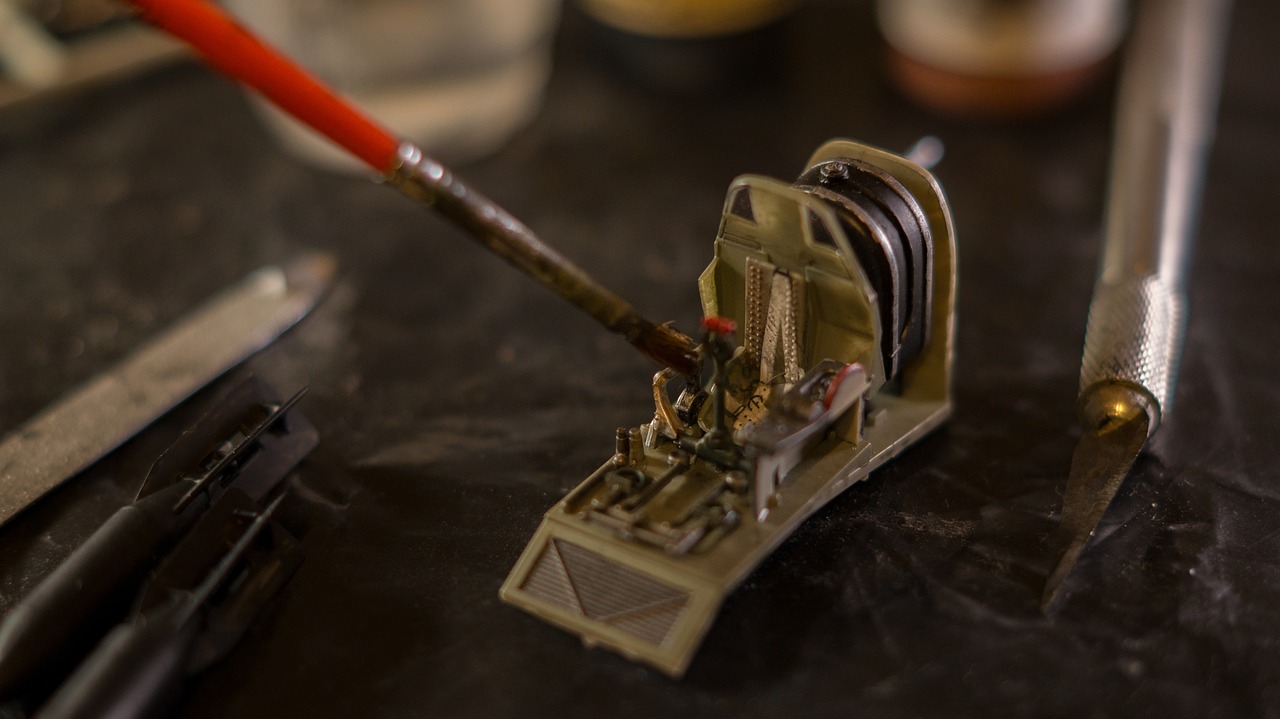
Think of cutting materials for your DIY drawer organizers as a form of artistry. Just like a sculptor carefully shapes a masterpiece, you are shaping the foundation of your organization system. Each cut you make contributes to the overall structure and usability of your organizers. Embrace this creative process and enjoy the satisfaction of seeing your vision come to life through precise measurements and cuts.
Constructing the Organizers
When it comes to constructing your DIY drawer organizers, precision and attention to detail are key. Begin by laying out your materials in an organized manner, ensuring you have everything you need at hand. Start by cutting the cardboard into the desired shapes and sizes for your compartments. Remember, accurate measurements are crucial for a perfect fit inside your drawers.
Next, it's time to assemble the pieces together. Use glue to secure the compartments in place, making sure they are sturdy and well-connected. Consider creating different sections for various items such as socks, accessories, or office supplies. The goal is to make your drawers not only organized but also visually appealing.
If you're looking to add a personal touch to your organizers, consider using decorative elements such as colorful fabric or patterned paper. These embellishments can enhance the overall look of your organizers and make them stand out. Don't forget to label each compartment for easy identification of items.
As you construct your DIY drawer organizers, think about the functionality and practicality of each compartment. You want to create a system that makes it easy to access and store your belongings. Experiment with different layouts and configurations to find what works best for your specific needs.
Once your organizers are complete, take a moment to admire your handiwork. The satisfaction of creating something useful and beautiful with your own hands is truly rewarding. Now, enjoy the benefits of having neatly organized drawers that reflect your unique style and personality.

Adding Decorative Touches
When it comes to adding decorative touches to your DIY drawer organizers, the possibilities are endless. You can elevate the look of your organizers by incorporating patterned fabric, colorful paper, or labels that not only add a pop of style but also help you easily identify the contents of each compartment.
One creative idea is to use washi tape to decorate the edges of your organizers, adding a touch of whimsy and personality. Alternatively, you can mod-podge decorative paper onto the surfaces of the organizers for a more polished and cohesive look.
If you prefer a more minimalist approach, consider using neutral-colored fabric or clear contact paper to keep the focus on the functionality of the organizers while still adding a touch of sophistication.
For a rustic or vintage vibe, you can use burlap fabric or antique labels to give your organizers a charming and nostalgic feel. Mixing and matching different textures and materials can also create a visually interesting display in your drawers.
Don't forget to personalize your organizers to match your unique style and preferences. Whether you prefer a bohemian look with tassels and beads or a modern aesthetic with geometric patterns, the key is to make your DIY drawer organizers reflect your personality and taste.
Utilizing Different Compartments
When it comes to organizing your drawers effectively, utilizing different compartments can make a significant difference in maximizing storage space and keeping items neatly arranged. One popular option is using adjustable dividers that allow you to customize the size of each section based on the items you need to store. This flexibility is ideal for accommodating various shapes and sizes, from small accessories to larger items.
Another innovative approach is incorporating tray systems within your drawer organizers. These trays can be stacked or arranged in layers to create multiple levels of storage, making it easier to access items without having to rummage through a cluttered drawer. By utilizing trays, you can create designated spaces for different categories of items, enhancing organization and efficiency.
For those looking for a more visually appealing solution, consider using fabric-lined compartments to add a touch of elegance to your drawers. By lining compartments with soft fabric in coordinating colors or patterns, you not only protect delicate items from scratches but also elevate the overall look of your organizers. This simple yet effective method combines functionality with aesthetics, creating a harmonious storage solution.
Additionally, incorporating sliding or removable compartments can offer added convenience when accessing items deep within the drawer. These compartments can be easily adjusted or taken out entirely, allowing you to reconfigure the layout based on your changing storage needs. Whether you need extra space for seasonal items or prefer a minimalist approach, the versatility of sliding compartments provides endless possibilities for customization.
Customizing for Specific Items
When it comes to customizing DIY drawer organizers for specific items, the key is to tailor the compartments and layouts to suit the unique needs of each category of belongings. For instance, when organizing jewelry, consider incorporating small velvet-lined compartments to prevent tangling and scratching. Office supplies, on the other hand, may benefit from larger sections to accommodate items like pens, sticky notes, and paper clips. Kitchen utensils require deeper compartments or dividers to keep items like spatulas, ladles, and whisks neatly separated.
One effective way to customize organizers for specific items is to use a combination of dividers and trays within the drawer. Dividers can help segregate different types of items, while trays provide a designated space for smaller accessories or tools. By mixing and matching these elements, you can create a versatile organizer that caters to a variety of items in one drawer.

Maintaining and Reusing Organizers
When it comes to maintaining your DIY drawer organizers, a little care can go a long way in preserving their functionality and appearance. Regular cleaning is essential to prevent dust and debris from accumulating in the compartments. You can use a damp cloth or gentle cleaning solution to wipe down the organizers periodically, keeping them fresh and tidy.
Additionally, it's important to inspect the organizers for any signs of wear and tear. Check for loose seams or damaged sections that may compromise the structure of the organizers. Repair any issues promptly to ensure they continue to serve their purpose effectively.
For reusing your DIY drawer organizers, think creatively about how you can adapt them to different storage needs. Consider repurposing organizers from one drawer to another or modifying their layouts to accommodate new items. Flexibility is key when it comes to maximizing the lifespan of your organizers.
If you find that your storage requirements have changed over time, don't hesitate to redesign or repurpose the organizers accordingly. You can create new dividers, adjust compartment sizes, or even combine multiple organizers to create a larger storage solution. The beauty of DIY organizers lies in their adaptability and customization.
By following these maintenance tips and exploring innovative ways to reuse your DIY drawer organizers, you can ensure they remain functional and stylish additions to your home organization system. Embrace the versatility of these handmade creations and enjoy the satisfaction of a well-organized living space.
Frequently Asked Questions
- Can I use materials other than cardboard for making DIY drawer organizers?
Yes, you can explore alternative materials such as plastic, wood, or acrylic sheets to create customized organizers based on your preferences and needs.
- How do I determine the best compartment style for my drawer organizers?
Consider the types of items you plan to store and their sizes. For smaller items, dividers or small compartments work well, while larger items may require open trays or adjustable sections.
- Is it difficult to maintain DIY drawer organizers?
Not at all! Simply wipe them down with a damp cloth regularly to keep them clean. You can also use decorative elements that are easy to clean or replace for added convenience.