How to Create a DIY Shadow Box for Memories
Creating a DIY shadow box for memories is a wonderful way to preserve and showcase your cherished keepsakes in a personalized and creative manner. This step-by-step guide will walk you through the process of crafting a unique shadow box that reflects your style and memories.
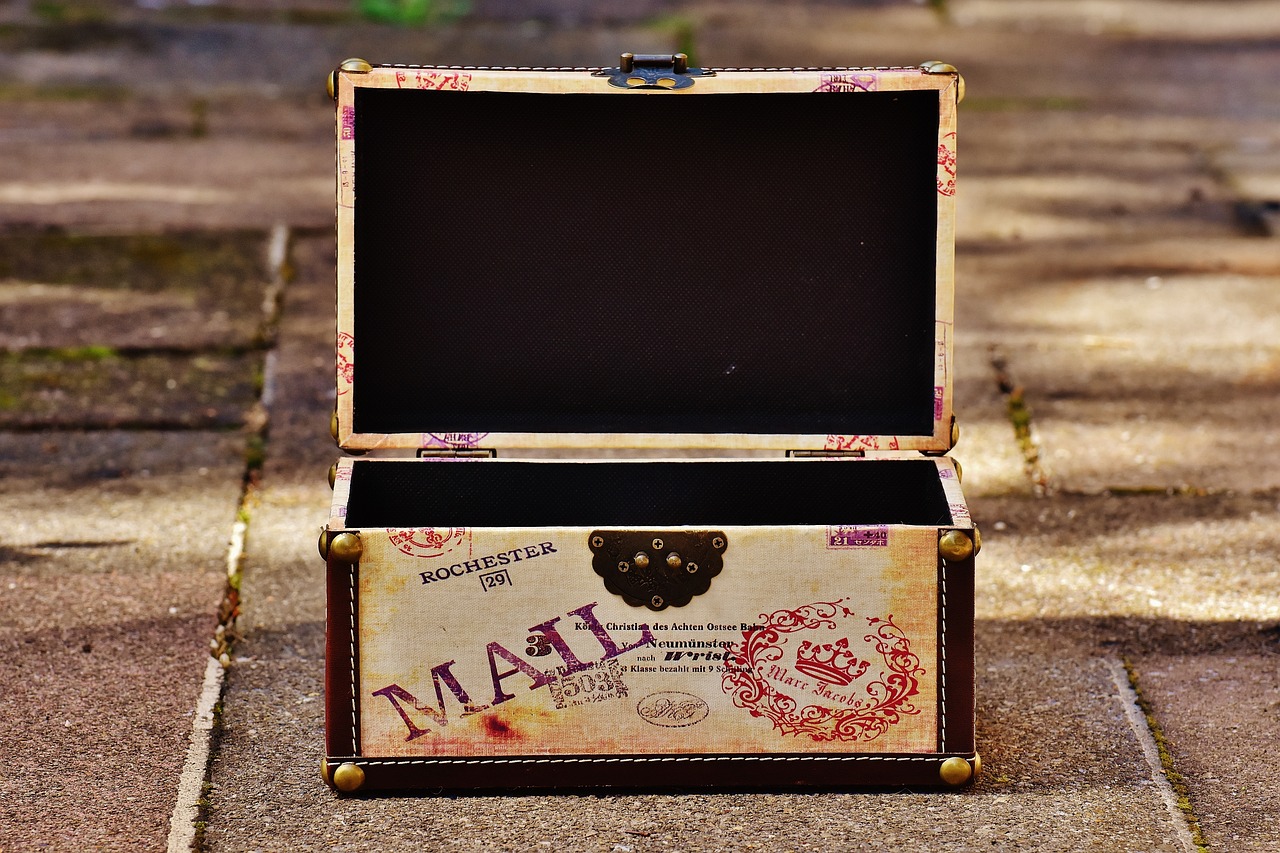
First and foremost, gather all the necessary materials to kickstart your DIY project. You will need a shadow box frame, decorative paper, glue, scissors, and, most importantly, the mementos you want to display. Having all the materials at hand will make the crafting process smooth and efficient.
When selecting mementos to include in your shadow box, opt for items that hold special meaning and sentimental value to you. Whether it's tickets from a memorable concert, photographs from a special occasion, or notes from a loved one, choose items that evoke fond memories and emotions.
Arranging your mementos creatively within the shadow box is where the magic happens. Experiment with different layouts, play with depths and sizes, and consider color coordination to create a visually appealing display. Let your creativity flow as you design a composition that tells your story.
Once you're satisfied with the arrangement, secure your mementos in place using adhesive materials like glue dots or double-sided tape. Ensuring that the items are firmly attached will prevent any accidental shifting or falling, keeping your display intact and organized.
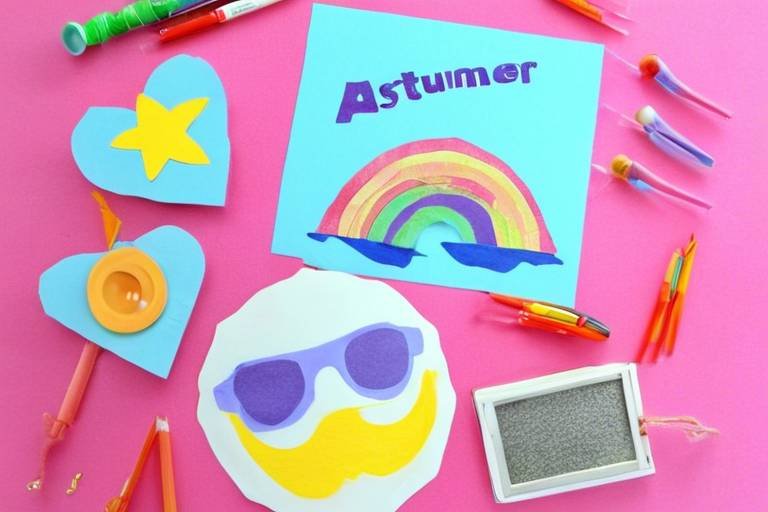
To add a personal touch to your shadow box, consider including handwritten notes, embellishments, or small trinkets that reflect your personality. These additions will make your creation truly unique and showcase your individual style.
Customizing the background of your shadow box is another opportunity to enhance its overall look. Whether you choose patterned paper, fabric, or paint, the background should complement the theme of your displayed mementos and tie the whole piece together.
Once your DIY shadow box is complete, find the perfect spot to display it in your home or office. Not only will it serve as a beautiful decor piece, but it will also be a constant reminder of your cherished memories and experiences. Let your shadow box spark conversations and bring joy to those who see it.
Lastly, consider sharing your DIY project with others. Whether on social media or with friends and family, sharing your creativity can inspire and encourage others to embark on their own crafting journeys. Your unique shadow box may just be the inspiration someone else needs to create their own personalized display.

Gather Necessary Materials
When embarking on the journey of creating your very own DIY shadow box, the first step is to gather all the necessary materials to bring your vision to life. Imagine yourself as a skilled craftsman, preparing your tools before starting a masterpiece. In this case, your essential items include a shadow box frame, decorative paper, glue, scissors, and of course, the mementos that hold a special place in your heart.
Organizing your materials beforehand is like laying out a canvas before painting a beautiful landscape. It streamlines the crafting process and ensures that you have everything you need at your fingertips. Just like a chef preparing ingredients before cooking a delicious meal, having all your materials ready will make the entire experience smoother and more enjoyable.
Think of your mementos as the stars of the show, the key elements that will make your shadow box truly unique and personal. Select meaningful items that resonate with you on a deep level - tickets from a memorable concert, photographs capturing special moments, trinkets gifted by loved ones, or handwritten notes filled with heartfelt words.
Choosing these items is like curating a gallery exhibition, each piece telling a story and evoking emotions. By selecting mementos that hold sentimental value, you are infusing your creation with a piece of your soul, ensuring that it will not only be visually appealing but also deeply meaningful.
Now comes the fun part - arranging your items creatively within the shadow box frame. Think of it as solving a beautiful puzzle, where each piece fits perfectly to create a harmonious whole. Experiment with different layouts, play with depths and sizes, and consider the colors that will best complement each other.
Creating a visually pleasing arrangement is like composing a melody, each element harmonizing with the others to create a balanced and captivating composition. Don't be afraid to think outside the box and let your creativity guide you in arranging your mementos in a way that speaks to your artistic sensibilities.
Select Meaningful Mementos
When creating a DIY shadow box to preserve your memories, one of the most crucial steps is selecting meaningful mementos to include in your display. These items play a significant role in personalizing your shadow box and evoking cherished memories each time you glance at it. The process of choosing these mementos can be both exciting and sentimental, as you carefully select items that hold special significance to you.
Consider the sentimental value of each item you plan to include in your shadow box. Whether it's tickets from a memorable concert, photographs capturing special moments, small trinkets gifted by loved ones, or handwritten notes that hold sentimental messages, each memento should tell a story and hold a place in your heart. By selecting items that resonate with you emotionally, you can create a shadow box that truly reflects your personality and memories.
As you gather your meaningful mementos, think about the theme or narrative you want your shadow box to convey. Are you aiming to create a display that celebrates a specific event, such as a graduation or a wedding, or do you want to capture a collection of memories from various moments in your life? By curating your mementos thoughtfully, you can ensure that your shadow box tells a cohesive and meaningful story when all the items are arranged together.
Remember that the beauty of a shadow box lies not only in the visual appeal of its contents but also in the emotional resonance they carry. Each item you select should hold a special place in your heart, triggering emotions and memories that bring a smile to your face or a tear to your eye. Whether it's a ticket stub from a movie date or a seashell collected during a memorable vacation, every memento adds a layer of depth and meaning to your shadow box display.
Arrange Items Creatively
When it comes to creating a DIY shadow box, one of the most exciting steps is arranging your items creatively. This is where your artistic flair can truly shine, as you experiment with different layouts and placements to bring your mementos to life within the shadow box. Think of it as crafting a visual story that captures the essence of your memories.
Consider playing with varying depths, sizes, and colors as you arrange your items. By mixing and matching these elements, you can create a dynamic and visually appealing display that draws the viewer in. Imagine each item as a piece of a puzzle, fitting together to form a cohesive and balanced composition.
Don't be afraid to think outside the box when arranging your mementos. Try out different configurations until you find one that speaks to you and effectively conveys the emotions and memories you want to encapsulate. Remember, this is your chance to showcase your creativity and storytelling skills through the arrangement of your cherished items.

Secure Objects in Place
When it comes to creating a DIY shadow box to preserve your cherished memories, one crucial step is to secure the objects in place effectively. This ensures that your mementos stay in position and do not shift or fall out of the display. Using adhesive materials like glue dots or double-sided tape is a reliable way to keep your items firmly attached inside the shadow box.
Before adhering the objects, it's essential to plan the placement carefully. Experiment with different arrangements to find the most visually appealing layout. Consider the depth, size, and color of each item to create a balanced composition that enhances the overall look of your shadow box display.
When securing the objects, make sure to apply the adhesive to the back or bottom of each item. Avoid using too much glue to prevent it from seeping out and affecting the appearance of your display. Press the mementos firmly against the background of the shadow box to ensure a strong bond.
If you are working with heavier items, such as metal trinkets or bulky souvenirs, consider using stronger adhesive options like epoxy resin or mounting putty. These materials provide extra support and ensure that heavier objects stay in place securely.
Once all your mementos are securely attached, take a final look at the arrangement to make any necessary adjustments. Check that everything is firmly in place and that the display looks cohesive and well-balanced. Properly securing the objects in your DIY shadow box will guarantee that your memories are beautifully showcased for years to come.
Add Personal Touches
Adding personal touches to your DIY shadow box is where you can truly make it your own. Consider including handwritten notes that hold special meaning, small trinkets that reflect your personality, or unique embellishments that enhance the overall look of your creation. These personal additions will not only add a touch of individuality but also elevate the sentimental value of the shadow box.
Customize the Background
When it comes to creating a DIY shadow box, customizing the background is a crucial step in enhancing the overall look and feel of your display. By adding a personalized touch to the background, you can complement the theme of your mementos and create a cohesive visual presentation.
One popular way to customize the background of your shadow box is by using patterned paper. Choose a design that resonates with the items you are showcasing, whether it's a vintage floral print for nostalgic memorabilia or a geometric pattern for a more modern look. The background paper can set the tone for the entire display, adding depth and visual interest.
If you prefer a more textured background, consider using fabric instead of paper. Fabrics like burlap, linen, or velvet can add a tactile element to your shadow box, making it more visually dynamic. You can also play with different colors and textures to create a unique backdrop that highlights your mementos.
For those who enjoy painting, customizing the background with acrylic or watercolor paints can be a creative and artistic choice. You can create a gradient effect, abstract patterns, or even a scenic backdrop to complement the theme of your shadow box. Painting the background allows for complete customization and artistic expression.
To add a touch of elegance and sophistication to your shadow box, consider using metallic or glitter paper for the background. These materials can add a subtle shimmer and sparkle to your display, making it eye-catching and glamorous. Metallic backgrounds work well for showcasing special occasions or celebratory mementos.
Remember, the background of your shadow box serves as the foundation for your display, so don't be afraid to experiment and get creative. Whether you choose paper, fabric, paint, or specialty materials, customizing the background is an opportunity to infuse your personality and style into your DIY creation.
Display and Enjoy Your Creation
After completing your DIY shadow box project, it's time to find the perfect spot to . Whether you choose to showcase it in your living room, bedroom, or office, the shadow box will serve as a unique centerpiece that preserves your cherished memories in a visually appealing way.
Imagine walking into a room and being greeted by a beautifully curated display that tells a story through carefully arranged mementos. Your shadow box not only adds a personal touch to your space but also acts as a conversation starter for guests who are curious about the stories behind each item.
To enhance the visual impact of your shadow box, consider the lighting in the room. Placing a small spotlight above or below the display can highlight key elements and create a dramatic effect that draws attention to your personalized creation.
If you have multiple shadow boxes, you can create a gallery wall to showcase them together. Experiment with different arrangements and spacing to achieve a dynamic and cohesive display that captures the essence of each box while adding a decorative element to your wall.
Remember, the purpose of your DIY shadow box goes beyond mere decoration. It serves as a visual reminder of the moments and people that hold significance in your life. Take the time to admire your creation regularly and let the memories it encapsulates inspire and uplift you on a daily basis.
Share Your DIY Project
So, you've successfully completed your DIY shadow box project and created a stunning display of your cherished memories. Now, it's time to share your creative masterpiece with the world! Sharing your DIY project can be a rewarding experience that not only showcases your creativity but also inspires others to embark on their crafting journey.
One way to share your DIY shadow box project is by posting pictures of your creation on social media platforms such as Instagram, Facebook, or Pinterest. These visual platforms allow you to showcase your work to a wide audience and connect with fellow DIY enthusiasts who appreciate handmade creations.
Additionally, you can consider creating a blog post detailing the process of making your shadow box, including tips and tricks you learned along the way. Sharing your project through a blog post can provide a more in-depth look at your creative process and inspire readers to try their hand at crafting their own shadow boxes.
If you belong to crafting or DIY communities online, don't hesitate to share your project with fellow members. These communities are often filled with like-minded individuals who will appreciate your creativity and may offer valuable feedback or encouragement.
Hosting a crafting party or workshop where you teach others how to make their own shadow boxes can also be a fun way to share your DIY project. By sharing your skills and knowledge with others, you not only spread creativity but also create a sense of community around crafting.
Remember, sharing your DIY shadow box project is not just about flaunting your creativity; it's about inspiring others to unleash their artistic side and create something meaningful. So, don't be shy—share your project with pride and watch as it sparks creativity in others!
Frequently Asked Questions
- Can I use any type of shadow box frame for this DIY project?
Yes, you can choose a shadow box frame that suits your style and preferences. Whether it's a wooden frame, a deep shadow box, or a shadow box with compartments, the choice is yours to make your creation unique.
- What kind of adhesive should I use to secure the mementos in the shadow box?
You can use glue dots, double-sided tape, or even a strong craft glue to secure your mementos in place. Make sure to test the adhesive on a small area first to ensure it won't damage your items.
- How can I ensure the items in my shadow box stay in place and don't shift around?
Securing the items with adhesive is key to keeping them in place. Additionally, you can consider using foam inserts or small props to support items that may be prone to moving.
- Is it necessary to customize the background of the shadow box?
Customizing the background is optional but can greatly enhance the overall look of your shadow box display. It adds a personal touch and ties the theme together for a more cohesive presentation.
- Can I change the items in the shadow box display after it's completed?
While it's possible to change the items in the shadow box, it's recommended to plan your arrangement beforehand to avoid damaging the display. If you want to update the items, carefully remove and replace them as needed.