How to Make Your Own Natural Soap
Making your own natural soap at home is a rewarding and fulfilling process that allows you to create a product tailored to your preferences. By using simple ingredients and methods, you can craft a unique soap that is free from harsh chemicals and additives. Not only does natural soap benefit your skin, but it also offers a customizable experience that commercial soaps often lack.
When it comes to gathering ingredients for your natural soap, it's essential to choose high-quality base oils, essential oils, and other additives. Each ingredient plays a crucial role in the soap-making process, contributing to the soap's texture, scent, and overall quality. Understanding the properties of these ingredients will help you create a soap that meets your expectations.
Before diving into the soap-making process, it's important to gather the necessary equipment and prioritize safety precautions. From mixing bowls and molds to safety goggles and gloves, having the right tools on hand is essential for a smooth and hazard-free experience. By following safety guidelines and handling lye with care, you can ensure a successful soap-making venture.
The basic soap-making process involves a series of steps that require precision and attention to detail. From measuring ingredients accurately to controlling the temperature during mixing, each stage influences the final outcome of your soap. By following a reliable recipe and understanding the science behind soap making, you can achieve consistent results with each batch.
Once you've mastered the fundamentals of soap making, you can experiment with adding scents and colors to personalize your creations. Whether you prefer floral essential oils or natural colorants derived from plants, there are endless possibilities for customizing your natural soap. By exploring different combinations, you can create soaps that reflect your unique style and preferences.
After pouring the soap mixture into molds, the curing process begins, allowing the soap to solidify and develop its final texture. Understanding how curing impacts the soap's quality is essential for achieving optimal results. By allowing the soap to cure for the recommended time, you can enhance its longevity and performance.
Once the soap has cured, it's time to cut and shape it into individual bars or shapes. This step allows you to create visually appealing soaps that are easy to use and store. By experimenting with different cutting techniques and shapes, you can add a creative touch to your homemade natural soap.
Proper storage and usage practices are key to maintaining the quality of your homemade natural soap. Storing the soap in a cool, dry place and allowing it to dry between uses can extend its shelf life. By following these guidelines and incorporating your natural soap into your skincare routine, you can enjoy its benefits for an extended period.
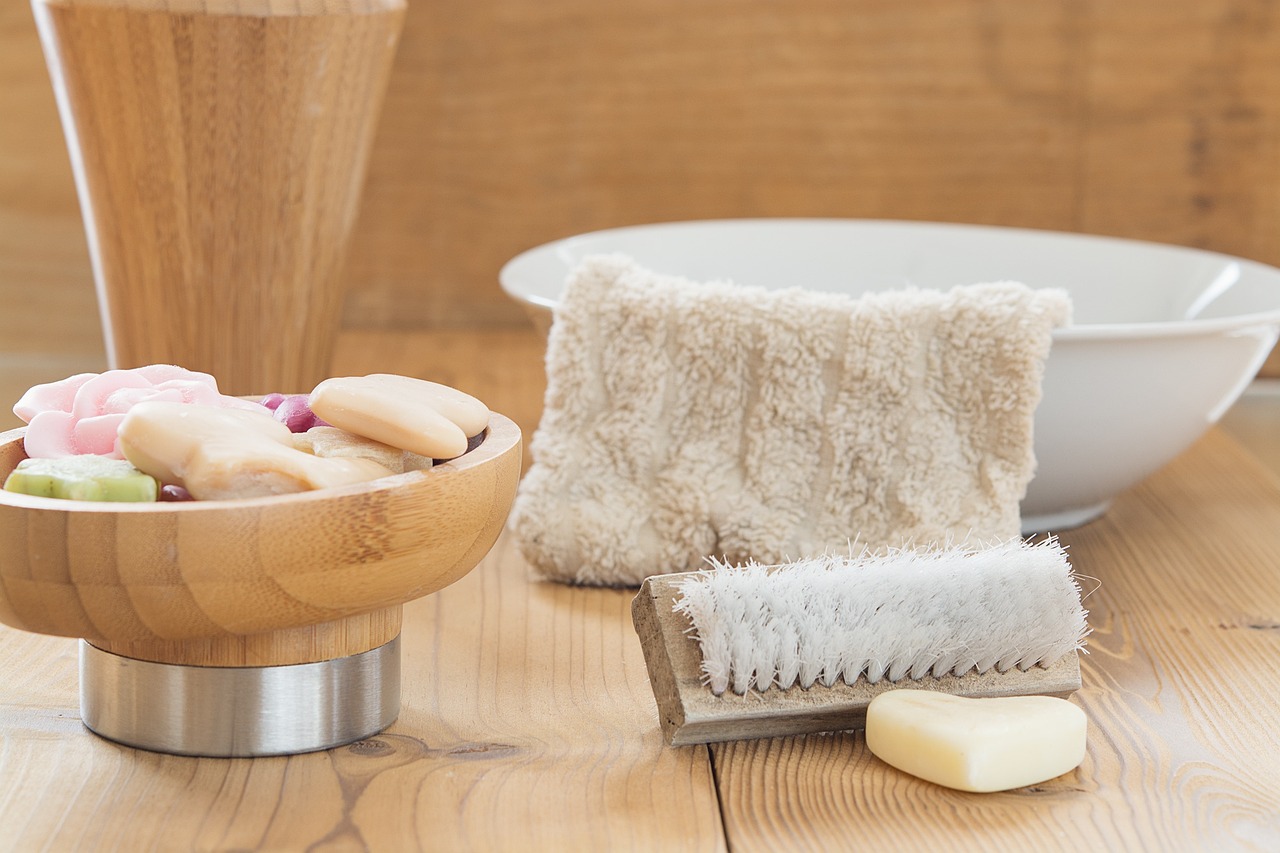
Gathering Ingredients
When it comes to making your own natural soap, gathering the right ingredients is crucial for a successful outcome. The key components you will need include base oils, essential oils, lye, water, and natural additives. Base oils such as olive oil, coconut oil, and shea butter provide the foundation for your soap and determine its texture and moisturizing properties. Essential oils, on the other hand, are used to add fragrance and therapeutic benefits to your soap. It's essential to choose high-quality oils that are suitable for soap making to ensure a luxurious end product.
Additionally, lye, also known as sodium hydroxide, is a critical ingredient that initiates the saponification process, transforming oils into soap. Safety precautions must be strictly followed when handling lye due to its caustic nature. Water is used to dissolve the lye and create a lye solution, which is then mixed with oils to begin the soap-making process. Natural additives like herbs, clays, and exfoliants can be incorporated to enhance the soap's visual appeal and skincare benefits.
Understanding the properties of each ingredient is essential to create a well-balanced and effective natural soap. Different oils have varying fatty acid compositions that impact the soap's lather, hardness, and moisturizing properties. Essential oils offer not only pleasant scents but also therapeutic benefits such as relaxation or skin rejuvenation. By carefully selecting and combining these ingredients, you can customize your soap to cater to your skin's needs and personal preferences.

Equipment and Safety Precautions
Learn the step-by-step process of creating your own natural soap at home using simple ingredients and methods. Discover the benefits of natural soap and how you can customize it to suit your preferences.
Explore the essential oils, base oils, and other ingredients needed to make natural soap. Understand the properties of each ingredient and how they contribute to the quality of the soap.
When it comes to making your own natural soap, having the right equipment is key to a successful and safe process. Before you start, ensure you have the necessary tools and materials ready. Safety should always be a top priority, so make sure to wear protective gear such as gloves and goggles to prevent any accidents. Additionally, work in a well-ventilated area to avoid inhaling fumes from the ingredients. Being prepared and cautious will help you enjoy the soap-making experience without any worries.
Follow a basic soap-making recipe from start to finish. Understand the importance of accurate measurements and temperature control for successful soap production.
Learn how to combine oils, lye, and water to create the soap base. Discover the chemical reaction that occurs during this process and its significance.
Explore different ways to add fragrance and color to your natural soap. Understand how to choose essential oils and natural colorants for a personalized touch.
Find out how to pour the soap mixture into molds and allow it to cure. Learn about the curing process and how it affects the quality of the final product.
Discover techniques for cutting and shaping the cured soap into desired sizes and shapes. Explore creative ways to make your soap visually appealing.
Learn the best practices for storing your homemade natural soap and how to use it effectively. Understand the shelf life of natural soap and how to extend its longevity.
Have a question about making your own natural soap? Check out some common queries below:
- What safety precautions should I take when making natural soap at home?
- Can I customize the scent and color of my natural soap?
- How long does it take for the soap to cure?
- What are the best storage practices for homemade soap?
Basic Soap-Making Process
When it comes to the basic soap-making process, it's essential to follow a tried and tested recipe to ensure the success of your homemade natural soap. The key to creating a high-quality soap lies in accurate measurements and precise temperature control throughout the process. This ensures that the chemical reaction between the oils, lye, and water occurs smoothly, resulting in a well-formed soap base.
One crucial step in the basic soap-making process is mixing the ingredients correctly. The combination of oils, lye, and water initiates a chemical reaction known as saponification, where these components transform into soap. Understanding the science behind this reaction is fundamental to producing a soap base that is safe and effective for use.
Once the soap base is formed, the next step involves adding scents and colors to personalize your natural soap. Choosing the right essential oils for fragrance and natural colorants for color not only enhances the sensory experience but also adds a unique touch to your creation. Experimenting with different combinations can lead to delightful results.
After the soap mixture is ready, it is poured into molds for shaping and curing. The curing process is crucial as it allows the soap to harden and develop its final texture and consistency. Patience is key during this phase, as proper curing ensures that the soap is long-lasting and provides a luxurious lather when used.
Once the soap has cured sufficiently, it is time to cut and shape it into individual bars or desired shapes. This step allows for creativity and customization, enabling you to craft visually appealing soaps that stand out. Whether you prefer classic rectangular bars or intricate designs, the cutting and shaping process is where your artistic flair can shine.
Finally, understanding the storage and usage of your homemade natural soap is essential for maintaining its quality. Storing the soap in a cool, dry place with proper ventilation helps extend its shelf life. Knowing how to use the soap effectively, whether for personal hygiene or gifting purposes, ensures that your efforts in soap making are truly appreciated.
Mixing the Ingredients
When it comes to creating your own natural soap, one of the most crucial steps is mixing the ingredients. This process involves combining oils, lye, and water to form the soap base. It's essential to follow the recipe carefully and measure the ingredients accurately to ensure a successful outcome.
During the mixing stage, a chemical reaction known as saponification takes place. This reaction is what transforms the oils and lye into soap. Understanding the science behind this reaction is key to producing high-quality natural soap. The mixture will start to thicken as saponification occurs, so it's important to monitor the consistency.
Choosing the right oils is vital in soap making, as each oil brings its own unique properties to the final product. Some oils create a rich lather, while others provide moisturizing benefits. Experimenting with different oil combinations can help you achieve the desired texture and feel for your soap.
Additionally, the temperature at which you mix the ingredients plays a crucial role in the soap-making process. Maintaining the correct temperature ensures that the oils and lye blend together effectively. It's important to stir the mixture thoroughly to achieve a homogeneous consistency.
Once the ingredients are thoroughly mixed, you can add essential oils and natural colorants to customize the scent and appearance of your soap. Essential oils not only provide fragrance but also offer various therapeutic benefits. Natural colorants, such as clays and botanical powders, can enhance the visual appeal of your soap.
Overall, the mixing stage is a fundamental part of soap making that requires precision and attention to detail. By understanding the role of each ingredient and following the correct procedures, you can create high-quality natural soap tailored to your preferences.
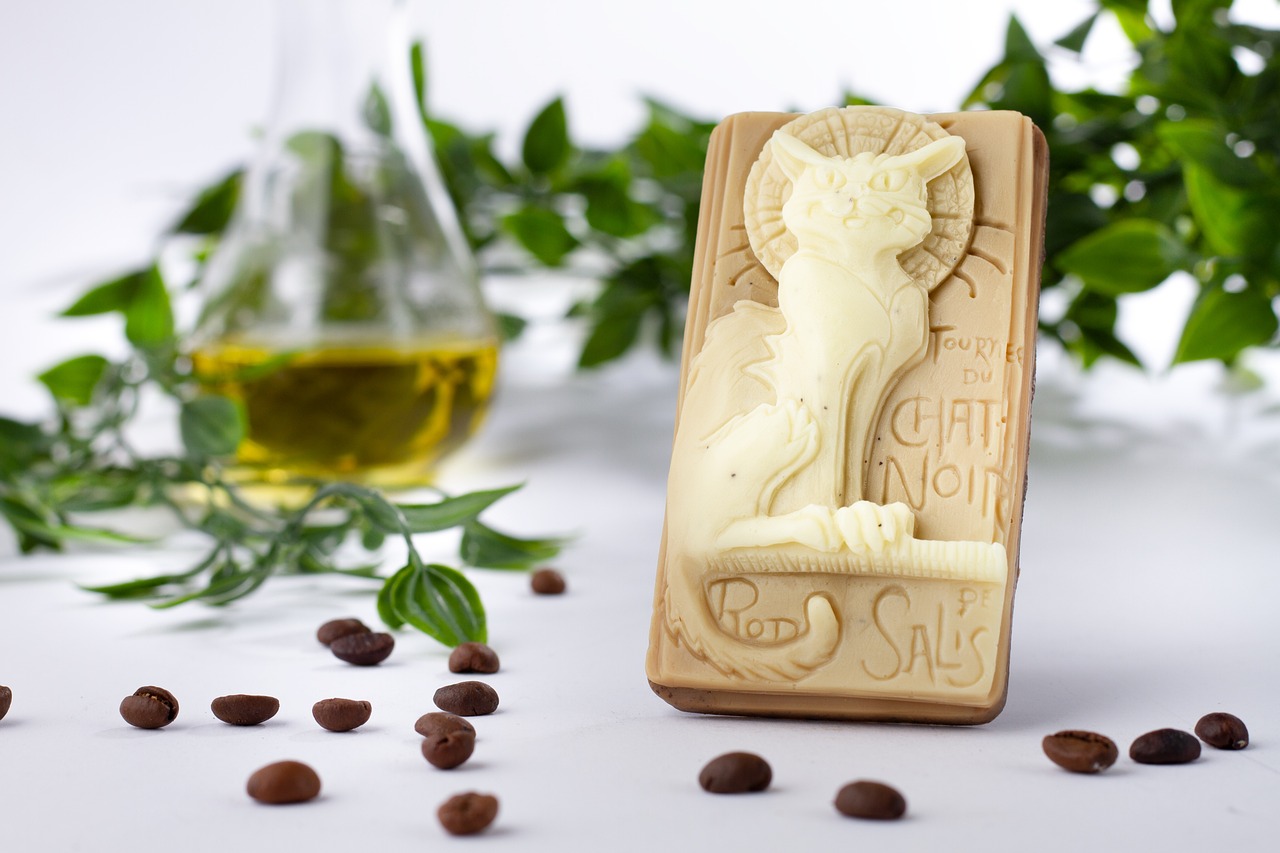
Adding Scents and Colors
When it comes to creating your own natural soap, adding scents and colors is where you can truly let your creativity shine. By incorporating essential oils and natural colorants, you can customize your soap to not only smell amazing but also look visually appealing.
Essential oils play a crucial role in adding fragrance to your soap. These oils are derived from plants and flowers, providing a wide range of scents to choose from. Whether you prefer the calming aroma of lavender, the refreshing scent of citrus, or the earthy notes of patchouli, essential oils can elevate your soap-making experience.
When selecting essential oils, it's essential to consider their properties and potential benefits. Some oils, such as tea tree oil, are known for their antibacterial properties, making them ideal for cleansing soaps. Others, like peppermint oil, offer a cooling sensation and a invigorating scent, perfect for morning showers.
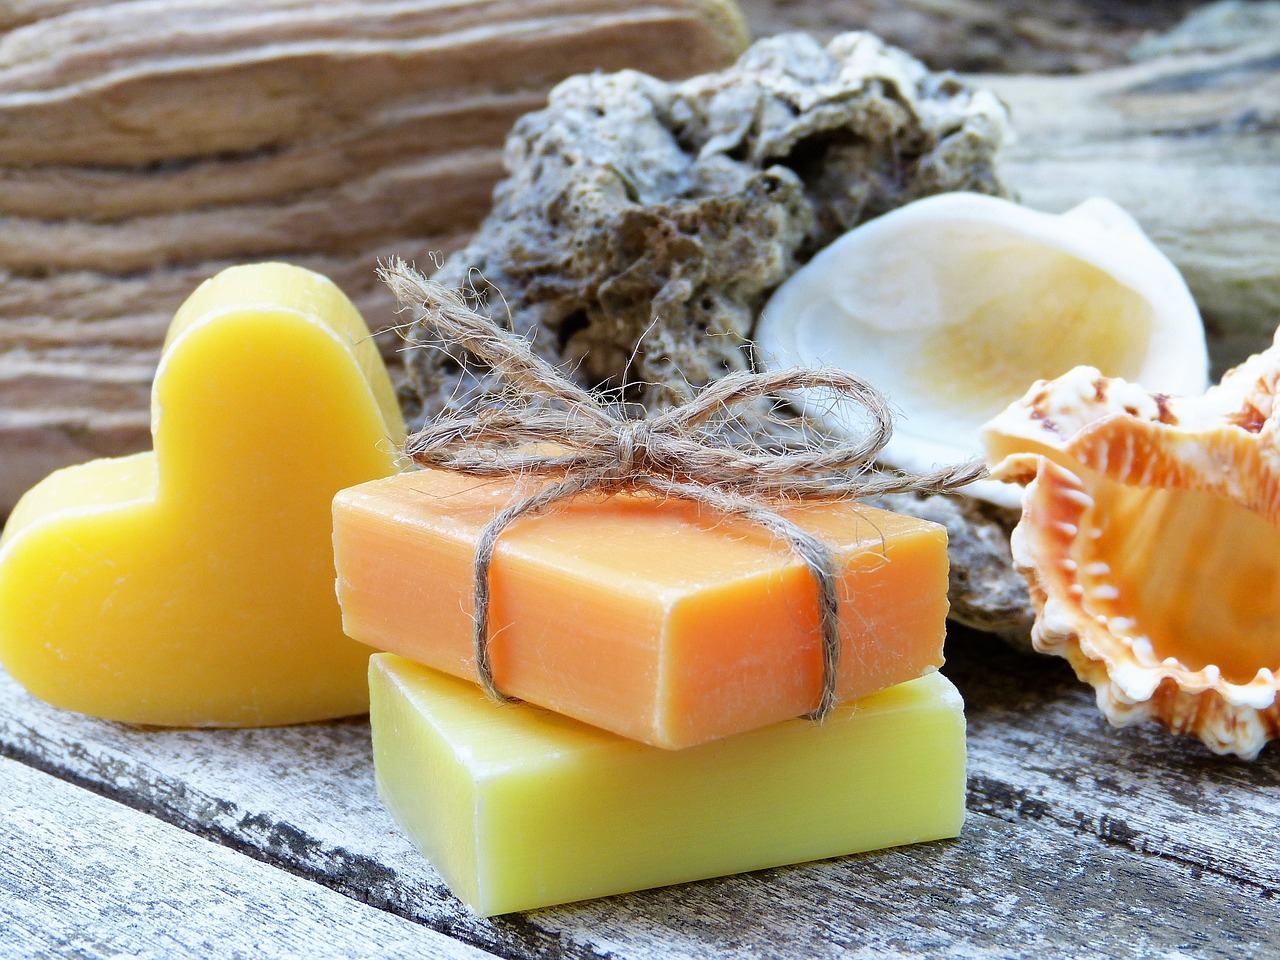
In addition to scents, natural colorants can add visual appeal to your soap. Ingredients like spirulina powder, turmeric, and activated charcoal can provide vibrant hues without the need for artificial dyes. These natural colorants not only enhance the aesthetic of your soap but also align with the ethos of creating a truly natural product.
Experimenting with different combinations of scents and colors can result in unique and personalized soaps that reflect your individual preferences. Whether you opt for a soothing lavender soap with a soft purple hue or a zesty citrus soap with a bright yellow color, the possibilities are endless when it comes to adding scents and colors to your natural soap.
Molding and Curing
When it comes to the soap-making process, are crucial steps that determine the final quality of your homemade natural soap. After preparing the soap mixture, it's time to pour it into molds to give it the desired shape and size. The choice of molds can vary depending on your preference, ranging from simple rectangular molds to intricate designs that add a touch of creativity to your soap.
Once the soap mixture is poured into the molds, it needs to undergo the curing process. Curing is the period during which the soap is left to dry and harden, allowing it to become solid and long-lasting. This process is essential for ensuring that the soap is gentle on the skin and produces a rich lather when used.
During the curing period, it's important to store the soap in a cool, dry place away from direct sunlight. This allows the soap to cure evenly and prevents any moisture from affecting its quality. The duration of the curing process can vary depending on the recipe used, but typically ranges from 4 to 6 weeks.
As the soap cures, it undergoes a chemical transformation that enhances its cleansing properties and improves its longevity. This transformation is crucial for achieving a high-quality natural soap that not only cleanses the skin effectively but also retains its shape and scent over time.
Once the soap has fully cured, it can be removed from the molds and cut and shaped into individual bars. This step allows you to customize the size and shape of the soap to your liking, whether you prefer large bars for body cleansing or smaller bars for handwashing.
Overall, the stages of soap making are essential for creating a natural soap that is not only visually appealing but also gentle and effective on the skin. By following proper molding and curing techniques, you can ensure that your homemade soap is of the highest quality and provides a luxurious bathing experience.
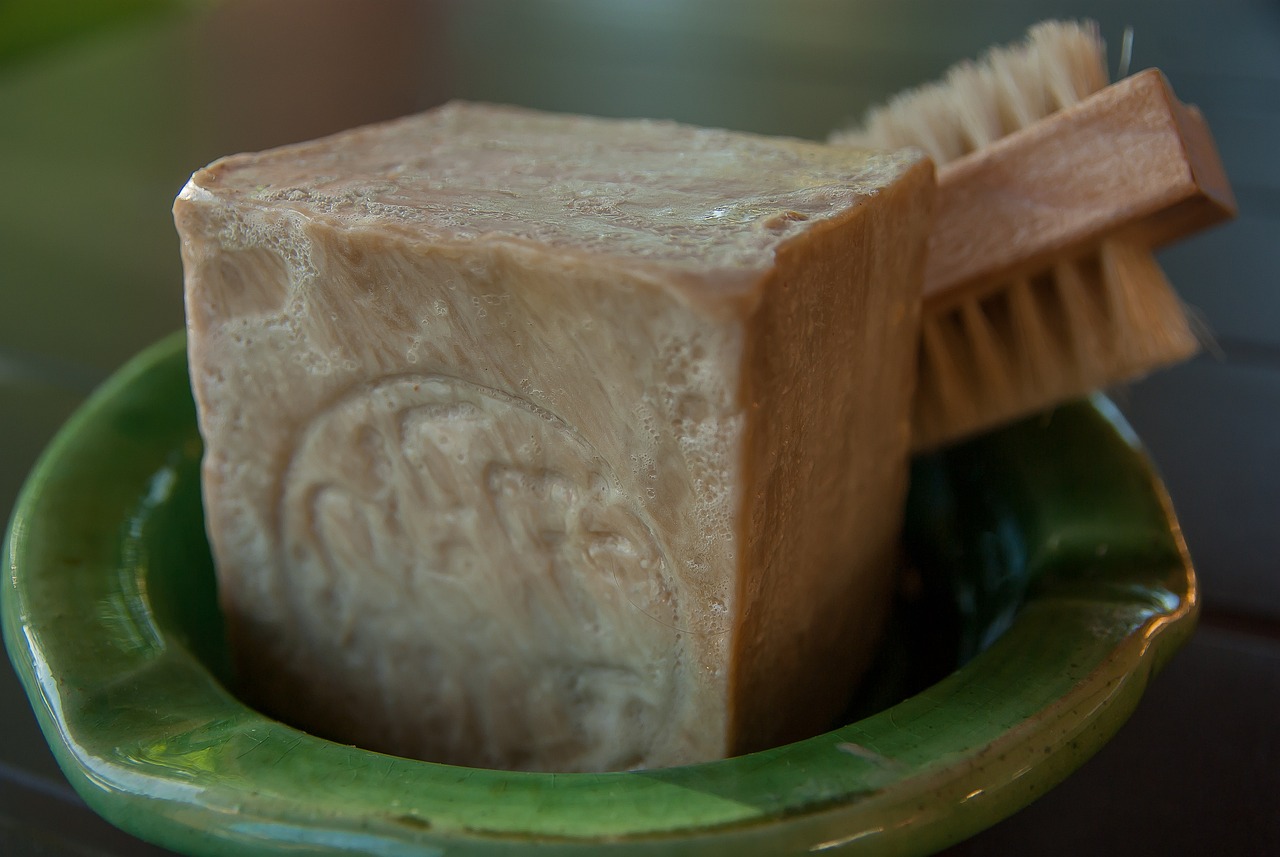
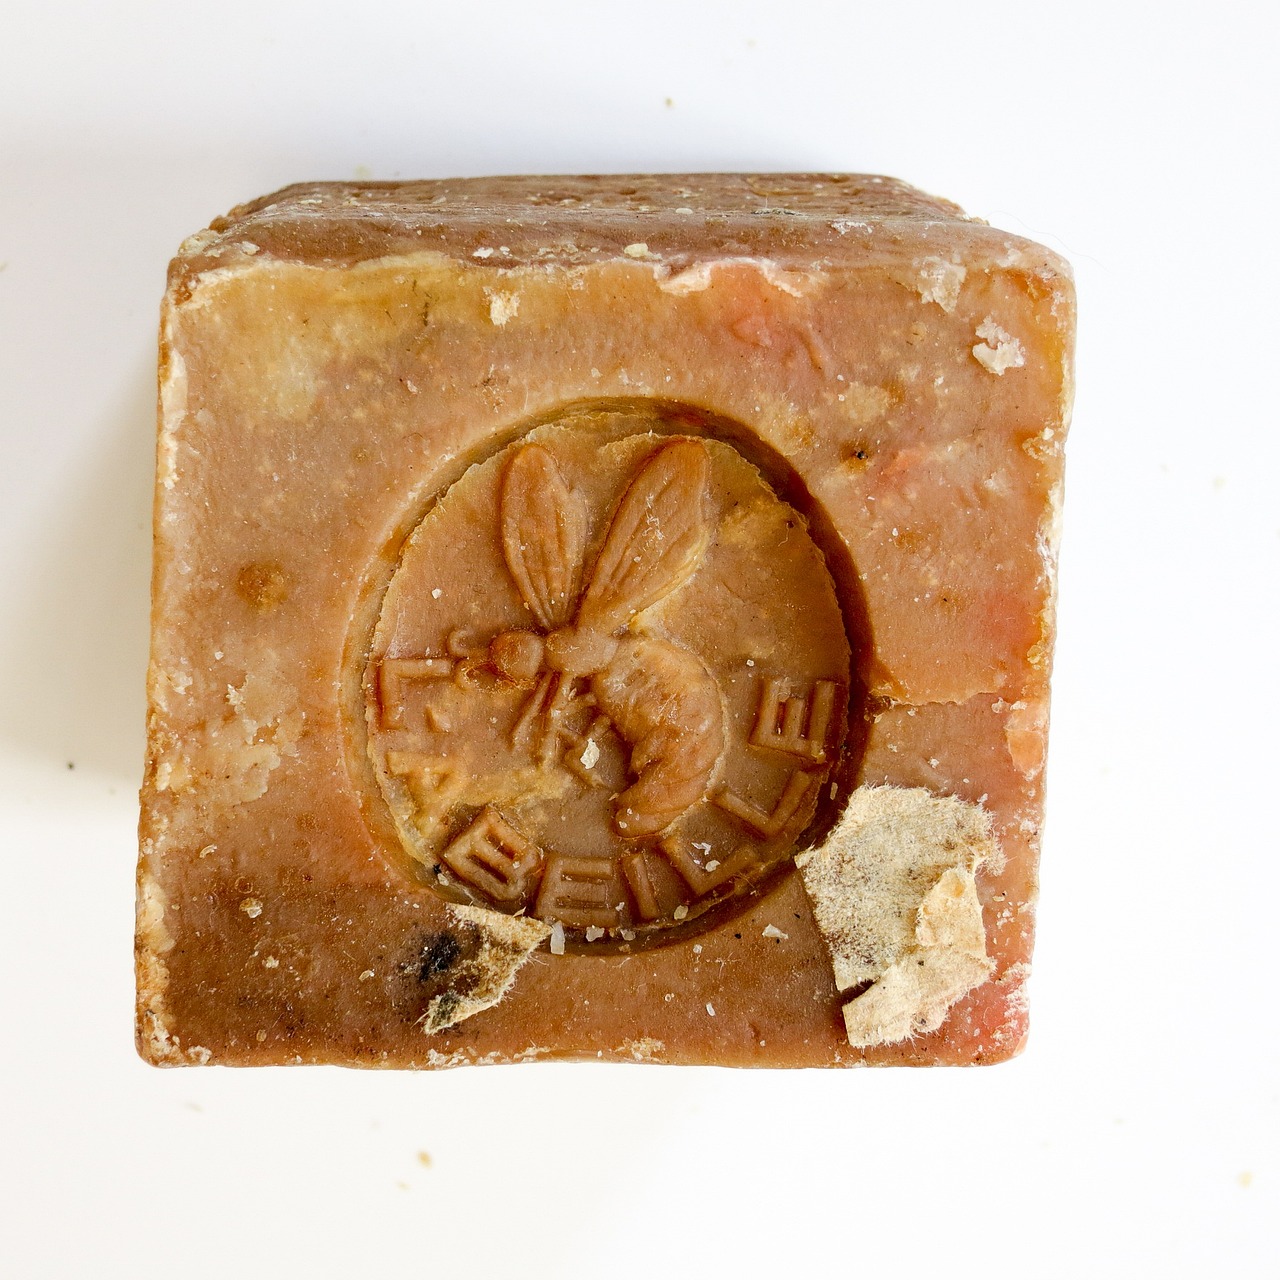
Cutting and Shaping
When it comes to your homemade natural soap, precision and creativity play crucial roles in the final product. Once your soap has fully cured, it's time to transform it into the perfect size and shape for your intended use. The cutting process is where you can truly customize your soap and make it visually appealing.
One common technique for cutting soap is using a sharp knife or a soap cutter to slice the soap slab into individual bars. This allows you to control the size of each bar and ensures clean, even cuts. You can also use cookie cutters or soap molds to create unique shapes and designs, adding a personal touch to your soap.
Shaping your soap can be a fun and creative process. You can round the edges of your soap bars for a softer look, or use a stamp to imprint designs or patterns onto the surface. Experimenting with different shaping techniques can result in beautifully crafted soaps that stand out both in appearance and quality.
Remember that the way you cut and shape your soap can also affect its usability. Ensuring that your bars are of uniform size and shape not only enhances the visual appeal but also makes it easier to handle and use. Whether you prefer classic rectangular bars or intricate shaped soaps, the cutting and shaping stage allows you to showcase your individual style and flair.

Storage and Usage
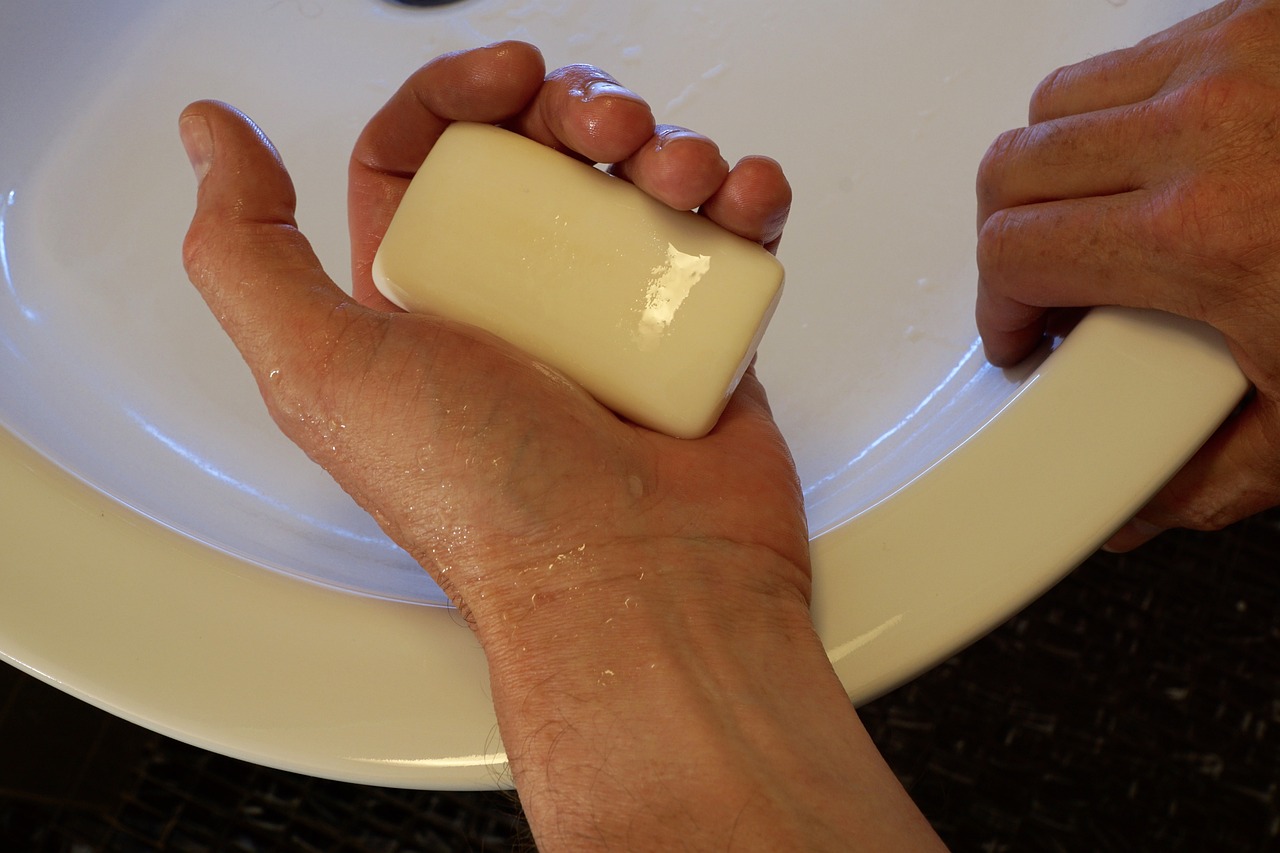
When it comes to storing your homemade natural soap, it's essential to keep it in a cool, dry place away from direct sunlight. This will help maintain the integrity of the soap and prevent it from melting prematurely. Consider using a well-ventilated area to allow proper curing of the soap, which enhances its quality over time.
For optimal usage, it's recommended to let the soap cure for at least 4-6 weeks before using it. This allows the soap to harden and ensures a longer-lasting bar. When using the soap, lather it in your hands or on a washcloth before applying it to your skin. This helps create a rich lather and ensures effective cleansing.
If you have multiple bars of natural soap, rotate their usage to prevent any bar from becoming too soft or mushy. Using a soap dish with proper drainage can also help extend the life of your soap by allowing it to dry between uses. Additionally, consider cutting larger bars into smaller pieces for more manageable use.
When storing your natural soap for an extended period, wrap it in wax paper or store it in an airtight container to protect it from moisture and humidity. This will help preserve the scent and quality of the soap over time. Avoid storing the soap in plastic containers, as they can trap moisture and affect the texture of the soap.
Frequently Asked Questions
- Can I customize the scent of my natural soap?
Yes, you can personalize the fragrance of your natural soap by adding essential oils of your choice. This allows you to create a unique and delightful scent tailored to your preferences.
- Is it necessary to use safety precautions when making natural soap at home?
Absolutely, safety precautions are crucial when making natural soap due to the use of lye, which is a caustic substance. Always wear protective gear such as gloves and goggles, work in a well-ventilated area, and follow proper handling procedures to ensure a safe soap-making process.
- How long does the curing process take, and why is it important?
The curing process typically lasts 4-6 weeks, during which the soap hardens and excess moisture evaporates, resulting in a milder and longer-lasting bar. Curing also allows the soap to reach its full potential in terms of texture and quality.