How to Make Your Own Natural Bath Bombs
Are you ready to elevate your bath time experience with luxurious and personalized bath bombs crafted from natural ingredients? Making your own bath bombs at home is not only a fun and creative process but also allows you to customize scents, colors, and shapes to suit your preferences. Let's dive into the exciting world of DIY bath bomb making and discover how you can create your own spa-like retreat right in your bathroom.

Gather Ingredients and Supplies
Before diving into the exciting world of creating your own natural bath bombs, it's essential to gather all the necessary ingredients and supplies. The key components for making bath bombs include baking soda, citric acid, essential oils, and molds. These ingredients form the foundation of your luxurious bath bombs, providing fizz, fragrance, and shape.
When selecting your essential oils, opt for high-quality options that not only offer delightful scents but also therapeutic benefits. Consider the properties of each oil and how they can enhance your bathing experience. From relaxing lavender to invigorating citrus, the possibilities are endless.
In addition to the basic ingredients, you may want to explore natural colorants to add visual appeal to your bath bombs. Clays, herbs, and powders can help you achieve vibrant hues without using artificial dyes. Experiment with different combinations to create stunning colors that elevate your bath time ritual.
As you prepare to craft your bath bombs, ensure you have all the tools and materials at hand. From mixing bowls and measuring spoons to molds and drying racks, having everything organized and ready will streamline the process. Set up your workspace and get ready to embark on a creative and rewarding journey into the world of homemade bath products.
Understanding the Basics of Bath Bomb Making
Learn how to create luxurious and relaxing bath bombs using natural ingredients at home. This guide will walk you through the steps to customize scents, colors, and shapes for a personalized bath experience.
Discover the essential components needed to make natural bath bombs, including baking soda, citric acid, essential oils, and molds. Ensure you have all the tools and materials before starting the process.
Explore the science behind bath bombs, such as the reaction between citric acid and baking soda that creates fizz. Learn about different ingredients and their roles in the bath bomb-making process.
Select the perfect essential oils for your bath bombs based on their therapeutic properties and fragrance preferences. Understand the benefits of different oils and how to blend them effectively.
Experiment with natural colorants like clays, herbs, and powders to achieve vibrant hues in your bath bombs. Discover techniques for mixing colors and creating unique patterns in your creations.
Enhance your bath bombs with additional elements like dried flowers, botanicals, or moisturizing ingredients. Learn how to incorporate these extras safely and effectively into your bath bomb recipes.
Get tips on molding and shaping your bath bombs to achieve professional-looking results. Explore different mold options and techniques for creating various shapes and sizes of bath bombs.
Understand the importance of drying and curing your bath bombs to ensure they retain their shape and fizziness. Learn the best practices for storing and preserving your homemade creations.
Indulge in a luxurious bath experience with your custom-made natural bath bombs. Relax and unwind as you enjoy the soothing scents, vibrant colors, and skin-nourishing ingredients of your creations.
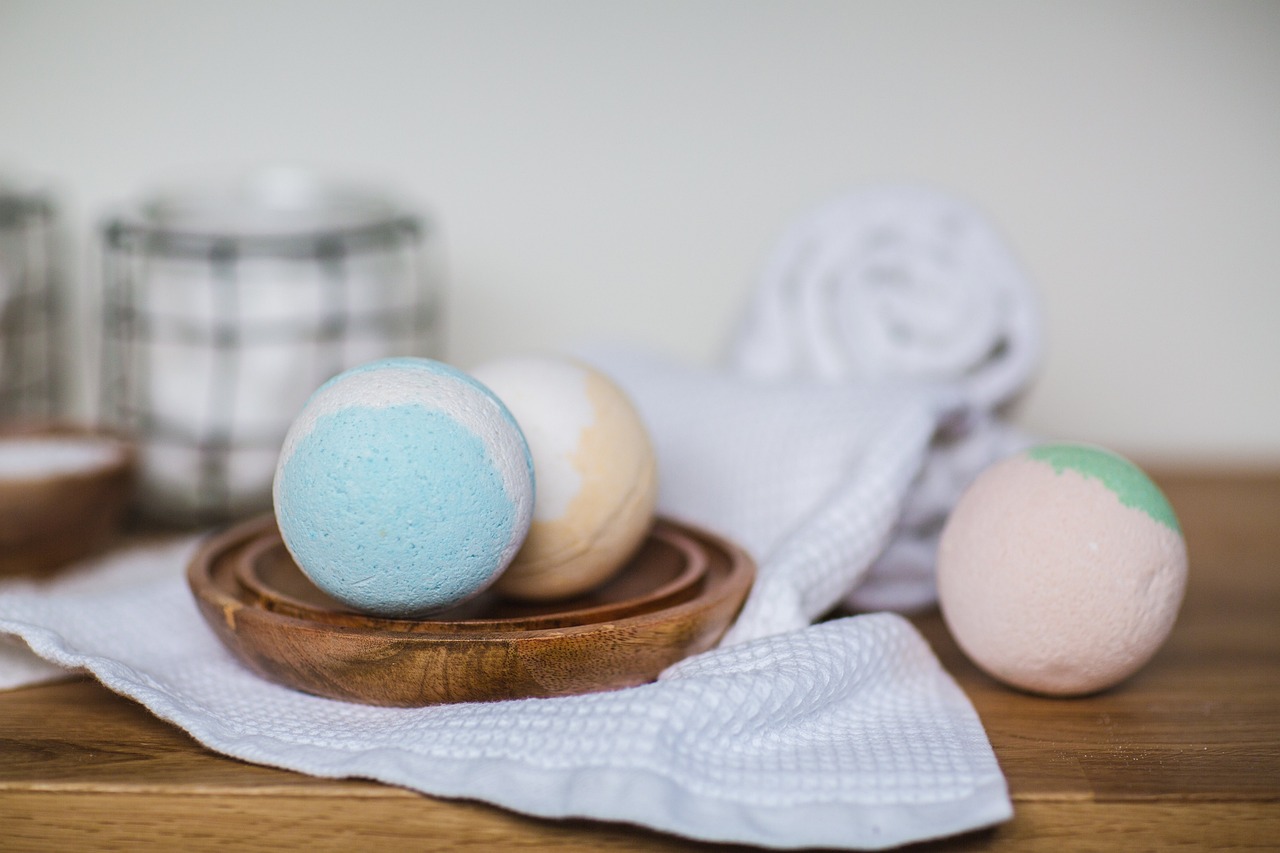
When it comes to making bath bombs, understanding the basics is crucial for creating the perfect fizzy experience. The key lies in the reaction between citric acid and baking soda, which produces the delightful fizz once the bomb hits the water. It's like a mini science experiment right in your bathtub! Additionally, different ingredients play specific roles in the overall bath bomb-making process. Each component contributes to the bomb's texture, scent, and overall performance, making it essential to grasp their functions.
Choosing the Right Essential Oils
When it comes to creating your own natural bath bombs, choosing the right essential oils is crucial in achieving the perfect blend of fragrance and therapeutic benefits. Essential oils not only provide a delightful scent to your bath bombs but also offer various properties that can enhance your bathing experience.
Before selecting your essential oils, consider the desired effect you want to achieve. Are you looking for a relaxing bath to unwind after a long day, or do you prefer an energizing blend to start your morning refreshed? Different essential oils have unique properties that cater to specific needs, so understanding their benefits is essential in creating the perfect bath bomb.
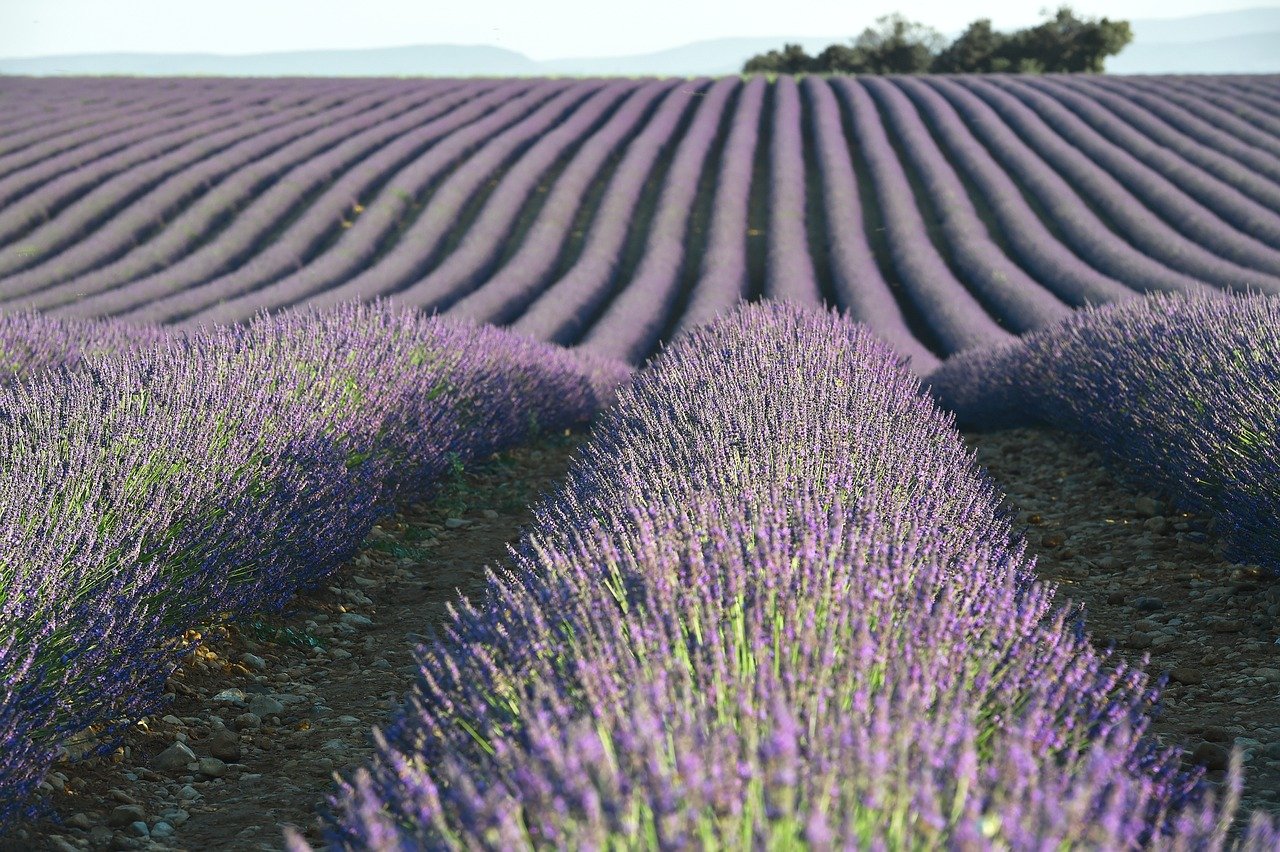
Some popular essential oils used in bath bomb making include lavender for its calming effects, peppermint for a refreshing and invigorating experience, and citrus oils like lemon or orange for a revitalizing scent. You can also explore floral oils such as rose or jasmine for a luxurious and soothing bath.
To create a custom scent blend, experiment with mixing different essential oils to achieve a unique fragrance that resonates with you. Consider creating a balanced combination of top, middle, and base notes to ensure a well-rounded and harmonious aroma in your bath bombs.
When blending essential oils, it's important to consider their dilution rates to avoid skin irritation. Always refer to a dilution guide or consult with a professional aromatherapist to ensure safe usage of essential oils in your bath bomb recipes.

Creating Custom Color Combinations
When it comes to creating custom color combinations for your bath bombs, the possibilities are endless. By experimenting with natural colorants like clays, herbs, and powders, you can achieve a wide range of vibrant hues that will make your bath time experience even more enjoyable. Mixing colors and creating unique patterns can add a touch of artistry to your creations, turning your bath bombs into miniature works of art.
One effective way to create custom color combinations is by using a color wheel to guide your choices. By understanding the basics of color theory, you can mix primary colors to create secondary colors and experiment with different shades and tones. This can help you achieve the perfect color palette for your bath bombs, whether you prefer soft pastels or bold, bright hues.
Another approach to creating custom color combinations is by layering different colored mixtures in your molds. This technique allows you to create intricate designs and patterns within your bath bombs, adding visual interest and dimension to your creations. By pouring layers of different colors carefully, you can create stunning effects that will be revealed as the bath bomb dissolves in water.
Additionally, you can consider adding natural additives like dried flower petals or botanicals to your bath bomb mixtures to introduce subtle flecks of color and texture. These elements not only enhance the visual appeal of your bath bombs but also provide a sensory experience, releasing fragrant oils and botanical scents as the bath bomb fizzes in the water.
Adding Extra Elements for Enhancement
When it comes to creating bath bombs, adding extra elements can take your creations to the next level of luxury and indulgence. By incorporating additional elements such as dried flowers, botanicals, or moisturizing ingredients, you can enhance the visual appeal and skin-nourishing properties of your bath bombs.
One popular way to enhance bath bombs is by including dried flowers, which not only add a touch of elegance but also provide a delightful sensory experience. From vibrant petals to fragrant herbs, dried flowers can elevate the aesthetic appeal of your bath bombs and create a spa-like atmosphere in your bath.
Botanicals are another fantastic option for adding extra elements to your bath bombs. Ingredients like lavender buds, rose petals, or chamomile flowers can infuse your bath water with soothing scents and natural goodness, promoting relaxation and rejuvenation.
If you're looking to boost the moisturizing properties of your bath bombs, consider incorporating ingredients like shea butter, coconut oil, or cocoa butter. These rich and nourishing additions can help hydrate and soften your skin while you soak, leaving you feeling pampered and refreshed.
Experimenting with different combinations of extra elements allows you to customize your bath bombs according to your preferences and skincare needs. Whether you're aiming for a visually stunning bath bomb or a deeply hydrating one, adding extra elements for enhancement can transform your bathing experience into a truly indulgent ritual.
Mastering the Molding and Shaping Process
When it comes to of your bath bombs, precision and creativity are key. Imagine yourself as a sculptor, molding a masterpiece with your hands, but instead of clay, you're working with fizzy, fragrant bath bomb mixtures. This step is where you can truly let your artistic side shine, creating unique shapes and designs that will elevate your bath time experience to a whole new level.
One technique to consider when molding your bath bombs is using different types of molds to achieve various shapes and sizes. From classic spherical bombs to heart-shaped delights or even intricate geometric designs, the possibilities are endless. Experiment with silicone molds, metal molds, or even household items like ice cube trays to create one-of-a-kind bath bombs that reflect your personal style.
Another aspect to focus on is the packing of your mixture into the molds. Patience is key here; make sure to pack the mixture tightly and evenly into the molds to ensure a smooth and uniform finish. Pressing too lightly may result in a crumbly bath bomb, while pressing too hard could distort the shape. Finding the right balance will take some practice, but the results will be well worth the effort.
Consider adding layers or embeds to your bath bombs for a visually stunning effect. By layering different colored mixtures or embedding dried flowers, herbs, or glitter, you can create bath bombs that are not only luxurious but also visually captivating. This extra touch of detail will make your bath bombs stand out and add an element of surprise and delight to your bathing ritual.
Lastly, don't forget about the finishing touches. Once your bath bombs are molded and shaped to perfection, allow them to dry and cure properly before use. This step is crucial in ensuring that your bath bombs maintain their shape and fizziness when dropped into the bathwater. Proper drying and curing will also enhance the longevity of your creations, allowing you to enjoy them for weeks to come.

Drying and Curing Your Bath Bombs
After creating your bath bombs, it's crucial to properly dry and cure them to ensure they maintain their shape and fizziness. Drying is the process of removing excess moisture from the bath bombs, while curing allows the ingredients to fully bind together for a longer-lasting product.
One effective method for drying your bath bombs is to place them on a tray or rack in a dry, cool place away from direct sunlight. Allow them to air dry for 24-48 hours, turning them occasionally to ensure even drying. This step is essential for preventing your bath bombs from becoming soft or losing their shape.
Once your bath bombs are dry to the touch, it's time to move on to the curing process. Curing involves storing the bath bombs in airtight containers or sealed bags for an additional 2-3 days. This allows the moisture to distribute evenly throughout the bath bombs, resulting in a smoother and more consistent texture.
During the curing process, resist the temptation to use or package your bath bombs too soon. Patience is key to achieving the best results and ensuring your bath bombs are fully set and ready for use. Properly dried and cured bath bombs will provide a delightful fizzing experience in the bath, releasing their scents and colors effectively.

Enjoying Your Homemade Bath Bombs
After all the effort and creativity put into making your own natural bath bombs, it's finally time to reap the rewards and enjoy the luxurious experience they offer. Picture yourself in a warm bath, surrounded by the soothing scents, vibrant colors, and skin-nourishing ingredients of your custom creations. This is your moment of relaxation and indulgence, a treat you truly deserve.
To enhance your bath bomb experience further, consider setting the mood in your bathroom. Dim the lights, play some soft music, and light a few candles to create a tranquil atmosphere. Let the stress of the day melt away as you sink into the fragrant waters and feel the tension leave your body.
As you drop your homemade bath bomb into the water, watch as it fizzes and releases its delightful aroma. Take a deep breath and allow the calming scent to envelop you, transporting you to a place of peace and serenity. Feel the tension in your muscles ease as you soak in the nourishing ingredients that pamper your skin.
While you soak, take this time to unwind and treat yourself to some self-care. Close your eyes, clear your mind, and focus on the present moment. Let the worries of the day drift away as you indulge in this simple yet luxurious bath experience that you have created with your own hands.
After your bath, pat your skin dry and feel the softness and hydration that your homemade bath bomb has provided. Revel in the knowledge that you have taken the time to create something special for yourself, something that not only benefits your skin but also nourishes your soul.
Frequently Asked Questions
- Can I customize the scents and colors of my bath bombs?
Yes, you can personalize your bath bombs by choosing different essential oils for scents and natural colorants for colors. Experiment with various combinations to create unique and vibrant bath bombs.
- What are the essential ingredients needed to make natural bath bombs?
The essential components for making natural bath bombs include baking soda, citric acid, essential oils, and molds. These ingredients work together to create the fizzing and aromatic experience in your bath.
- How do I properly dry and store my homemade bath bombs?
It is important to allow your bath bombs to dry and cure properly to maintain their shape and fizziness. Store them in a cool, dry place away from moisture to preserve their quality for future use.


