How to Create a DIY Family Photo Album
Creating a DIY family photo album is a wonderful way to preserve precious memories and stories that can be cherished for generations. By following some simple tips and tricks, you can craft a personalized album that truly captures the essence of your family's journey through life.
First and foremost, gather all the materials you will need for your project. Select high-quality paper that will stand the test of time, adhesive that will keep your photos secure, and embellishments that will add a touch of flair to your album.
Next, it's time to organize your photos. Take a trip down memory lane as you sort through your collection of family pictures. Arrange them in a way that tells a cohesive story, whether it's chronologically or based on specific themes that resonate with your family.
Choosing a central theme for your family photo album can bring a sense of unity to the project. Consider focusing on milestones, vacations, or special occasions that hold significant meaning for your family.
When designing the layout of your album, think about how you want to showcase each page. Plan the placement of photos, write captions that provide context, and add decorative elements that enhance the overall visual appeal.
To add a personal touch to your DIY family photo album, consider including handwritten notes, memorabilia, and personalized messages. These little details can make your album truly unique and meaningful.
Get creative with your techniques by experimenting with scrapbooking methods such as layering, borders, and embellishments. These artistic touches can add depth and interest to your album, making it even more special.
It's essential to protect and preserve your family photos for the long run. Use acid-free materials and protective sleeves to safeguard your album from damage and deterioration over time, ensuring that your memories remain intact.
Once your DIY family photo album is complete, don't keep it hidden away. Display it proudly in your home, share it with loved ones, and revisit the cherished memories it holds whenever you need a dose of nostalgia.
Creating a DIY family photo album is not just about putting pictures in an album; it's about curating a visual story of your family's history and creating a keepsake that will be treasured for years to come.
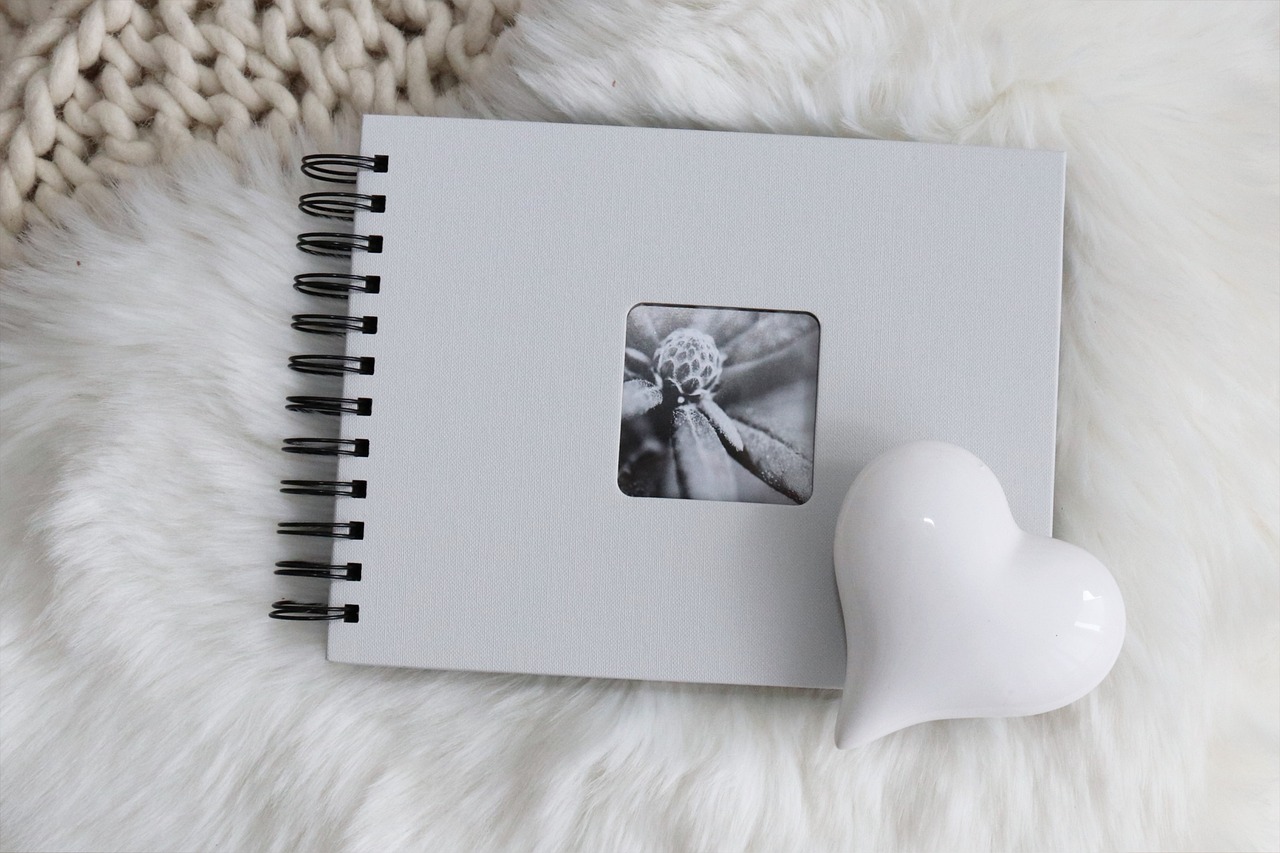
Gather Your Materials
Tips and tricks for crafting a personalized family photo album that captures memories and stories for generations to come.
When embarking on the journey of creating a DIY family photo album, the first step is to gather all the necessary materials that will bring your vision to life. Select high-quality paper that will withstand the test of time, ensuring your photos remain vibrant and well-preserved. Choose adhesive that is safe for your precious memories, avoiding any damage to the photographs. Additionally, gather a selection of photos that hold significant meaning to you and your family, capturing special moments that you want to cherish forever. Don't forget to pick out embellishments like stickers, ribbons, or other decorative elements to give your DIY family photo album a professional finish.

Organize Your Photos
When it comes to creating a DIY family photo album, one of the most crucial steps is organizing your photos. Before diving into the creative process, take the time to sift through your collection of cherished memories. Start by gathering all your photos in one place, whether they are physical prints or digital files. Sorting through them can be a trip down memory lane, evoking emotions and nostalgia.
Consider organizing your photos in a way that tells a story. You can opt for a chronological order, starting from the earliest family photos and progressing through the years. This approach allows you to see how your family has evolved over time. Alternatively, you can group photos based on themes or events, such as family vacations, holidays, birthdays, or special milestones.
To further enhance the organization of your photos, create a system that works for you. This could involve labeling photos with dates, locations, or names of family members. Utilizing photo albums or digital folders can help keep everything structured and easily accessible when you start designing your DIY family photo album.
Another useful technique is to create a rough outline or storyboard of how you want your album to flow. This can help you visualize the placement of photos and ensure a cohesive narrative throughout the album. By organizing your photos thoughtfully, you set the stage for a personalized and meaningful family keepsake that will be cherished for years to come.

Choose a Theme
When it comes to creating a DIY family photo album, one of the most crucial steps is choosing a theme that ties all your memories together. Selecting a central theme or narrative for your album can help give it a cohesive and organized feel, making it more enjoyable to flip through and reminisce about the moments captured in each photo.
Imagine your family photo album as a storybook, with each page representing a chapter in the tale of your family's journey. By choosing a theme, whether it's based on milestones, vacations, special occasions, or even a specific color scheme, you can create a visual narrative that guides the viewer through the album from beginning to end.
Think about what story you want your family photo album to tell. Are you focusing on the growth of your children over the years, the adventures you've shared as a family, or the traditions that hold special meaning for your loved ones? By selecting a theme, you can curate your photos to align with this overarching story, creating a more engaging and impactful album.
Additionally, choosing a theme for your family photo album can help spark creativity in the design process. Whether you opt for a vintage-inspired look, a modern and minimalist style, or a whimsical and playful theme, your chosen theme can influence the layout, color scheme, and decorative elements you incorporate into each page.

Design the Layout
When it comes to designing the layout of your DIY family photo album, creativity knows no bounds. This is where you get to unleash your artistic flair and create a visually stunning masterpiece that will showcase your cherished memories in the best possible light. Think of each page as a blank canvas waiting to be transformed into a work of art that tells the story of your family.
One effective way to design the layout is to establish a visual hierarchy. Consider the size and placement of your photos, the use of negative space, and the flow of the pages. By strategically arranging your images and text, you can guide the viewer's eye through the album, ensuring a cohesive and engaging experience.
Experiment with different layouts to find what works best for your album. You can create symmetry by aligning photos and text neatly, or opt for a more eclectic approach with overlapping images and varied angles. The key is to strike a balance between uniformity and creativity, ensuring that each page complements the overall theme of your family photo album.
Adding captions to your photos can also enhance the storytelling aspect of your album. Use descriptive language to provide context and evoke emotions, giving viewers a deeper insight into the captured moments. Additionally, consider incorporating decorative elements like borders, stickers, or Washi tape to add visual interest and tie the design together.
Remember, the layout of your DIY family photo album should not only be visually appealing but also functional. Ensure that the sequence of photos makes sense chronologically or thematically, guiding the viewer through a cohesive narrative. Don't be afraid to think outside the box and let your creativity shine through in every aspect of the design.
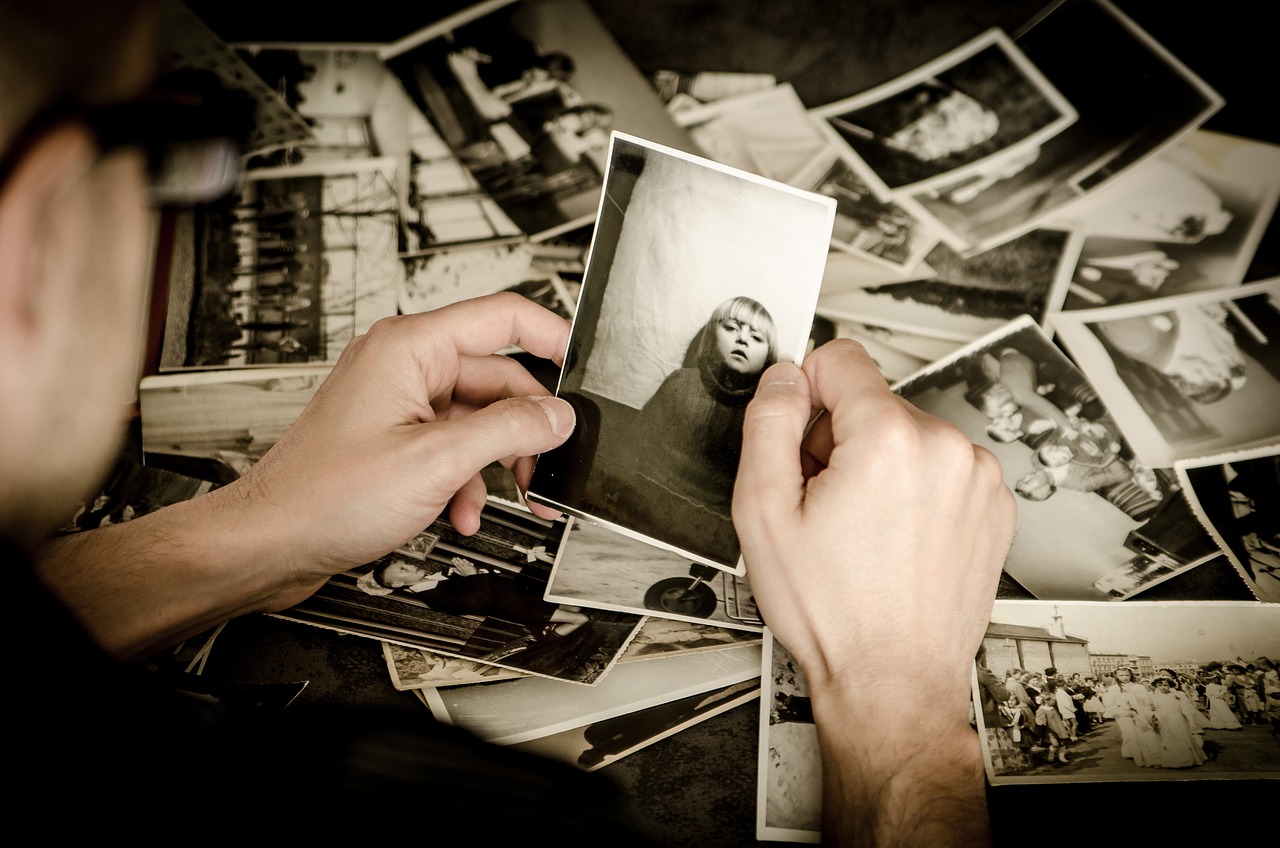
Add Personal Touches
Adding personal touches to your DIY family photo album is what truly makes it special and unique. Imagine your album as a canvas waiting for your artistic expression to bring it to life. By infusing your personal touch, you are transforming a collection of photos into a storytelling masterpiece that reflects your family's journey.
One way to add a personal touch is by including handwritten notes alongside the photos. These notes can range from heartfelt messages to funny anecdotes that provide context and emotion to the images. It's like adding captions to a painting, guiding the viewer through the story behind each moment captured.
Another way to personalize your family photo album is by incorporating memorabilia. Whether it's a ticket stub from a memorable concert, a dried flower from a special occasion, or a piece of fabric from a cherished outfit, these items add texture and depth to your album, turning it into a tactile and immersive experience.
Consider including personalized messages throughout the album. These messages can be directed to specific family members or be general reflections on the moments captured in the photos. They serve as a direct line of communication from you to the viewer, creating a bond that transcends the pages of the album.
Think of your family photo album as a time capsule that encapsulates not just images but also emotions, stories, and connections. The personal touches you add are like brushstrokes on a painting, each stroke contributing to the overall masterpiece. So, let your creativity flow and infuse your DIY family photo album with the essence of your family's unique story.

Incorporate Creative Techniques
When creating your DIY family photo album, incorporating creative techniques can elevate the visual appeal and storytelling aspect of your project. Think of your album as a canvas waiting to be adorned with your unique creativity and personal touch. One creative technique to consider is layering, where you strategically place photos, embellishments, and decorative elements on different levels to create depth and dimension. This technique can bring your photos to life and make them more visually engaging.
Another creative technique to explore is adding borders to your photos. Borders can frame your pictures beautifully, drawing attention to the images and giving them a polished look. You can experiment with different border styles, such as scalloped edges, torn edges, or intricate designs, to find the perfect match for your album's theme and aesthetic.
Embellishments are also a fantastic way to enhance the overall design of your family photo album. Consider incorporating stickers, ribbons, buttons, or stamps to add flair and personality to your pages. These small details can tie the album together and create a cohesive visual story that reflects your family's unique personality and style.
Moreover, don't be afraid to mix and match creative techniques to create a truly one-of-a-kind family photo album. Combine layering with borders, experiment with different embellishments, and play with textures and colors to bring your vision to life. Remember, the goal is to create a keepsake that not only preserves memories but also sparks joy and nostalgia every time you flip through its pages.

Protect and Preserve
When it comes to preserving your precious family memories, ensuring the longevity of your DIY family photo album is crucial. To protect your photos from fading, yellowing, or damage, it's essential to use high-quality materials and proper preservation techniques. By investing in acid-free paper, adhesive, and protective sleeves, you can safeguard your family photos for future generations to enjoy.
Acid-free materials are specifically designed to prevent chemical reactions that can degrade photos over time. These archival-quality supplies are free from harmful acids that can cause discoloration and deterioration. By using acid-free paper for your album pages and adhesive, you can ensure that your photos remain vibrant and intact for years to come.
Additionally, storing your DIY family photo album in protective sleeves provides an extra layer of defense against environmental factors such as light, moisture, and dust. These sleeves help shield your photos from physical damage and help maintain their original quality. When selecting protective sleeves, opt for ones that are clear, durable, and sized to fit your album pages perfectly.
Proper storage is also key to preserving your family photo album. Keep your album in a cool, dry place away from direct sunlight and humidity. Avoid storing it in basements or attics where temperature fluctuations can accelerate deterioration. By following these simple preservation practices, you can ensure that your DIY family photo album stands the test of time.

Share and Enjoy
Tips and tricks for crafting a personalized family photo album that captures memories and stories for generations to come.
Select high-quality paper, adhesive, photos, and embellishments to give your DIY family photo album a professional finish.
Sort through your collection of family photos and arrange them in a chronological or thematic order for a cohesive album layout.
Decide on a central theme or narrative for your family photo album, such as milestones, vacations, or special occasions.
Plan the layout of each page, including photo placement, captions, and decorative elements to enhance the visual appeal of your DIY album.
Include handwritten notes, memorabilia, and personalized messages to make your family photo album truly unique and meaningful.
Experiment with scrapbooking techniques like layering, borders, and embellishments to add depth and interest to your DIY family photo album.
Use acid-free materials and protective sleeves to safeguard your family photos from damage and deterioration over time.
Display your DIY family photo album proudly in your home, share it with loved ones, and revisit the cherished memories it holds for years to come.
Frequently Asked Questions
- Can I use digital photos in my DIY family photo album?
Yes, you can print out digital photos to include in your DIY family photo album. Make sure to use high-quality photo paper for the best results.
- How can I make my family photo album more creative?
You can add creative touches by incorporating scrapbooking techniques like layering, using borders, and adding embellishments to enhance the visual appeal of your album.
- What materials should I use to protect my family photos?
It is recommended to use acid-free materials and protective sleeves to safeguard your family photos from damage and deterioration over time.
- Can I share my DIY family photo album with others?
Absolutely! Display your DIY family photo album proudly in your home, share it with loved ones, and revisit the cherished memories it holds for years to come.


