How to Make Your Own Decorative Napkin Holders
Are you looking to elevate your dining table décor with a personal touch? Crafting your own decorative napkin holders can be a fun and rewarding DIY project that allows you to showcase your creativity. By following a few simple steps and unleashing your imagination, you can create unique napkin holders that will impress your guests and add a touch of charm to your dining experience.
Before diving into the crafting process, it's essential to gather all the necessary materials. From wood blocks to decorative paper, glue, scissors, and paint, having everything prepared in advance will streamline the crafting process and ensure a smooth execution of your creative vision.
Choosing a design theme is the first step towards creating personalized napkin holders. Whether you prefer a rustic, modern, vintage, or seasonal aesthetic, selecting a design concept will provide a cohesive direction for your project and guide your creative decisions.
Once you have decided on a design theme, it's time to measure and cut the materials. Precision is key in creating napkin holders that are both aesthetically pleasing and functional. Carefully cutting the wood blocks and decorative paper to the desired size and shape will set the foundation for your unique creations.
Assembling the napkin holders requires attention to detail and following a step-by-step guide. Ensuring that all pieces fit together securely will result in a functional and visually appealing napkin holder that complements your chosen design theme.
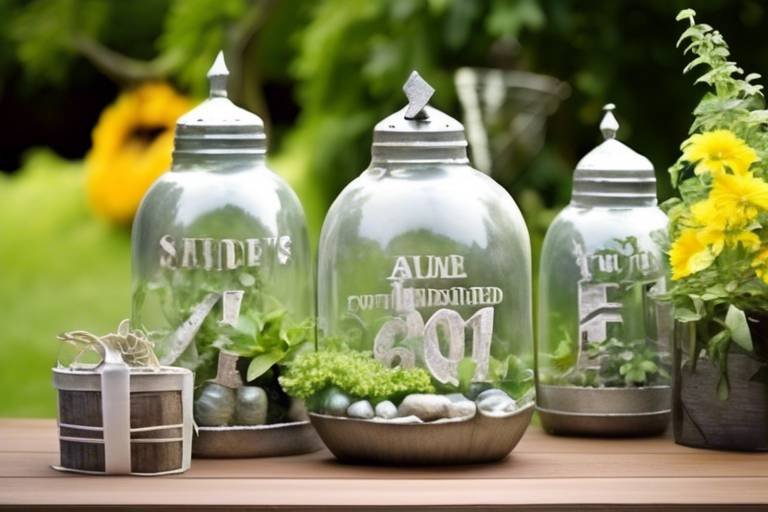
To add a personalized touch to your napkin holders, consider incorporating elements like monograms, quotes, or embellishments. These personal touches will make your creations truly one-of-a-kind and reflective of your individual style and personality.
Experimenting with different crafting techniques can take your napkin holder designs to the next level. Whether you explore decoupage, stenciling, or wood burning, trying out various techniques will help you create diverse and eye-catching napkin holders that stand out on your dining table.
Don't forget to seal and finish your napkin holders to enhance their durability and preserve the decorative elements. Applying a protective sealant will ensure that your creations last for a long time, allowing you to showcase them during gatherings and special occasions.
Finally, proudly display your handmade napkin holders to showcase your creativity and attention to detail in home décor. Whether it's a family dinner or a festive celebration, your unique creations will undoubtedly spark conversations and admiration from your guests.

Gather Necessary Materials
Before embarking on your creative journey to make decorative napkin holders, it's essential to to bring your vision to life. The key to a successful crafting project lies in being well-prepared with all the essential supplies. To start off, gather wood blocks as the base for your holders, decorative paper to add flair, glue for secure assembly, scissors for precise cutting, and paint to add the finishing touches.
Having all the materials at hand will streamline the crafting process and allow you to focus on the creative aspects of designing your napkin holders. Imagine the satisfaction of seeing your dining table adorned with unique holders that reflect your personal style and attention to detail. Preparation is the first step towards creating something truly special.

Choose a Design Theme
When it comes to creating your own decorative napkin holders, one of the most exciting steps is choosing a design theme that will set the tone for your entire crafting project. Your design theme will dictate the overall look and feel of your napkin holders, whether you opt for a rustic charm, a modern aesthetic, a vintage vibe, or even a seasonal touch to match the occasion.
Imagine your dining table as a canvas, waiting for you to paint it with your chosen design theme. Just like selecting the perfect color palette for a painting, choosing a design theme for your napkin holders allows you to express your creativity and personal style. Are you drawn to the warmth of rustic elements, the sleekness of modern design, the nostalgia of vintage pieces, or the festive spirit of seasonal decorations?
Consider how your chosen design theme will harmonize with the overall ambiance of your dining area. Will it seamlessly blend in with your existing décor, or will it stand out as a unique focal point? Think of your design theme as the signature style that will make your napkin holders not just functional pieces but also decorative accents that reflect your taste and personality.

Measure and Cut Materials
When it comes to creating your own decorative napkin holders, one of the crucial steps is to accurately. This process sets the foundation for the final look and functionality of your napkin holders. Imagine it as the blueprint for your crafting masterpiece, ensuring that each piece fits perfectly together like a puzzle.
Before diving into the cutting phase, gather all the necessary materials on your crafting table. From the sturdy wood blocks to the decorative paper that will add flair to your napkin holders, having everything within reach will streamline the process. Think of it as preparing your ingredients before cooking a delicious meal - organization is key.
Once you have your materials ready, it's time to bring out the tools and start measuring. Precision is key here. Use a ruler or measuring tape to ensure that each wood block and decorative paper is cut to the exact size you desire. Remember, accuracy in measurements will result in a polished and professional-looking final product.
As you carefully cut the materials, envision how each piece will come together to form the napkin holder. It's like piecing together a puzzle where every element plays a crucial role in the overall design. Take your time with this step, as patience and attention to detail will elevate the quality of your creation.
Consider creating a template or outline before cutting to guide you through the process. This can help prevent any mistakes and ensure consistency across all the napkin holders you craft. Think of it as creating a roadmap to follow, leading you to a successful and visually appealing end result.
Remember, the beauty of crafting lies in the hands-on process of creating something unique and personal. Embrace the art of measuring and cutting materials as a foundational step in your creative journey towards making stunning decorative napkin holders that will leave a lasting impression on your guests.

Assemble the Napkin Holders
When it comes to assembling your napkin holders, precision and attention to detail are key to creating a functional and visually appealing final product. Begin by gathering all the components you have prepared, including the wood blocks, decorative paper, glue, scissors, and paint, in a well-lit and organized workspace.
Start by laying out the wood blocks and decorative paper pieces according to your design plan. Ensure that the measurements are accurate and the pieces fit together seamlessly before moving on to the assembly phase. This step is crucial in ensuring a cohesive and polished look for your napkin holders.
Next, carefully apply a thin layer of glue to the designated areas of the wood blocks where the decorative paper will be attached. Take your time to align the paper correctly and press it firmly onto the surface of the wood to prevent any air bubbles or wrinkles. Allow the glue to dry completely before proceeding to the next step.
Once the decorative paper is securely attached to the wood blocks, it's time to assemble the pieces together to form the actual napkin holder. Follow the design layout you have chosen, whether it's a simple rectangular shape or a more intricate design, and ensure that the pieces fit together snugly. Use additional glue or adhesive as needed to reinforce the connections and create a sturdy structure.
As you put the napkin holder together, pay attention to the finer details such as the alignment of edges and the overall symmetry of the design. These small touches can make a significant difference in the final appearance of your creation and elevate it from a basic craft project to a personalized piece of home décor.
Lastly, allow the assembled napkin holders to dry completely before adding any finishing touches or embellishments. This step is crucial in ensuring that the glue has fully set and the structure is stable. Once dry, inspect the napkin holders for any imperfections and make any necessary adjustments to achieve the desired outcome.
By following these steps with care and precision, you can assemble unique and charming napkin holders that will impress your guests and elevate the aesthetic of your dining table décor.

Add Personalized Touches
When it comes to adding a personal touch to your handmade napkin holders, the possibilities are endless. You can truly make them your own by incorporating unique elements that reflect your personality and style. Whether it's adding a monogram of your initials, a favorite quote, or special embellishments, these personalized touches will elevate your napkin holders to a whole new level of charm and individuality.
One creative idea is to use decorative paper with patterns or colors that resonate with you. This simple addition can instantly transform a plain napkin holder into a statement piece that catches the eye. You can also experiment with different textures and finishes to create a tactile experience for your guests, making each napkin holder not only visually appealing but also interesting to touch.
For a more elegant touch, consider incorporating small trinkets or charms that hold sentimental value to you. These tiny details may seem insignificant at first glance, but they can carry immense personal meaning and become conversation starters during dinner parties. Your guests will appreciate the thought and effort you put into customizing every aspect of your dining table décor.
To further personalize your napkin holders, you can also explore the world of calligraphy and hand-lettering. Adding handwritten quotes, names, or dates can infuse a sense of warmth and intimacy into your table setting, creating a welcoming atmosphere for your guests. The beauty of hand-lettered elements lies in their imperfections, which give each napkin holder a unique character and a handmade feel.
Don't be afraid to mix and match different styles and techniques when adding personalized touches to your napkin holders. Combining various elements such as metallic accents, ribbons, or beads can result in a visually stunning and eclectic design that reflects your eclectic taste and creativity. Remember, the key is to have fun and let your imagination run wild as you infuse your personality into every detail of your DIY napkin holders.

Experiment with Different Techniques
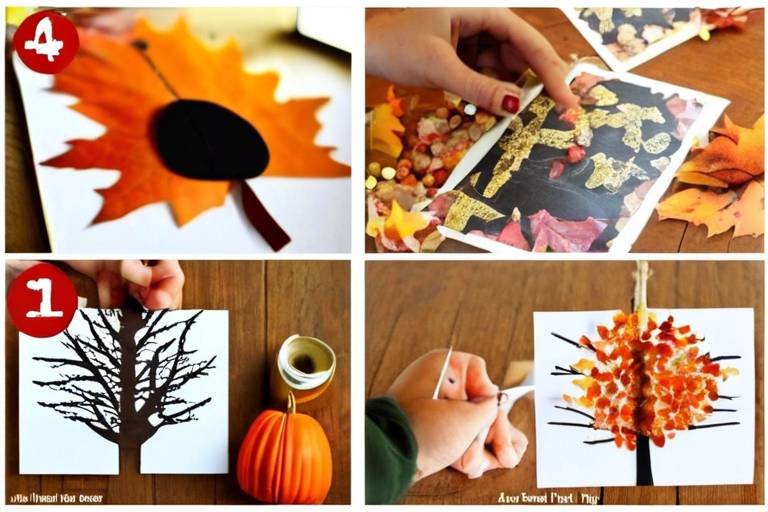
When it comes to creating decorative napkin holders, experimenting with different techniques can elevate your crafting game to a whole new level. By exploring a variety of methods, you can discover unique ways to design napkin holders that stand out and capture attention. Whether you're a novice crafter or an experienced DIY enthusiast, trying out different techniques allows you to unleash your creativity and add a personal touch to your dining table décor.
One technique to consider is decoupage, a versatile method that involves decorating surfaces with paper cutouts and a special adhesive. With decoupage, you can incorporate intricate designs, patterns, and images onto your napkin holders, giving them a customized and artistic look. This technique is perfect for adding visual interest and texture to your creations, making them visually appealing and one-of-a-kind.
If you're inclined towards precision and detail, stenciling is another technique worth exploring. By using stencils to apply paint or designs onto your napkin holders, you can achieve clean and crisp patterns with ease. Stenciling allows you to experiment with different colors and shapes, enabling you to create striking and precise designs that enhance the overall aesthetic of your holders.
For those who enjoy working with wood, wood burning is a technique that can add a touch of elegance and sophistication to your napkin holders. Also known as pyrography, wood burning involves using a heated tool to create intricate designs or patterns on wooden surfaces. This technique allows you to etch detailed motifs or personalizations onto the holders, giving them a unique and handcrafted appeal.
Additionally, mixing and matching various techniques such as combining decoupage with stenciling or incorporating wood burning with painted accents can result in truly innovative and visually captivating napkin holder designs. Don't be afraid to experiment and push the boundaries of traditional crafting methods to unleash your creativity and create napkin holders that reflect your individual style and personality.

Seal and Finish the Holders
When it comes to completing your handmade napkin holders, the final step of sealing and finishing is crucial to ensure their longevity and visual appeal. Applying a protective sealant or finish not only enhances the durability of the holders but also helps preserve the decorative elements, keeping them looking fresh and vibrant for a long time.
Before sealing the holders, make sure that all the components are securely assembled and any embellishments are firmly attached. This will prevent any parts from coming loose during the sealing process and ensure a smooth finish overall. Additionally, consider the type of sealant or finish you want to use based on the materials of your napkin holders and the desired final look.
One popular option for sealing napkin holders is a clear polyurethane spray, which provides a durable and protective coating while maintaining the natural look of the materials. Alternatively, you can opt for a glossy or matte finish to add a touch of elegance or a subtle sheen to your holders, depending on your preference.
When applying the sealant, make sure to do so in a well-ventilated area and follow the manufacturer's instructions for the best results. Apply thin, even coats of the sealant, allowing each layer to dry completely before adding the next one. This will help prevent drips, bubbles, or uneven coverage, ensuring a professional finish.
Once the sealant has dried completely, inspect the napkin holders for any imperfections or areas that may need touch-ups. Sanding lightly between coats can help smooth out any rough spots and ensure a uniform finish. Finally, admire your beautifully sealed and finished napkin holders, ready to adorn your dining table with style and charm.
Showcase Your Creations
Once you have completed crafting your unique napkin holders, it's time to and let your creativity shine. Displaying your handmade napkin holders can not only add a personal touch to your dining table but also serve as a conversation starter during gatherings and special occasions.
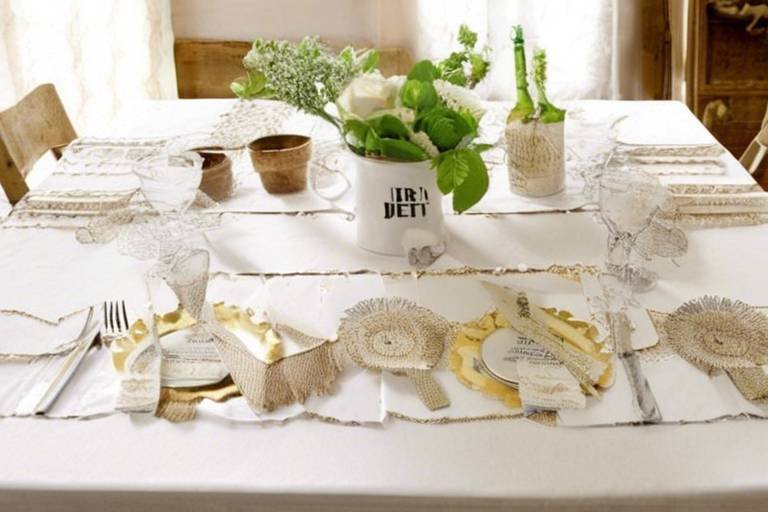
You can arrange your napkin holders in a visually appealing manner on your dining table, creating an attractive centerpiece that catches the eye of your guests. Consider placing them alongside coordinating table linens or decorative elements to enhance the overall aesthetic of your table setting.
If you have crafted a variety of napkin holder designs, you can create a visually dynamic display by arranging them in a grouping or pattern. Mixing and matching different styles can add an element of surprise and intrigue to your table décor, showcasing your versatility as a crafter.
For a more personalized touch, you can incorporate thematic elements into your display based on the occasion or season. Whether it's adding seasonal accents like autumn leaves or festive ornaments for holiday gatherings, tailoring your showcase to the event can elevate the overall ambiance of your dining space.
Consider photographing your creations and sharing them on social media platforms or crafting websites to inspire others with your DIY skills. Documenting your creative process and showcasing the final result can not only garner appreciation from fellow craft enthusiasts but also serve as a source of pride for your crafting achievements.
Frequently Asked Questions
- Can I use alternative materials for making napkin holders?
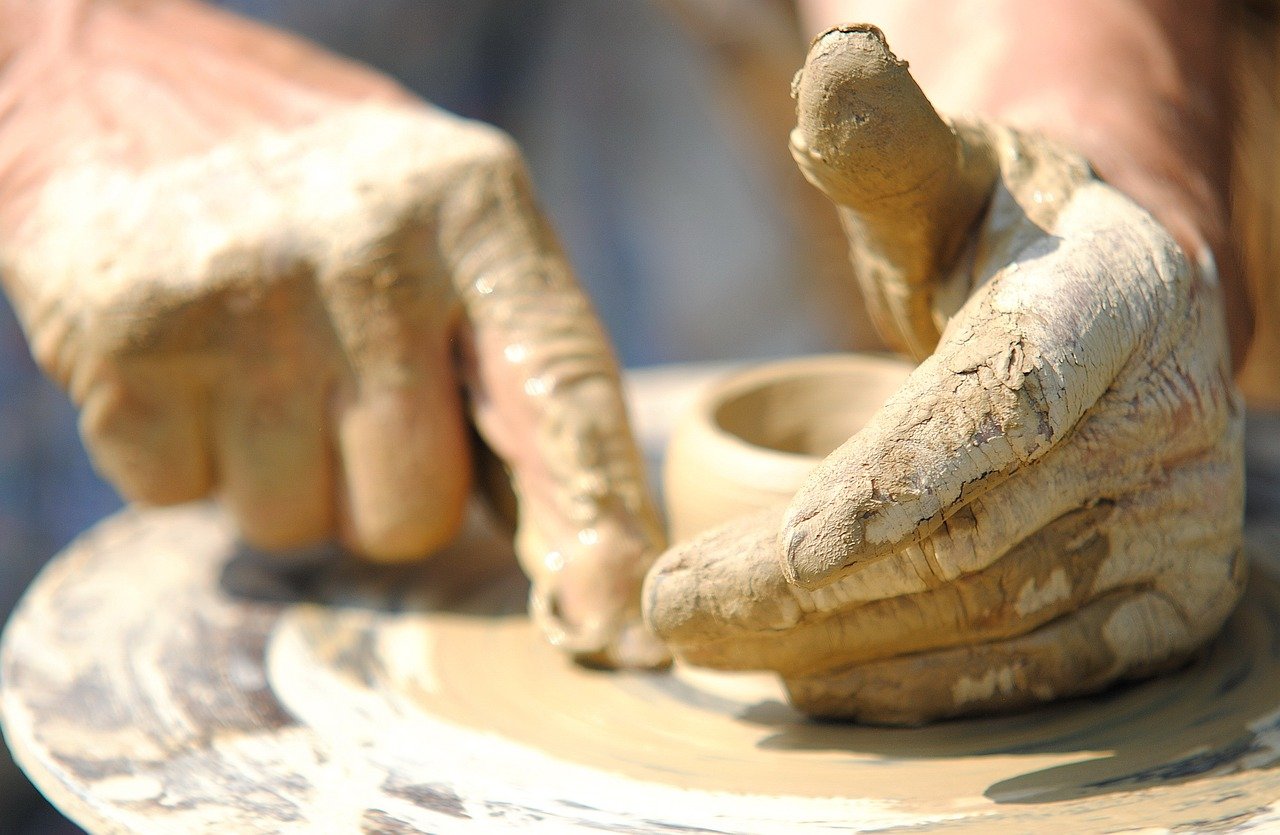
Yes, you can get creative and use a variety of materials such as recycled cardboard, clay, or even fabric to make unique napkin holders. The key is to ensure the material is sturdy enough to hold the napkins and can be decorated to match your style.
- Do I need to have crafting experience to make decorative napkin holders?
No, you don't need to be an expert crafter to make decorative napkin holders. The process can be simple and enjoyable, especially with the step-by-step guide provided. It's a great way to unleash your creativity and add a personal touch to your dining table.
- How can I make my napkin holders more durable?
To enhance the durability of your napkin holders, consider using a protective sealant or finish after decorating them. This will help protect the decorative elements from wear and tear, making your creations last longer and withstand regular use.