How to Create a DIY Memory Jar for Special Moments
This article will guide you through the steps of making a personalized memory jar to store and cherish special moments, creating a unique keepsake to look back on with joy.
Creating a DIY memory jar is a wonderful way to encapsulate precious memories and moments that bring a smile to your face. Imagine having a jar filled with colorful notes reminding you of the laughter, love, and adventures you've experienced. It's like capturing a piece of happiness in a glass container, ready to be opened whenever you need a dose of joy.
To embark on this creative journey, the first step is to gather all the necessary supplies. A glass jar will be the heart of your memory jar, so choose one that speaks to you. Decorative items like ribbons, stickers, or small trinkets will add a personal touch. Colored paper, scissors, and glue will be your tools to bring your memories to life.
Once you have your supplies ready, it's time to select a theme for your memory jar. Whether you want to focus on travel adventures, family milestones, cherished friendships, or personal achievements, choosing a theme will give your project a cohesive and meaningful direction.
Writing down memories is where the magic begins. Grab a colorful paper strip and jot down special moments, quotes, or inside jokes that hold significance to you. These little snippets of joy will form the heart and soul of your memory jar, reminding you of the happiness that fills your life.
Adding decorative elements is like sprinkling glitter on your memories. Use ribbons to tie the notes together, stickers to add flair, or glitter to make it sparkle. Let your creativity run wild as you enhance your memory jar with elements that reflect your unique style and personality.
Organizing the memories in the jar is like arranging stars in the night sky. Find a visually pleasing way to display your notes, ensuring that each memory shines brightly and is easily accessible. Creating a harmonious layout will make it a joy to revisit your special moments.
Personalizing the jar is the final touch that makes it truly yours. Add your name, a significant date, or a meaningful quote to the jar to make it a reflection of your personality. This personalization will turn your memory jar into a treasure trove of emotions and memories.
Once your DIY memory jar is complete, find a special place in your home to display and enjoy it. Let it be a constant reminder of the beauty in your life, a source of comfort during tough times, and a celebration of the wonderful moments that make life worth living.
Lastly, consider sharing the joy of creating memory jars with your loved ones. These personalized keepsakes make heartfelt gifts that spread joy and create lasting memories for friends and family. By sharing the happiness captured in your memory jar, you're spreading love and positivity to those around you.
Q: Can I use a plastic jar instead of a glass jar for my memory jar?
A: While glass jars are commonly used for memory jars due to their aesthetic appeal, you can certainly use a plastic jar if that's what you have available. The most important thing is to fill it with memories that bring you joy.
Q: How often should I add new memories to my memory jar?
A: There are no set rules for adding memories to your jar. You can add new ones daily, weekly, or whenever a special moment strikes. The beauty of a memory jar is that it's entirely up to you how you fill it.
Q: Can I decorate my memory jar with photos instead of written notes?
A: Absolutely! Your memory jar is a reflection of your unique style, so feel free to decorate it with photos, drawings, or any other visual elements that hold meaning for you.
Gather Supplies
This article will guide you through the steps of making a personalized memory jar to store and cherish special moments, creating a unique keepsake to look back on with joy.
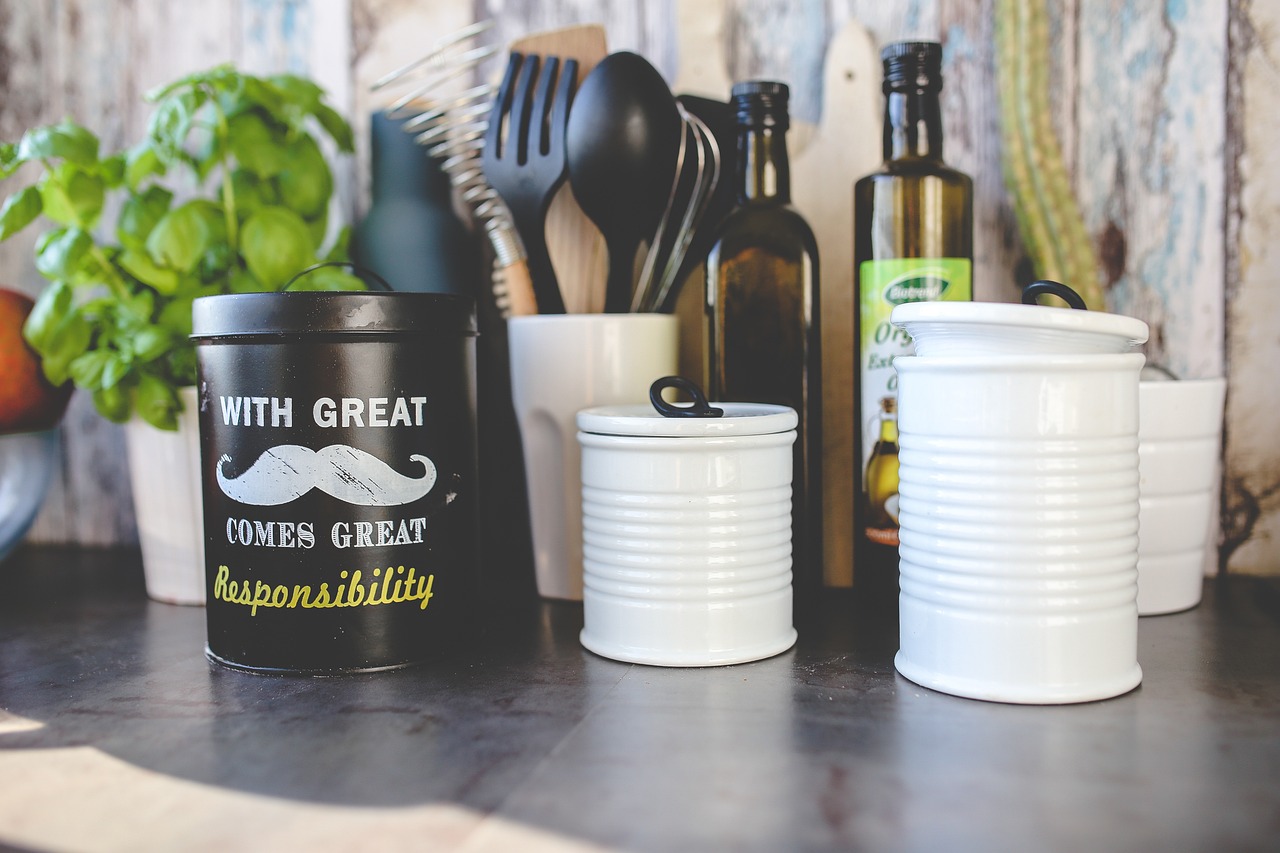
When embarking on your DIY memory jar project, the first step is to gather all the necessary supplies. You will need a clear glass jar as the base for your memories. Ensure it is clean and free from any labels or residue that may distract from the contents. Additionally, gather decorative items such as small trinkets, beads, or charms to add a personal touch to your memory jar. Colored paper or cardstock, scissors, and glue are essential for writing down and decorating your memories. Having these supplies ready will set the foundation for a successful and creative project.
Select a Theme
When it comes to creating a DIY memory jar, selecting a theme is a crucial step that sets the tone for the entire project. Think of a theme as the heart and soul of your memory jar, guiding the memories you choose to include and the overall aesthetic of the final product. Whether you opt for a travel theme to capture your adventures, a family theme to celebrate cherished moments with loved ones, a friendship theme to honor special bonds, or a milestones theme to mark significant achievements, the theme you choose will add a layer of depth and meaning to your memory jar.
Write Down Memories
When it comes to creating a DIY memory jar, one of the most important steps is to that hold special significance to you. These memories can range from heartwarming quotes to cherished moments that bring a smile to your face every time you revisit them. By jotting down these memories on colorful paper strips, you are not only preserving them but also infusing your memory jar with a sense of nostalgia and joy.
To make the process more organized and visually appealing, you can categorize the memories based on themes or time periods. For instance, you could have a section dedicated to travel memories, another for family moments, and so on. This way, when you look through your memory jar, you can easily navigate through different aspects of your life and relive those precious moments in a structured manner.
Adding a personal touch to each memory strip can also make the experience more intimate and meaningful. Consider including small sketches, doodles, or personal anecdotes alongside the written memories. This not only enhances the visual appeal of your memory jar but also adds a unique flair that is distinctly yours.
Furthermore, don't be afraid to get creative with how you present your memories. You can experiment with different fonts, colors, and paper textures to make each memory strip stand out. By incorporating decorative elements such as washi tape, stickers, or small drawings, you can elevate the overall look of your memory jar and turn it into a true work of art.
Remember, the act of writing down memories is not just about capturing the past; it's also about celebrating the present and looking forward to the future. Each memory you add to your jar is like a piece of a puzzle that, when put together, forms a beautiful mosaic of your life's journey. So, take your time, savor each moment you write down, and let your memory jar become a treasure trove of joy and nostalgia.

Add Decorative Elements
When it comes to creating a DIY memory jar, adding decorative elements is a crucial step to enhance its visual appeal and reflect your personal style. By incorporating various decorative items, you can make your memory jar truly unique and eye-catching. Whether you prefer a minimalist design or a more colorful and vibrant look, the decorative elements you choose will play a significant role in the overall aesthetics of your memory jar.
One way to add decorative elements to your memory jar is by using ribbons. Ribbons can add a touch of elegance and charm to the jar, creating a beautiful contrast against the memories stored inside. You can choose ribbons in different colors and patterns to match the theme of your memory jar or simply to add a pop of color.
Stickers are another popular choice for decorating memory jars. With a wide variety of designs available, stickers allow you to customize your jar according to your preferences. Whether you opt for floral stickers, inspirational quotes, or whimsical patterns, stickers can instantly liven up the look of your memory jar.
If you want to add a touch of sparkle and glamour to your memory jar, consider using glitter as a decorative element. Glitter can create a magical and whimsical effect, making your jar shine and stand out. You can sprinkle glitter on the memories inside the jar or use it to decorate the exterior for a dazzling finish.
Furthermore, incorporating charms or trinkets can add a unique and personal touch to your memory jar. Small charms representing significant memories or interests can be attached to the jar or placed inside among the memories. These tiny embellishments can serve as reminders of special moments and add an extra layer of sentimentality to your DIY creation.
Remember, the key to adding decorative elements to your memory jar is to strike a balance between creativity and cohesion. Experiment with different items and arrangements to find the perfect combination that resonates with you. Whether you prefer a simple and understated look or a more elaborate and ornate design, let your creativity guide you as you adorn your memory jar with decorative elements that reflect your unique personality and style.
Organize the Memories
When it comes to organizing the memories in your DIY memory jar, it's essential to create a visually pleasing arrangement that allows each memory to stand out while contributing to the overall aesthetic of the jar. One effective way to organize the memories is by categorizing them based on themes or time periods. For example, you can separate memories into sections such as travel adventures, family gatherings, or special milestones.
Another approach to organizing the memories is by using different colored paper strips or labels to distinguish between various types of memories. This not only adds a pop of color to your memory jar but also helps in quickly identifying and reliving specific moments. You can also consider adding small tags or notes to provide context or dates for each memory, enhancing the storytelling aspect of your memory jar.
Creating layers within the memory jar can also add depth and dimension to the overall presentation. Placing larger memories at the bottom and smaller ones towards the top can create a visually appealing arrangement that draws the eye in. Additionally, incorporating decorative elements such as miniature trinkets or tiny figurines among the memories can add a whimsical touch to your jar.
Don't be afraid to experiment with different layouts and configurations until you find the perfect organization that resonates with you. Remember, the goal is to create a memory jar that not only captures special moments but also evokes emotions and nostalgia every time you look at it. By organizing the memories thoughtfully, you can create a cohesive and visually stunning display that truly reflects the significance of each memory stored within.
Personalize the Jar
Personalizing your memory jar is a crucial step in making it truly unique and reflective of your personality. Consider adding a personal touch by customizing the jar with elements that hold special meaning to you. You can start by incorporating your name, initials, or a significant date onto the jar using stickers, paint, or even engraving. This simple addition can make the memory jar feel more personal and tailored to your individual style.
Another way to personalize your memory jar is by including a meaningful quote or message that resonates with you. Whether it's a line from your favorite song, a quote from a beloved book, or a saying that inspires you, adding these words to the jar can infuse it with extra significance and emotional depth. Consider writing the quote on a decorative paper strip and placing it inside the jar for a daily dose of inspiration.
If you're feeling creative, you can also decorate the lid of the jar with unique embellishments that reflect your interests and passions. Whether you're a fan of nature, art, or vintage aesthetics, there are endless possibilities for customizing the lid with charms, beads, or miniature figurines that speak to your personal style. This small detail can make a big impact on the overall look and feel of your memory jar.
Remember, the key to personalizing your memory jar is to make it a reflection of who you are and what brings you joy. Whether you choose to keep it simple and elegant or go all out with embellishments, the important thing is to create a jar that resonates with you on a personal level. By infusing your personality into the design, you'll not only create a unique keepsake but also a cherished reminder of the special moments that make life truly memorable.
Display and Enjoy
After creating your personalized memory jar filled with special moments and heartfelt messages, it's time to display and enjoy the fruits of your labor. Imagine it as a time capsule of joy waiting to be opened whenever you need a boost of happiness. Placing your memory jar in a prominent location in your home serves as a daily reminder of the beautiful memories you've collected. It's like having a mini treasure chest of happiness right at your fingertips.
Consider placing your memory jar on a shelf, desk, or mantelpiece where it can easily catch your eye. The visual appeal of the jar, coupled with the memories it holds, can brighten up any room and add a touch of personal charm to your decor. Every glance at the jar can transport you back to those special moments, evoking feelings of nostalgia and gratitude.
To enhance the display of your memory jar, you can pair it with photos or trinkets that complement the theme you've chosen. Creating a dedicated memory corner in your living space can turn into a cozy retreat filled with love and positivity. Let the jar be a conversation starter, allowing guests to share in your cherished memories and perhaps even inspire them to create their own memory jars.
Don't forget to take moments to open the jar and read through the memories whenever you need a pick-me-up. It's a simple yet powerful way to relive happy times and appreciate the joys of life. Sharing these moments with loved ones can also deepen your connections and create new memories together. Your DIY memory jar is not just a decorative piece; it's a vessel of love, laughter, and shared experiences.
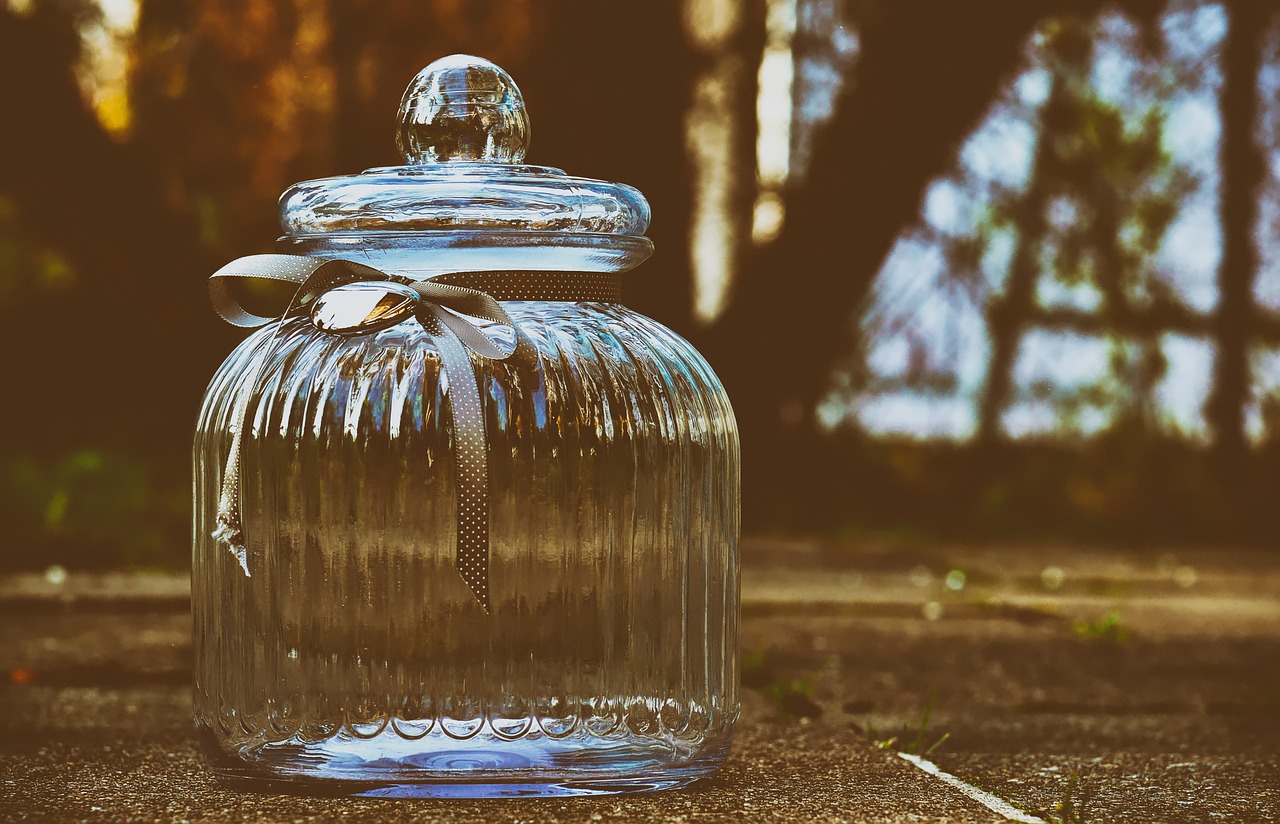
Share the Joy
Sharing the joy of creating memory jars can be a wonderful way to spread happiness and create lasting memories for your loved ones. Imagine the delight on their faces as they receive a beautifully crafted memory jar filled with heartfelt messages and cherished moments. It's like giving them a piece of your heart, a tangible reminder of the special bond you share. Sharing the joy of creating memory jars is not just about giving a gift; it's about sharing a piece of yourself and creating a connection that transcends time and distance.
Frequently Asked Questions
- Can I use any type of jar for creating a memory jar?
Yes, you can use any glass jar or container of your choice to create a memory jar. It's all about personal preference and what suits your style best.
- Do I have to stick to a specific theme for my memory jar?
No, you have the creative freedom to choose any theme that resonates with you. Whether it's a specific event, relationship, or a mix of various memories, the choice is yours.
- How do I make the memories inside the jar last longer?
To preserve the memories in your jar, consider using acid-free paper and keeping the jar in a cool, dry place away from direct sunlight. This will help maintain the quality of the memories for a longer period.
- Can I add digital memories to my memory jar?
Absolutely! You can print out photos, screenshots of messages, or even QR codes that link to digital memories to include in your memory jar. This adds a modern twist to your keepsake.
- How can I involve others in creating a memory jar?
You can make it a group activity by inviting friends or family members to write down their own memories to add to the jar. It's a wonderful way to create a collaborative keepsake filled with shared moments.


