How to Create a DIY Photo Album for Memories
Creating a DIY photo album is a wonderful way to preserve and showcase your cherished memories in a personalized and creative manner. By following simple steps and unleashing your creativity, you can craft a unique album that captures the essence of your experiences and emotions.
When embarking on this creative journey, the first step is to gather all the necessary materials. Essential supplies such as scrapbook paper, adhesive, scissors, and of course, your favorite photos are needed to bring your album to life. Consider choosing a theme or color scheme that resonates with your memories, setting the tone for your album's overall aesthetic.
As you begin organizing your photos, take a trip down memory lane and select the images that hold special significance to you. Whether arranging them chronologically or based on themes, the goal is to create a cohesive narrative that tells the story of your memories in a meaningful way.
Designing the layouts of your album pages is where your creativity can truly shine. Experiment with different arrangements, incorporating decorative elements like stickers, washi tape, and embellishments to infuse personality and charm into your album. Each page is a canvas waiting to be adorned with your unique touch.
Adding captions or journal entries alongside your photos adds another layer of depth to your album. Describe the memories, emotions, and stories behind each image to provide context and evoke nostalgia. These captions serve as the voice that breathes life into your visual memories.
For a truly immersive experience, consider including keepsakes such as ticket stubs, postcards, and other memorabilia in your album. These tangible mementos complement your photos, creating a multi-dimensional representation of your memories that you can revisit time and time again.
Personalizing the cover of your photo album is like setting the stage for the stories within. Let your creativity run wild as you design a cover using patterned paper, letter stickers, and other embellishments. Adding a title or meaningful quote not only personalizes the album but also sets the tone for the journey through your memories.
As you carefully assemble the pages of your album, pay attention to details like alignment and spacing to create a polished and professional look. Each element should come together harmoniously, highlighting the beauty of your memories in a visually appealing way.
To ensure that your memories withstand the test of time, it's crucial to use archival-quality materials that protect against fading and deterioration. Store your photo album in a safe place away from direct sunlight and moisture, preserving your cherished memories for years to come.
Gathering Materials
When embarking on the journey of creating your own DIY photo album, the first step is to gather all the necessary materials. Essential supplies such as scrapbook paper, adhesive, scissors, and of course, your cherished photos are the building blocks of your personalized album. Consider the theme or color scheme you want to incorporate into your album to ensure a cohesive and visually appealing look that resonates with your memories.
Think of your materials as the paint and canvas for your artistic expression of memories. Just as an artist carefully selects their tools and colors, you too must choose the elements that will bring your photo album to life. The scrapbook paper will serve as the backdrop for your photos, while the adhesive will securely hold everything in place. Scissors are your trusty companions in shaping and trimming your materials to fit perfectly.
Creating a DIY photo album is not just about putting pictures together; it's about curating a story through visuals. As you gather your materials, envision the narrative you want to convey with your photos. Whether you opt for a chronological order or thematic arrangement, each choice contributes to the storytelling aspect of your album.
Remember, the process of gathering materials is not just a practical task but also a creative endeavor. Allow yourself to play with different textures, patterns, and styles to infuse your album with personality and character. Your materials are the raw ingredients that will transform into a beautiful keepsake of memories that you can revisit time and time again.

Organizing Photos
When it comes to organizing photos for your DIY photo album, it's essential to approach the task with care and creativity. Start by gathering all the photos you want to include in your album, whether they're printed or digital. Sorting through your collection can evoke a wave of nostalgia as you rediscover cherished moments captured in time. Consider creating a visual timeline of your memories by arranging the photos in chronological order. This method can help you tell a story through your album, showcasing the progression of events and experiences over time.
If you prefer a more thematic approach, organizing photos based on specific themes or events can add a unique touch to your album. Whether it's a collection of family vacations, special occasions, or everyday moments, grouping photos by theme can create a cohesive narrative that resonates with viewers. Think of your album as a visual journey that unfolds with each turn of the page, offering glimpses into different aspects of your life and the memories you hold dear.
As you organize your photos, consider the layout of your album pages. Planning the placement of each photo in advance can help you design visually appealing spreads that capture attention. Experiment with different arrangements to find the perfect balance between images, leaving room for decorative elements and captions. Remember, the goal is to create a harmonious flow throughout the album, guiding viewers through your memories with ease and delight.
Don't be afraid to get creative with your photo organization. Mix and match different sizes and orientations to add visual interest to your album pages. Consider creating collages or montages that combine multiple photos into a single layout, adding a dynamic and artistic touch to your album. By approaching photo organization with an open mind and a playful spirit, you can transform your collection of images into a captivating visual story that reflects your unique perspective and personality.

Designing Layouts
When it comes to designing layouts for your DIY photo album, the possibilities are endless. You have the creative freedom to experiment with different arrangements and styles to showcase your photos in the most visually appealing way. Think of each page as a blank canvas waiting to be filled with memories and artistic flair.
One approach to designing layouts is to create a visual story with your photos. Consider the narrative you want to convey through your album and arrange the photos accordingly. You can opt for a chronological order to showcase the progression of events or group photos based on themes or locations to create a cohesive look.
Adding decorative elements to your layouts can elevate the overall design of your photo album. Incorporate stickers, washi tape, or other embellishments to frame your photos and add pops of color and texture. These small details can make a big difference in enhancing the visual appeal of your album pages.
Another idea is to play with different photo sizes and orientations to create dynamic layouts. Mix full-page photos with collages or create interesting patterns by alternating between portrait and landscape orientations. By varying the layout styles, you can keep the album visually engaging and captivating.
Consider the overall aesthetic you want to achieve with your photo album. Whether you prefer a clean and minimalist look or a more eclectic and layered design, let your personal style shine through in the layouts. Remember, designing layouts is not just about arranging photos; it's about creating a visual story that reflects the essence of your memories.
Adding Captions
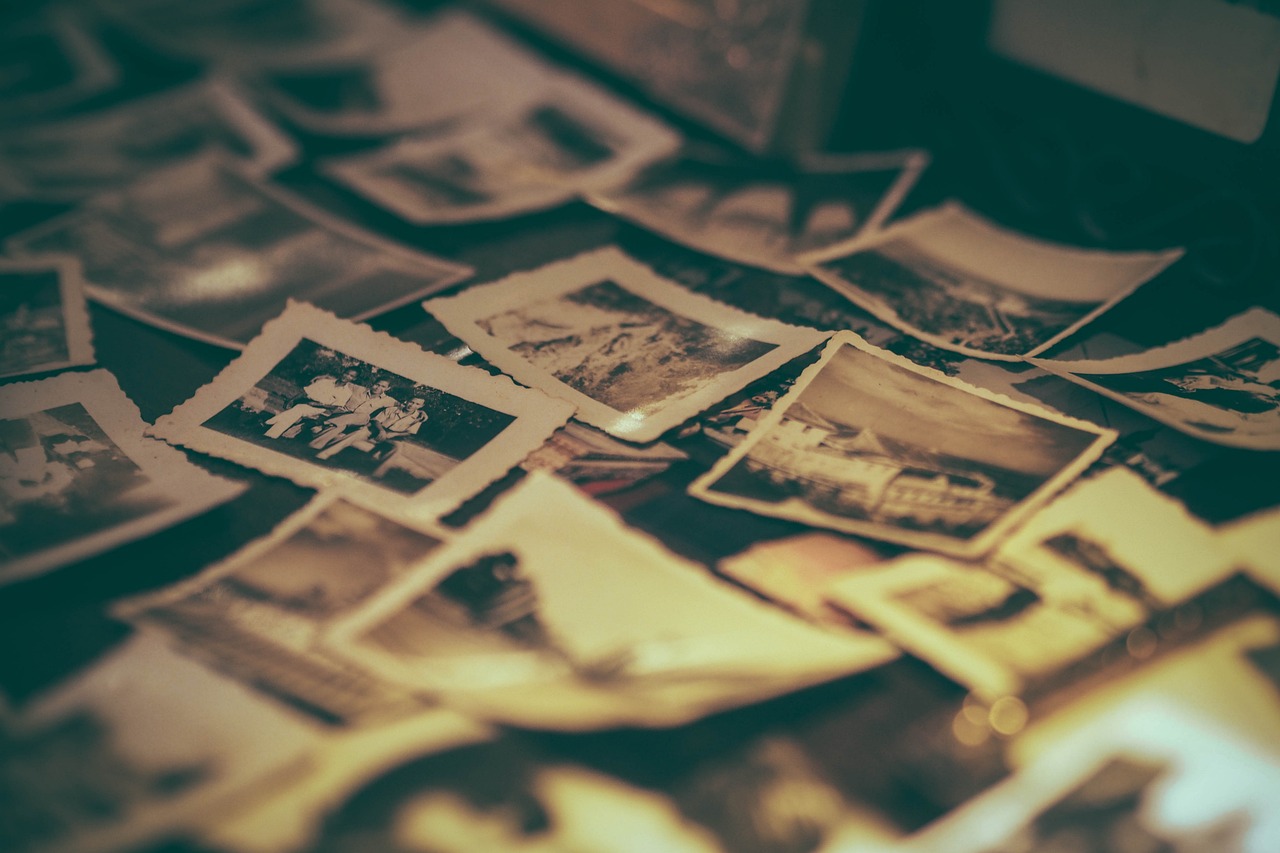
When it comes to creating a DIY photo album, adding captions to your photos can significantly enhance the storytelling aspect and sentimental value of your memories. Captions serve as the voice of your pictures, providing context, emotions, and details that may not be immediately evident to viewers. By including captions, you are not only preserving the who, what, when, and where of each moment but also capturing the why behind the captured memories.
To effectively add captions to your photos, consider creating a cohesive narrative throughout the album. Think about the story you want to tell with your pictures and how the captions can complement and enrich that story. You can describe the events, share your thoughts and feelings, or even include funny anecdotes to bring your photos to life.
One creative way to incorporate captions is by using decorative elements like speech bubbles or handwritten notes directly on the photos. This adds a playful and personalized touch to your album pages, making the viewing experience more engaging and interactive. Additionally, you can use different fonts, colors, and styles to match the mood and theme of each photo.
Remember that captions are not just words; they are a means of connecting with your memories on a deeper level. Take the time to reflect on each photo and consider what message you want to convey through your captions. Whether it's a simple description or a heartfelt reflection, your words will undoubtedly enrich the visual storytelling of your DIY photo album.
Creating Keepsakes
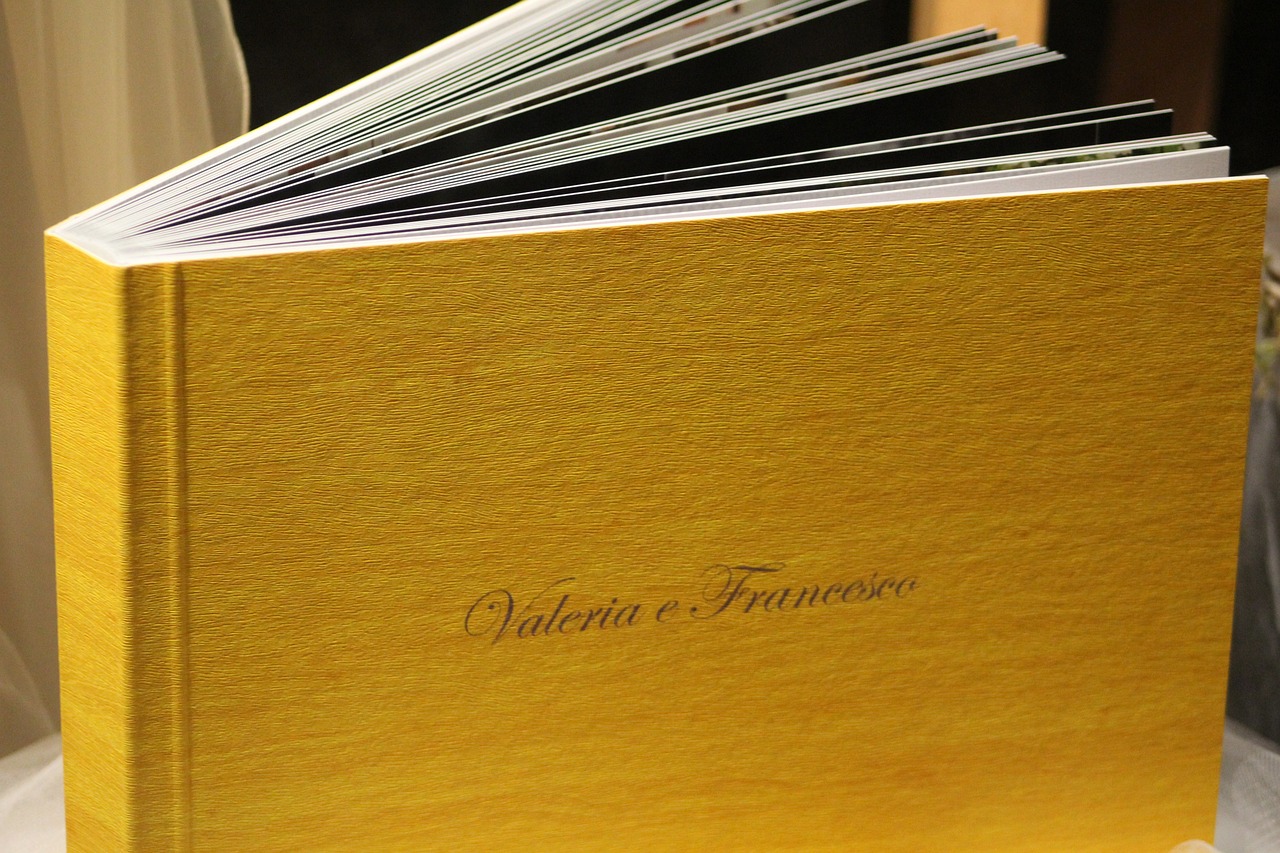
When it comes to creating a DIY photo album, adding keepsakes can elevate the sentimental value of your memories. These mementos serve as tangible reminders of special moments and experiences, enhancing the storytelling aspect of your album. Consider including ticket stubs from a memorable concert, postcards from a favorite travel destination, or small trinkets that hold significant meaning. By incorporating these keepsakes alongside your photos, you create a multi-dimensional narrative that not only captures moments visually but also tactilely.
Personalizing Covers
Personalizing the covers of your DIY photo album is a delightful opportunity to infuse your personal touch and creativity right from the start. Imagine the cover as the opening scene of a movie, setting the tone for the story within. You can use a variety of materials to craft a cover that speaks to the essence of your memories.
Consider using patterned paper as the canvas for your cover design. This paper can serve as the backdrop for your creativity, providing a visual foundation for the theme of your album. Think of it as the stage where your memories will come to life, waiting to be unveiled with each turn of the page.
Adding letter stickers is like giving your album a voice. Choose letters that spell out a meaningful word or phrase that resonates with the memories captured inside. These stickers can be playful, elegant, or whimsical, depending on the mood you wish to convey.
Embellishments are the accessories that elevate your cover design to the next level. From ribbons and buttons to glitter and charms, these small details can make a big impact. Think of them as the finishing touches that complete the visual story of your album.
Remember, the cover of your photo album is the first impression that sets the stage for the memories waiting to be explored inside. Personalizing it with care and creativity will not only make your album visually appealing but also reflect the love and attention you've put into preserving your cherished moments.
Assembling Pages
When it comes to assembling the pages of your DIY photo album, attention to detail is key. Start by carefully selecting the photos you want to include and arranging them in a visually appealing order. Consider the story you want to tell with your photos and how they flow from one page to the next.
Once you have your photos organized, it's time to add captions and decorative elements. Write meaningful captions that provide context to your photos and enhance the overall narrative of your album. Consider using different fonts or colors to make the captions stand out.
Experiment with layouts and designs to create a cohesive look for each page. You can use borders, frames, or background paper to frame your photos and give them a polished finish. Don't be afraid to get creative and try out different arrangements until you find the perfect one.
As you start adhering photos, captions, and decorations to the pages, pay attention to alignment and spacing. Consistency is key to creating a professional-looking photo album that showcases your memories beautifully. Take your time to ensure that everything is securely attached and well-positioned.
Remember, the goal of assembling pages is not just to put photos together but to create a visual story that evokes emotions and memories. Each page should be a reflection of your unique style and the special moments captured in your photos.

Preserving Memories
Preserving your memories in a DIY photo album is not just about creating a beautiful display; it's also about ensuring that those precious moments last a lifetime. When it comes to safeguarding your photo album, using archival-quality materials is crucial. These materials are specifically designed to protect photos from fading, yellowing, and deterioration over time. By investing in acid-free paper, adhesive, and page protectors, you can prevent damage caused by environmental factors and ensure that your memories remain vibrant and intact for years to come.
Additionally, it's essential to store your photo album properly to maintain its quality. Keep your album in a cool, dry place away from direct sunlight, as UV rays can fade photos and damage paper. Avoid storing the album in damp or humid environments, as moisture can lead to mold growth and deterioration of the materials. By following these simple preservation techniques, you can enjoy flipping through your DIY photo album and reliving your cherished memories for generations to come.
Frequently Asked Questions
- Can I use any type of paper for my DIY photo album?
While you can get creative with the paper choices for your album, it is recommended to use acid-free and archival-quality paper to ensure the longevity of your photos. These papers are designed to prevent yellowing and deterioration over time, preserving your memories for years to come.
- Do I need to be artistic to design a personalized photo album?
No artistic skills are required to create a beautiful photo album. The key is to let your creativity flow and showcase your memories in a way that is meaningful to you. There are plenty of design ideas and inspiration available online to help you get started on your DIY project.
- How can I protect my photo album from damage?
To protect your photo album, consider using page protectors or clear plastic sleeves to prevent photos from sticking together or getting damaged. Additionally, storing your album in a protective box or sleeve can help shield it from dust, light, and other environmental factors that may cause deterioration.


