
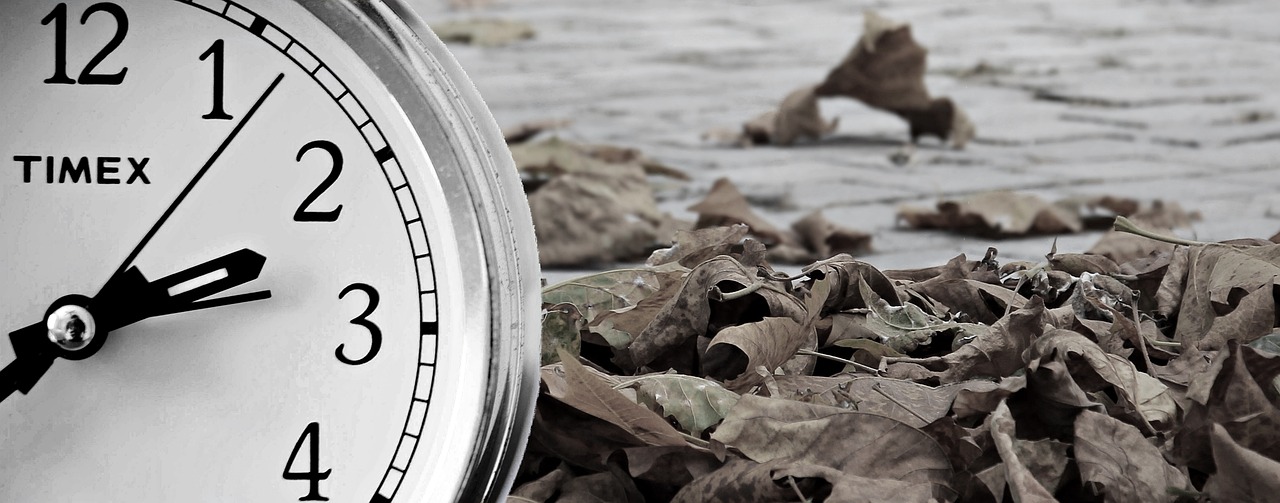
How to Create a DIY Time Capsule
Preserve memories and create a connection to the past by making a do-it-yourself time capsule. Follow these steps to encapsulate items and moments that hold significance for you and future generations to discover.

Selecting a Container
When it comes to creating a DIY time capsule, one of the crucial steps is selecting a suitable container to safeguard your memories for the future. The container you choose will play a significant role in preserving the contents from environmental factors and ensuring their longevity.
Consider opting for a container that is not only durable but also airtight to prevent moisture and air from seeping in and causing damage to the items inside. Materials like metal or high-quality plastic are recommended for their ability to withstand the test of time and protect the contents effectively.
Think about the size of the container as well, ensuring it is spacious enough to accommodate all the items you wish to include while still being manageable for storage. Remember, the goal is to keep the items safe and well-preserved until the designated opening date arrives.
Choosing Items to Include
When it comes to choosing items to include in your DIY time capsule, the possibilities are endless. You have the opportunity to curate a collection of items that uniquely represent your life and experiences, creating a time capsule that will evoke nostalgia and curiosity when opened in the future.
Consider including photographs that capture special moments, such as family gatherings, vacations, or milestones. These visual memories will provide a glimpse into your life at the time of sealing the time capsule, allowing future generations to connect with the past.
Letters are another powerful addition to a time capsule, offering a personal touch and insight into your thoughts and emotions. Write a letter to your future self or to those who will open the capsule, sharing your hopes, dreams, and reflections on the present moment.
Small trinkets or keepsakes that hold sentimental value can also be included in the time capsule. These items may seem insignificant now, but they have the potential to spark memories and emotions when discovered years later.
Think about including current newspapers, magazines, or other printed materials that provide a snapshot of the world at the time of sealing the capsule. These documents can offer a glimpse into the cultural, social, and political landscape of the era.
Don't forget to add items that reflect your interests and hobbies, such as tickets from events, favorite recipes, or pieces of artwork. These personal touches will make the time capsule uniquely yours and showcase the things that bring you joy and fulfillment.
Writing a Letter to the Future
When it comes to creating a time capsule, one of the most personal and touching elements you can include is a letter to the future. This letter serves as a direct line of communication between you and the individuals who will one day unearth the capsule and delve into the past. Imagine the impact of reading a heartfelt message from a loved one decades from now, offering insights into their thoughts, emotions, and aspirations at the time of sealing the capsule.
Writing a letter to the future allows you to encapsulate your current hopes, dreams, and reflections in a tangible form that will transcend time. Consider addressing the recipients directly, sharing personal anecdotes, and expressing your wishes for the world and future generations. This letter is your opportunity to leave a lasting impression and create a connection with individuals who may never have the chance to meet you in person.
To enhance the preservation of your letter, consider using acid-free paper and envelopes to prevent yellowing and deterioration over time. Place the letter in a protective sleeve or laminate it for added durability against moisture and environmental factors. By taking these precautions, you ensure that your words will remain legible and intact for generations to come.
When composing your letter, think about the emotions you wish to convey and the legacy you want to leave behind. Consider sharing personal stories, words of wisdom, or reflections on current events that hold significance to you. This letter is a time capsule within a time capsule, offering a glimpse into your innermost thoughts and feelings at a specific moment in history.
As you seal the letter within the time capsule, imagine the reactions of those who will one day read your words. Will they be moved to tears, inspired by your insights, or simply grateful for the opportunity to connect with the past? Your letter has the power to evoke a range of emotions and create a sense of continuity between past, present, and future generations.

Preserving Documents and Photos
Preserving documents and photos in a time capsule is crucial to ensure that these items remain intact and accessible for future generations. To safeguard important documents and photographs, it is recommended to use acid-free sleeves or envelopes. These protective covers help prevent yellowing and deterioration, maintaining the quality of the items over time. Additionally, consider laminating fragile documents and photos for added protection against moisture and physical damage.

Sealing and Storing the Capsule
When it comes to sealing and storing your DIY time capsule, attention to detail is key to preserving its contents for the future. The process of sealing the capsule involves more than just closing the lid; it requires careful consideration of the materials used and the environment in which it will be stored.
First and foremost, ensure that the container you choose is airtight and durable to protect the items inside from moisture, air, and other elements that could cause damage over time. Metal or plastic containers are often recommended for their ability to withstand long periods of storage without deterioration.
Once you have selected the appropriate container, it's essential to seal it properly to prevent air and moisture from entering. This can be done using sealing tape, silicone caulk, or other sealants to create a tight barrier that will keep the contents safe and intact.
When storing the time capsule, opt for a cool, dry location that is easily accessible for future retrieval. Avoid areas prone to temperature fluctuations or high humidity, as these conditions can accelerate the deterioration of the items inside the capsule.
Remember to label the container clearly with the date of sealing and any other relevant information to help identify it in the future. Keeping a record of the storage location and instructions for locating the capsule will also ensure that it can be easily found when the time comes to open it.
By taking the time to seal and store your time capsule properly, you can ensure that the memories and mementos it contains will be preserved for years to come, ready to be rediscovered and enjoyed by future generations.

Recording the Location
When it comes to creating a time capsule, one of the most crucial steps is recording the location where it will be buried or stored. This information ensures that the time capsule can be easily located and retrieved in the future, allowing the contents to be unveiled as intended. To effectively record the location, it is essential to be detailed and specific, providing clear instructions that will stand the test of time.
One way to record the location is by creating a map that pinpoints the exact burial or storage spot of the time capsule. Include landmarks, measurements, and any other relevant details that will aid in locating the capsule years or even decades later. Additionally, consider using GPS coordinates to pinpoint the precise location, providing an accurate reference point for future retrieval.
Another method is to write a detailed description of the location, highlighting nearby landmarks, structures, or natural features that can serve as clues for finding the time capsule. Include specific directions, distances, and any unique identifiers that will assist in locating the capsule with ease.
Furthermore, documenting the depth at which the time capsule is buried or the specific storage location within a building can be crucial information for its retrieval. Whether it is buried in a backyard, hidden in a wall, or stored in an attic, noting these specifics will ensure that the capsule is found without difficulty when the time comes.
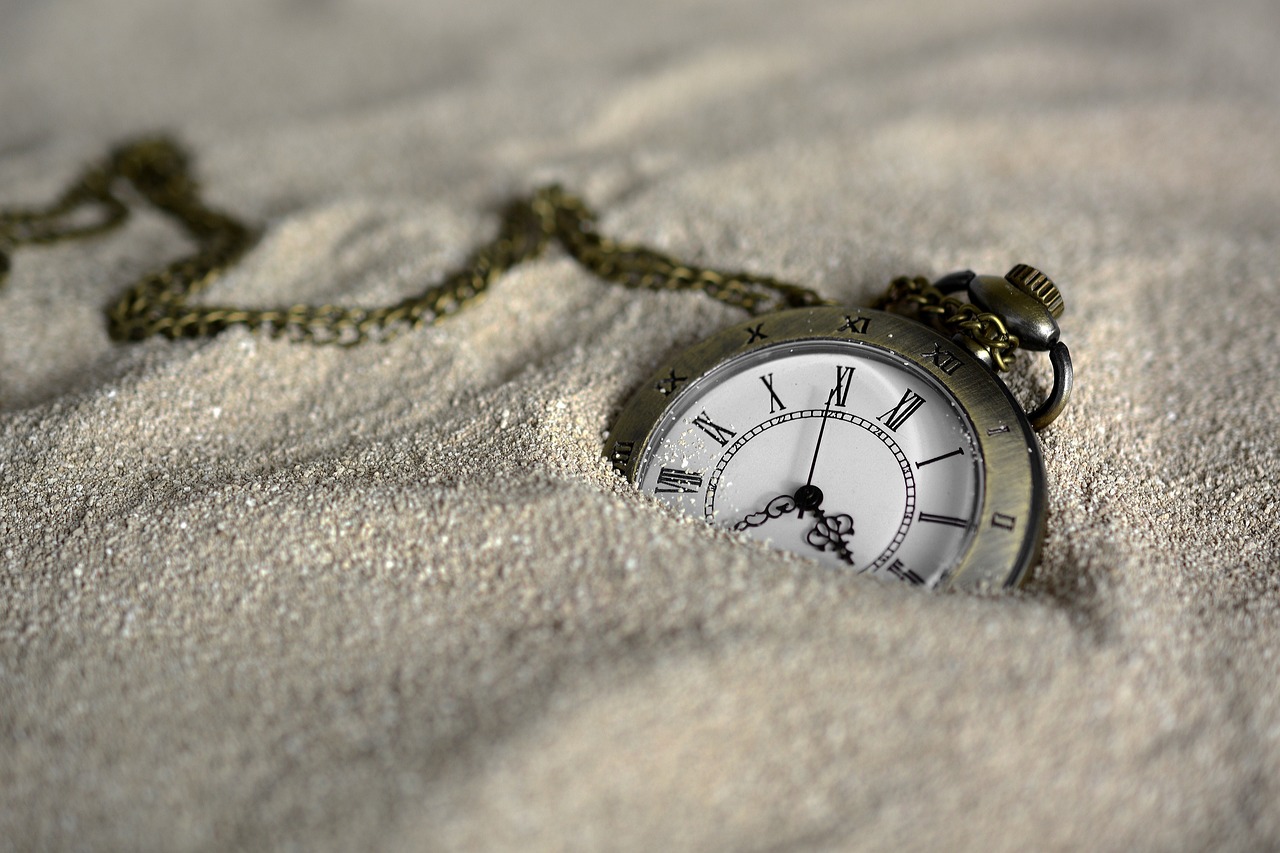
Setting a Future Opening Date
Setting a future opening date for your DIY time capsule is a crucial step in the process of creating a meaningful and memorable experience. By choosing a specific date or milestone in the future, you add anticipation and significance to the unveiling of the contents. Consider the impact of the occasion on those who will be present when the time capsule is opened. Whether it's a milestone anniversary, a significant birthday, or a special reunion, the chosen date should hold meaning for both you and those who will share in the experience.
Sharing the Experience
Sharing the experience of creating and opening a time capsule can be a truly special and memorable event. It's a way to connect with others, both present and future generations, through shared moments and stories encapsulated in time. By inviting family, friends, or even community members to participate in the process, you can create a sense of unity and belonging that transcends time itself.
Imagine the excitement and anticipation as everyone gathers to contribute their own items and messages to the time capsule. Each addition becomes a piece of a collective story, weaving together individual experiences into a tapestry of shared memories. It's a chance to reflect on the past, celebrate the present, and ponder the future in a meaningful and tangible way.
During the opening of the time capsule, the sense of discovery and nostalgia can be overwhelming. As each item is unveiled, it's like uncovering buried treasures that unlock a flood of memories and emotions. The photographs, letters, and trinkets inside serve as windows to the past, offering a glimpse into the lives and thoughts of those who sealed them away.
Sharing this experience with others not only strengthens bonds and fosters connection but also creates a sense of legacy and continuity. It's a reminder that our stories and experiences are part of a larger narrative that transcends individual lifetimes. By involving others in the creation and opening of a time capsule, you are forging connections that bridge gaps in time and space, leaving a lasting impact for generations to come.
Frequently Asked Questions
- What should I consider when selecting a container for the time capsule?
When choosing a container for your time capsule, it is essential to select a durable and airtight option that can protect the contents from moisture and deterioration over time. Consider using a metal or plastic container that can withstand long periods of storage without compromising the items inside.
- How do I decide which items to include in the time capsule?
When selecting items to include in your time capsule, think about what best represents your current life, interests, and experiences. Choose photographs, letters, trinkets, and other memorabilia that hold personal significance and will evoke nostalgia when discovered in the future.
- What is the significance of writing a letter to the future?
Composing a heartfelt letter to those who will open the time capsule in the future adds a personal touch to the experience. It allows you to share your thoughts, hopes, and predictions for the world, providing a glimpse into your life at the time of sealing the capsule.
- How should I preserve documents and photos in the time capsule?
To protect important documents and photographs, consider placing them in acid-free sleeves or envelopes to prevent yellowing and deterioration. For fragile items, laminating can provide added protection against moisture and damage.
- Where should I store the time capsule and how should I record its location?
It is crucial to store the time capsule in a cool, dry place that is easily accessible for future retrieval. Document the exact location where the capsule is buried or stored, including specific instructions for locating it in the future, and keep this information in a safe place for easy access.
- How do I set a future opening date for the time capsule?
Choose a specific date or milestone in the future for the opening of the time capsule. Consider significant events such as anniversaries, birthdays, or reunions as ideal occasions for unveiling the contents and sharing the experience with others.
- Why is it important to share the experience of creating a time capsule?
Sharing the process and significance of the time capsule with family, friends, or community members helps create a shared experience and connection across generations. It allows others to be part of preserving memories and creating a lasting connection to the past.


