How to Make Your Own Nut Butter - A Simple Guide
Are you tired of store-bought nut butter that lacks freshness and flavor? Why not try making your very own nut butter at home? In this simple guide, we will take you through the step-by-step process of creating delicious and nutritious nut butter that you can customize to your liking. Not only will you save money, but you'll also have full control over the ingredients, ensuring a healthier spread for you and your family.
Benefits of Making Nut Butter at Home
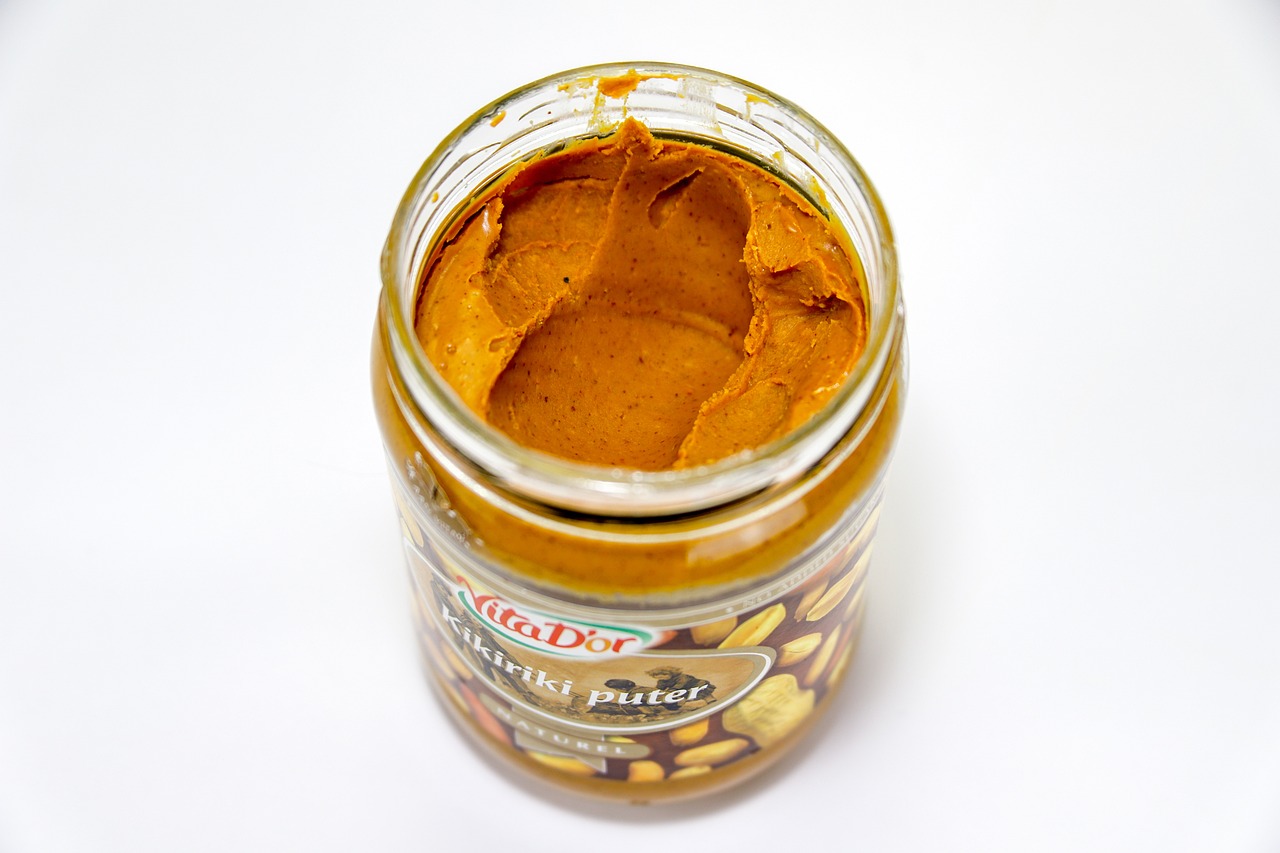
Making nut butter at home offers a myriad of benefits that go beyond just the satisfaction of creating something delicious in your own kitchen. One of the primary advantages is the control over ingredients. When you make your own nut butter, you have the power to choose the quality of nuts you use, ensuring that they are fresh and free from any unwanted additives or preservatives. This control is especially beneficial for individuals with dietary restrictions or allergies, as you can tailor the ingredients to suit your needs.
Another significant benefit is the freshness that comes with homemade nut butter. Store-bought varieties may sit on shelves for extended periods, potentially losing their flavor and nutritional value over time. By making your nut butter at home, you can enjoy the taste of freshly roasted nuts blended to perfection, resulting in a rich and aromatic spread that is unmatched in quality.
Furthermore, creating nut butter at home allows you to customize flavors to suit your preferences. Whether you prefer a classic smooth almond butter or a crunchy hazelnut spread, the possibilities are endless when you take the reins in your own kitchen. You can experiment with different nut combinations, add-ins like honey or cinnamon, and even explore unique flavor profiles by toasting the nuts before blending.
Choosing the Right Nuts
When it comes to making your own nut butter at home, selecting the right nuts is crucial in achieving the perfect flavor and texture. Different types of nuts offer unique characteristics that can greatly influence the taste and consistency of your homemade spread. From rich and creamy to bold and earthy, each nut brings its own distinct qualities to the table.
One popular choice for nut butter making is almonds. Known for their mild and slightly sweet flavor, almonds produce a smooth and velvety butter that is versatile and delicious. They are also packed with nutrients like protein, healthy fats, and antioxidants, making almond butter a nutritious choice.
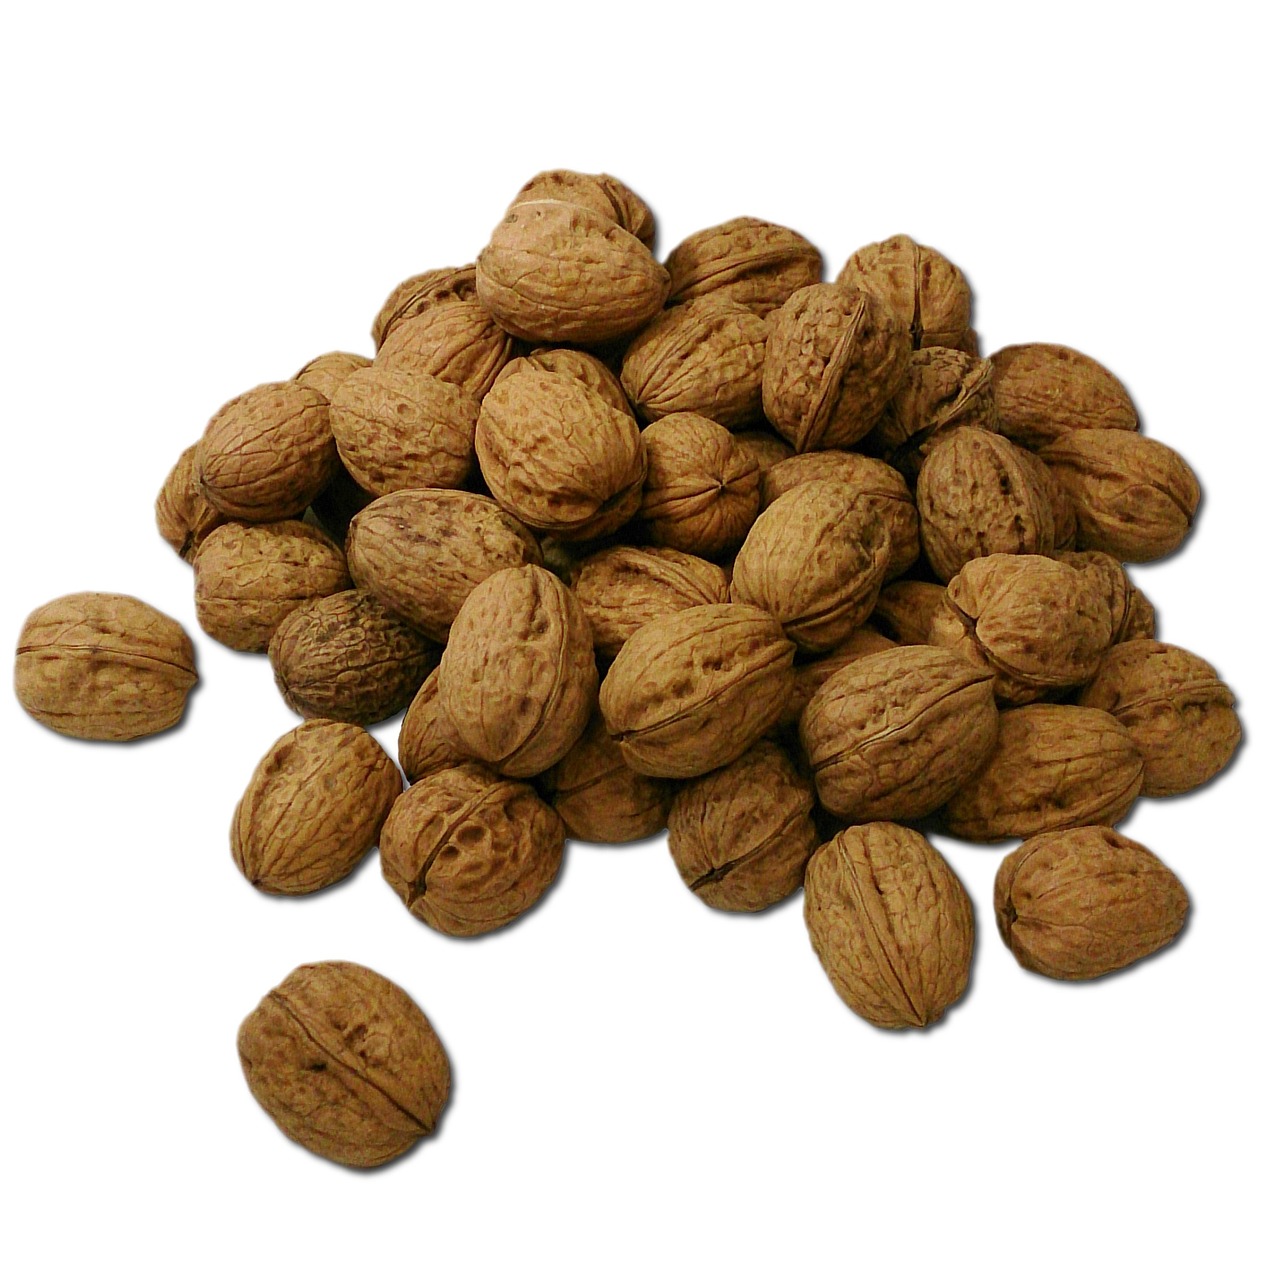
Walnuts are another excellent option for homemade nut butter. With their rich and robust flavor, walnuts create a butter that is bold and aromatic. They are high in omega-3 fatty acids, which are beneficial for heart health, making walnut butter not only tasty but also good for you.
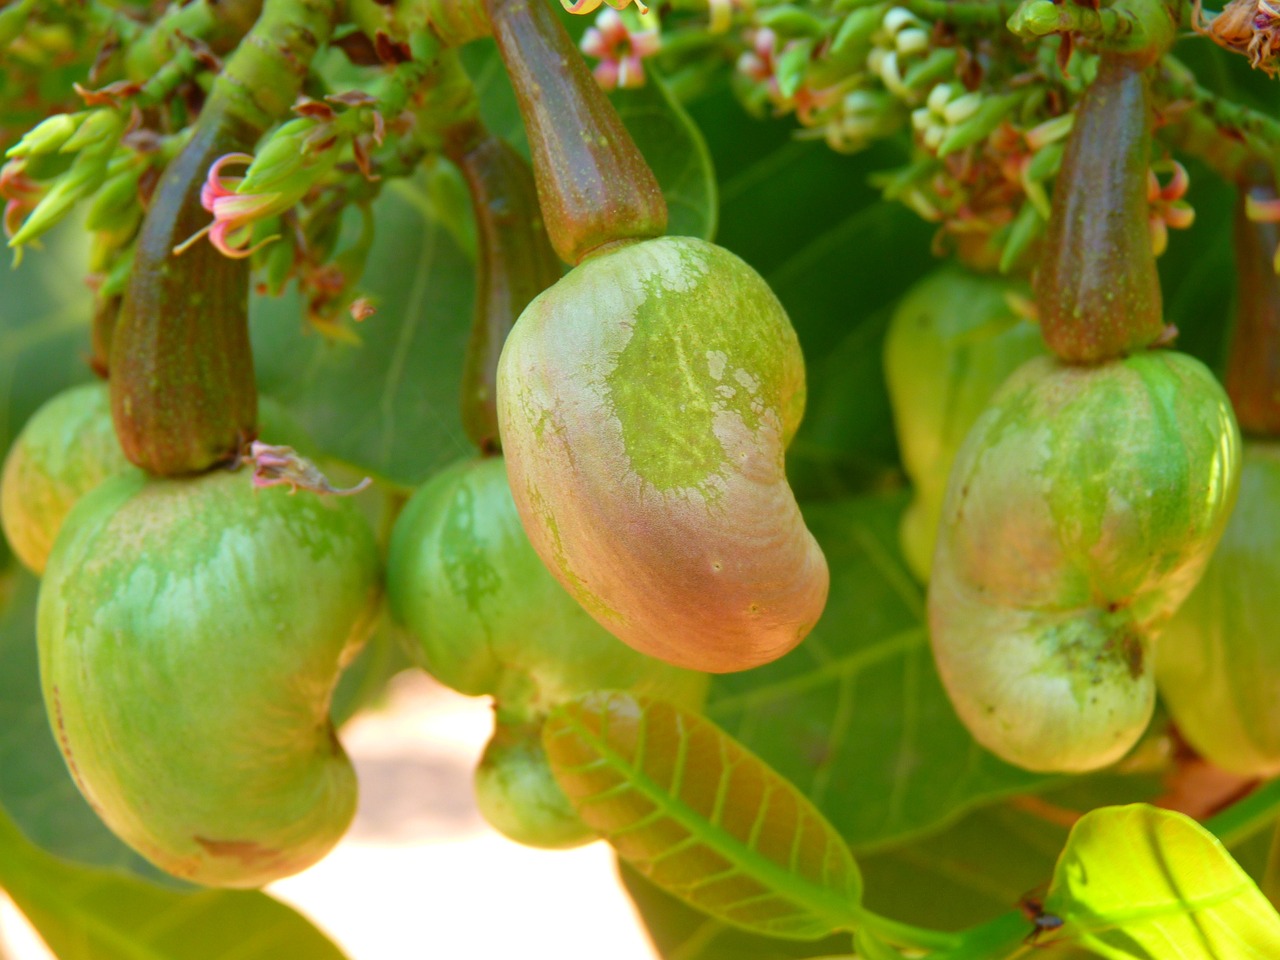
Cashews are a popular nut choice for those looking for a creamy and indulgent butter. Cashew butter has a naturally sweet and buttery taste, making it a favorite for both sweet and savory applications. Cashews are also a good source of minerals like copper and magnesium, adding nutritional value to your homemade spread.
For a unique and exotic twist, consider using pistachios in your nut butter blend. Pistachios offer a slightly sweet and nutty flavor with a hint of earthiness, creating a distinctive and flavorful spread. They are also rich in fiber and antioxidants, making pistachio butter a healthy and tasty choice.
When choosing the right nuts for your homemade nut butter, it's essential to consider your personal preferences and dietary needs. Experimenting with different nut combinations can lead to exciting flavor profiles and textures, allowing you to customize your nut butter to suit your taste perfectly.

Equipment Needed for Nut Butter Making
When it comes to making your own nut butter at home, having the right equipment is essential for a smooth and successful process. The primary tool you'll need is a reliable food processor, preferably with a powerful motor to effectively blend the nuts into a creamy consistency. Additionally, having a high-speed blender can also be beneficial for achieving a smoother texture, especially when working with tougher nuts.
Another crucial piece of equipment is a spatula for scraping down the sides of the food processor or blender to ensure all the nuts are evenly processed. Airtight storage containers are essential for storing your homemade nut butter, keeping it fresh for longer periods without the risk of spoilage. Opt for glass jars or containers with tight-sealing lids to maintain the quality of your nut butter.
If you enjoy experimenting with different flavors and textures, consider investing in a nut butter maker or grinder, which allows you to create custom blends with various nuts and add-ins. These specialized devices can help you achieve unique and gourmet nut butter creations that cater to your preferences.
Lastly, having a reliable kitchen scale can be handy for measuring precise quantities of nuts and other ingredients, ensuring consistency in your nut butter recipes. By having the right equipment at your disposal, you can elevate your nut butter-making experience and enjoy the process of crafting delicious spreads from scratch.
Basic Nut Butter Recipe
Creating your own nut butter at home is not only a fun and rewarding experience but also allows you to customize the flavors to suit your taste preferences. With just a few simple steps, you can enjoy a creamy and delicious spread that is free from any additives or preservatives commonly found in store-bought versions.
To start making your basic nut butter, you will need a food processor or a high-speed blender to effectively grind the nuts into a smooth consistency. Begin by roasting your choice of nuts, such as almonds, cashews, or peanuts, in the oven until they are lightly golden and fragrant. This roasting process helps to enhance the natural oils in the nuts, resulting in a richer and more flavorful butter.
Once the nuts have cooled slightly, transfer them to your food processor and begin blending. It's essential to be patient during this step, as it may take several minutes for the nuts to break down and release their oils. You can periodically scrape down the sides of the processor to ensure an even blend.
As the nuts continue to blend, you will notice the mixture gradually transforming into a smooth and creamy butter. Depending on your preference, you can add a pinch of salt or a drizzle of honey to enhance the flavor profile. Feel free to experiment with different seasonings or sweeteners to create a unique nut butter that suits your taste buds.
Once you have achieved the desired consistency, transfer the freshly made nut butter into a clean and airtight container for storage. Homemade nut butter can be kept in the refrigerator for up to two weeks, although it's unlikely to last that long once you start enjoying it on toast, in smoothies, or as a dip for fruits and veggies.
Experimenting with Flavors and Add-Ins
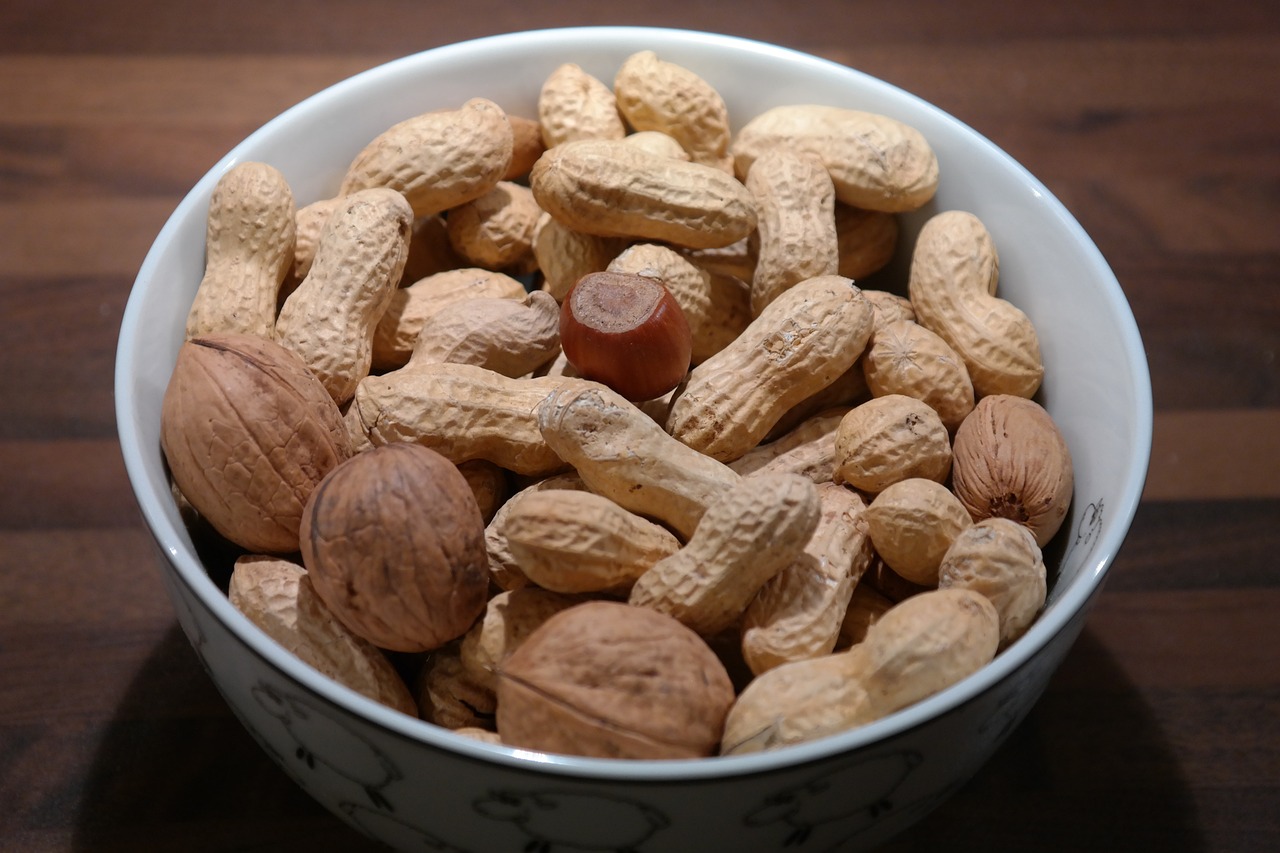
Experimenting with flavors and add-ins is where the magic truly happens in the world of homemade nut butter. It's like being a mad scientist in the kitchen, mixing and matching different ingredients to create your own unique spread that suits your taste buds perfectly. Whether you prefer a classic nut butter or want to venture into more adventurous flavor profiles, the possibilities are endless.
One way to elevate your nut butter game is by incorporating various add-ins to enhance the flavor and texture. Think of it as adding sprinkles to your ice cream - it's that extra touch that takes it to the next level. You can experiment with ingredients like honey for a touch of sweetness, cinnamon for a warm and cozy flavor, or even cocoa powder for a chocolatey twist.
Furthermore, don't be afraid to mix different types of nuts to create a unique blend that combines the best of each variety. For example, combining creamy cashews with rich almonds can result in a velvety smooth butter with a delightful nutty flavor profile. The key is to play around with different combinations until you find the perfect balance that tickles your taste buds just right.
If you're feeling extra adventurous, you can even explore savory nut butter options by adding ingredients like sea salt, herbs, or even a hint of spicy chili flakes. These unconventional combinations can add a surprising twist to your nut butter and open up a whole new world of culinary possibilities.
Remember, the beauty of making your own nut butter at home is the freedom to customize it to your liking. Whether you prefer a simple and straightforward spread or want to push the boundaries with bold flavors and add-ins, the choice is yours. So, roll up your sleeves, grab your favorite nuts and ingredients, and let your creativity run wild in the kitchen!
Storing and Preserving Homemade Nut Butter
When it comes to homemade nut butter, proper storage is key to maintaining its freshness and flavor over time. After putting in the effort to create your delicious blend, you want to ensure it lasts as long as possible. Here are some essential tips for storing and preserving your homemade nut butter:
1. Airtight Containers: Transfer your freshly made nut butter into clean, airtight containers to prevent exposure to air and moisture, which can lead to rancidity.
2. Refrigeration: While some nut butters can be stored at room temperature for short periods, it's generally recommended to store them in the refrigerator to extend their shelf life. The cool temperature helps slow down oxidation and maintain quality.
3. Stirring: Natural separation may occur in homemade nut butter, where oils rise to the top. Remember to give your nut butter a good stir before each use to ensure a consistent texture and flavor.
4. Freezing: If you've made a large batch or want to store nut butter for an extended period, consider freezing portions in airtight containers. Thaw in the refrigerator before using and stir well to recombine any separated oils.
5. Avoid Moisture: Keep your nut butter away from direct sunlight and moisture to prevent spoilage. Moisture can cause mold growth, so always use dry utensils when scooping out your nut butter.
By following these storage and preservation tips, you can enjoy your homemade nut butter for longer periods without compromising on taste or quality.
Using Nut Butter in Recipes
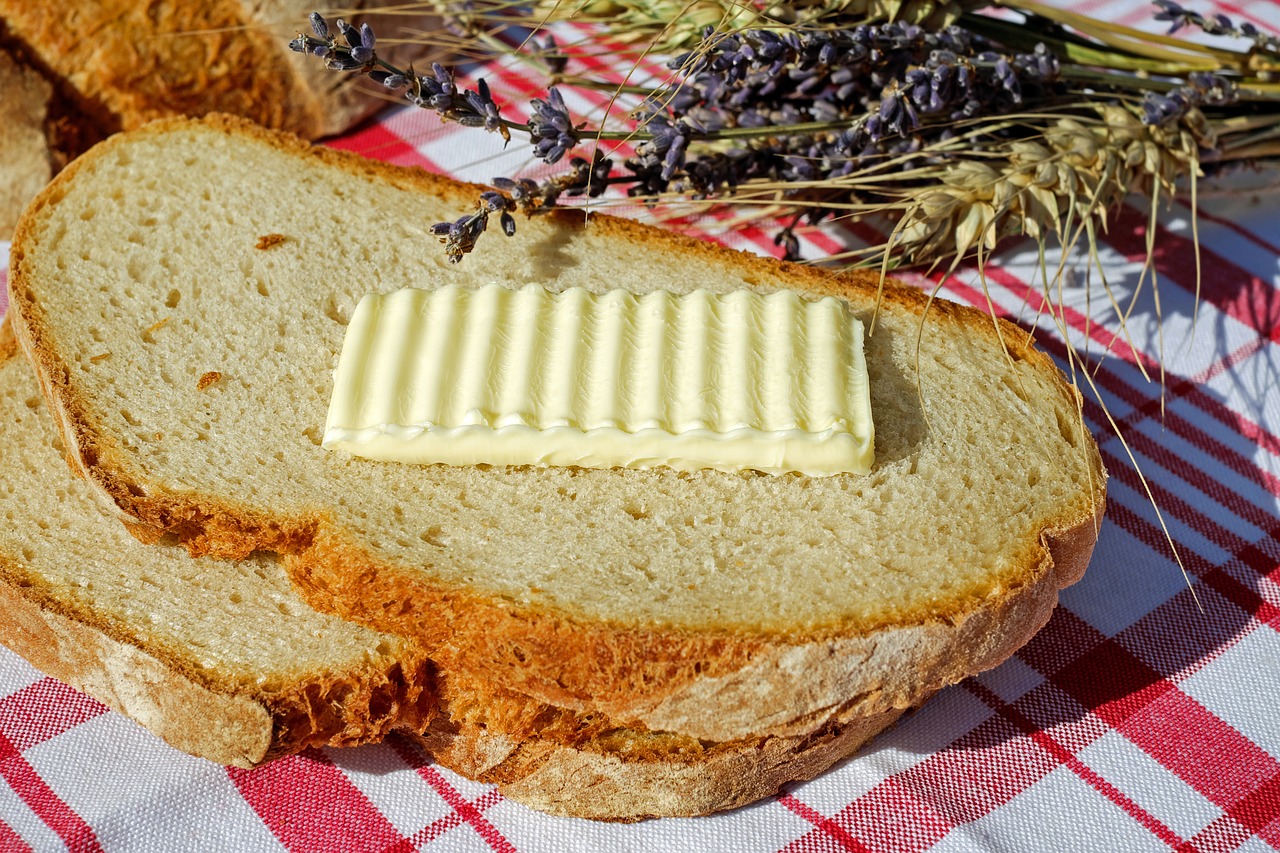
When it comes to using nut butter in recipes, the possibilities are endless. This versatile ingredient can elevate both sweet and savory dishes, adding a rich and nutty flavor profile. One popular way to incorporate nut butter is by spreading it on toast or using it as a dip for fruits and vegetables. The creamy texture and nutty taste can enhance the overall experience of simple snacks.
For a more indulgent treat, consider using nut butter in baking. Whether you're making cookies, brownies, or muffins, adding a dollop of nut butter to the batter can create a moist and flavorful outcome. Nut butter can also be used as a substitute for traditional butter or oil in certain recipes, providing a healthier twist without compromising on taste.
When it comes to savory dishes, nut butter can be used in marinades, sauces, and dressings to add depth and complexity to your meals. Try mixing it with soy sauce, garlic, and ginger for a delicious stir-fry sauce, or drizzle it over roasted vegetables for a nutty finish. The natural oils in nut butter can help bind ingredients together and create a creamy texture, making it a versatile addition to various recipes.
Furthermore, nut butter can be used in smoothies and shakes to boost their nutritional content. By blending nut butter with fruits, vegetables, and dairy or non-dairy alternatives, you can create a satisfying and nutrient-rich beverage that is perfect for breakfast or as a post-workout snack. The protein and healthy fats in nut butter can help keep you full and energized throughout the day.

Tips for Troubleshooting Nut Butter Making
When it comes to making your own nut butter, sometimes things don't go as smoothly as you'd hope. But fear not, as there are some handy tips and tricks to troubleshoot common issues that may arise during the process. One common problem is achieving the desired consistency. If your nut butter turns out too thick, try adding a bit of oil or water to thin it out. On the other hand, if it's too runny, you can mix in more nuts or seeds to thicken it up.
Another issue that often pops up is oily separation, where the natural oils in the nuts separate from the butter. To combat this, make sure to store your nut butter in an airtight container and give it a good stir before each use. Additionally, you can try refrigerating your nut butter to help it solidify and prevent separation.
If you find that your nut butter is not blending smoothly in the food processor, it might be due to the lack of moisture. Adding a touch of honey or maple syrup can help bind the ingredients together and facilitate the blending process. Alternatively, you can roast the nuts for a few extra minutes to release more oils and make them easier to blend.
When experimenting with different flavors and add-ins, keep in mind that certain ingredients can affect the texture of your nut butter. For example, adding cocoa powder or spices may thicken the mixture, so adjust the amount of nuts accordingly. It's all about finding the right balance between flavors and consistency to create the perfect blend.
Lastly, if you're having trouble storing your homemade nut butter without it going rancid, consider using a dark, cool place away from direct sunlight. Proper storage is key to preserving the freshness and flavor of your nut butter for longer periods. By following these troubleshooting tips, you'll be well-equipped to tackle any challenges that come your way in the nut butter making process.
Frequently Asked Questions
- Can I use any type of nuts to make nut butter?
While most nuts can be used to make nut butter, some popular choices include almonds, peanuts, cashews, and hazelnuts. Each nut will result in a slightly different flavor and texture, so feel free to experiment to find your favorite combination!
- How long does homemade nut butter last?
Homemade nut butter can typically last for up to two weeks when stored in an airtight container in the refrigerator. To extend its shelf life, you can also store it in the freezer for several months. Just remember to stir it well after thawing!
- What can I do if my nut butter turns out too thick?
If your nut butter is too thick, you can try adding a bit of oil (such as coconut or vegetable oil) to help loosen the consistency. Alternatively, you can mix in a small amount of warm water or liquid sweetener to achieve your desired texture.
- Is it necessary to roast the nuts before making nut butter?
While roasting the nuts can enhance their flavor and aroma, it is not always necessary. You can choose to make raw nut butter by skipping the roasting step, which may result in a milder taste profile. Experiment with both methods to see which you prefer!
- Can I add sweeteners or spices to my nut butter?
Absolutely! Adding sweeteners like honey, maple syrup, or agave nectar can enhance the sweetness of your nut butter. You can also experiment with spices such as cinnamon, nutmeg, or even a touch of sea salt to create unique flavor profiles that suit your taste preferences.


