How to Make Your Own DIY Soap at Home
Are you tired of using commercial soaps that may not cater to your skin's specific needs? Why not embark on a thrilling journey of creating your very own DIY soap at home? Not only is it a fun and creative process, but it also allows you to customize the soap according to your preferences and skin type. Let's dive into the exciting world of soap making and learn how you can craft personalized bars that will leave your skin feeling nourished and pampered.
Gathering Ingredients and Supplies
When embarking on the exciting journey of making your own DIY soap at home, the first step is to gather all the necessary ingredients and supplies. You will need a selection of oils, lye, water, and optional additives to create your personalized soap. These components are essential in the soap-making process, each playing a crucial role in the final product's quality and characteristics.
It is important to carefully select the oils for your soap, considering their properties and benefits for different skin types. Whether you have dry, oily, or sensitive skin, choosing the right oils will ensure that your soap nourishes and hydrates effectively. Experimenting with various oils can lead to discovering the perfect blend that suits your skin's needs.
Additionally, understanding the equipment required for soap making is vital to ensure a safe and successful process. From measuring cups and mixing bowls to safety gear such as gloves and goggles, having the right tools at hand will make the soap-making experience smooth and enjoyable. Remember to follow safety guidelines when handling lye, as it is a caustic substance that requires careful handling.
By gathering high-quality ingredients and the necessary supplies, you are setting the foundation for creating luxurious and personalized soap that caters to your skin type and preferences. The process of selecting the right components is the first exciting step towards crafting your own unique soap creations.
Choosing the Right Oils for Your Skin
When it comes to creating your own personalized soap, choosing the right oils is crucial for achieving the desired effects on your skin. Different oils offer various benefits and properties that cater to different skin types and conditions. Understanding the characteristics of each oil will help you select the perfect combination for your DIY soap.
Some popular oils used in soap making include olive oil, coconut oil, almond oil, and shea butter. Olive oil is known for its moisturizing properties, making it ideal for dry or sensitive skin. Coconut oil creates a rich lather and adds hardness to the soap, while almond oil is gentle and nourishing. Shea butter is deeply hydrating and perfect for soothing irritated skin.
Consider the specific needs of your skin when choosing oils for your soap. For oily skin, lighter oils like jojoba or grapeseed oil can help balance sebum production. On the other hand, dry skin benefits from heavier oils like avocado or cocoa butter to provide intense hydration.
Experimenting with different oil combinations can lead to unique soap formulations tailored to your skin's requirements. Keep in mind that each oil brings its own set of properties to the soap, so understanding how they interact is key to creating a successful product.

Understanding the Soap-making Process
When it comes to understanding the soap-making process, it's essential to grasp the fascinating chemical reaction that occurs to transform simple ingredients into a luxurious bar of soap. The magic behind soap making lies in the process of saponification, where oils and lye combine to create a cleansing and nourishing product for your skin. This reaction is what turns a blend of oils and a caustic solution into a gentle and effective cleanser.
Imagine it as a culinary adventure where you mix the right ingredients in precise measurements to create a masterpiece. Just like baking a cake, soap making requires accuracy and patience to achieve the perfect balance of oils, lye, and water. Each ingredient plays a crucial role in the process, contributing to the soap's texture, lather, and moisturizing properties.
As you dive into the world of soap making, you'll uncover the art and science behind creating a product that not only cleanses but also pampers your skin. From selecting the right oils to understanding the role of lye in the process, every step is a learning experience that leads to the creation of a personalized soap tailored to your preferences.
Adding Colors and Scents
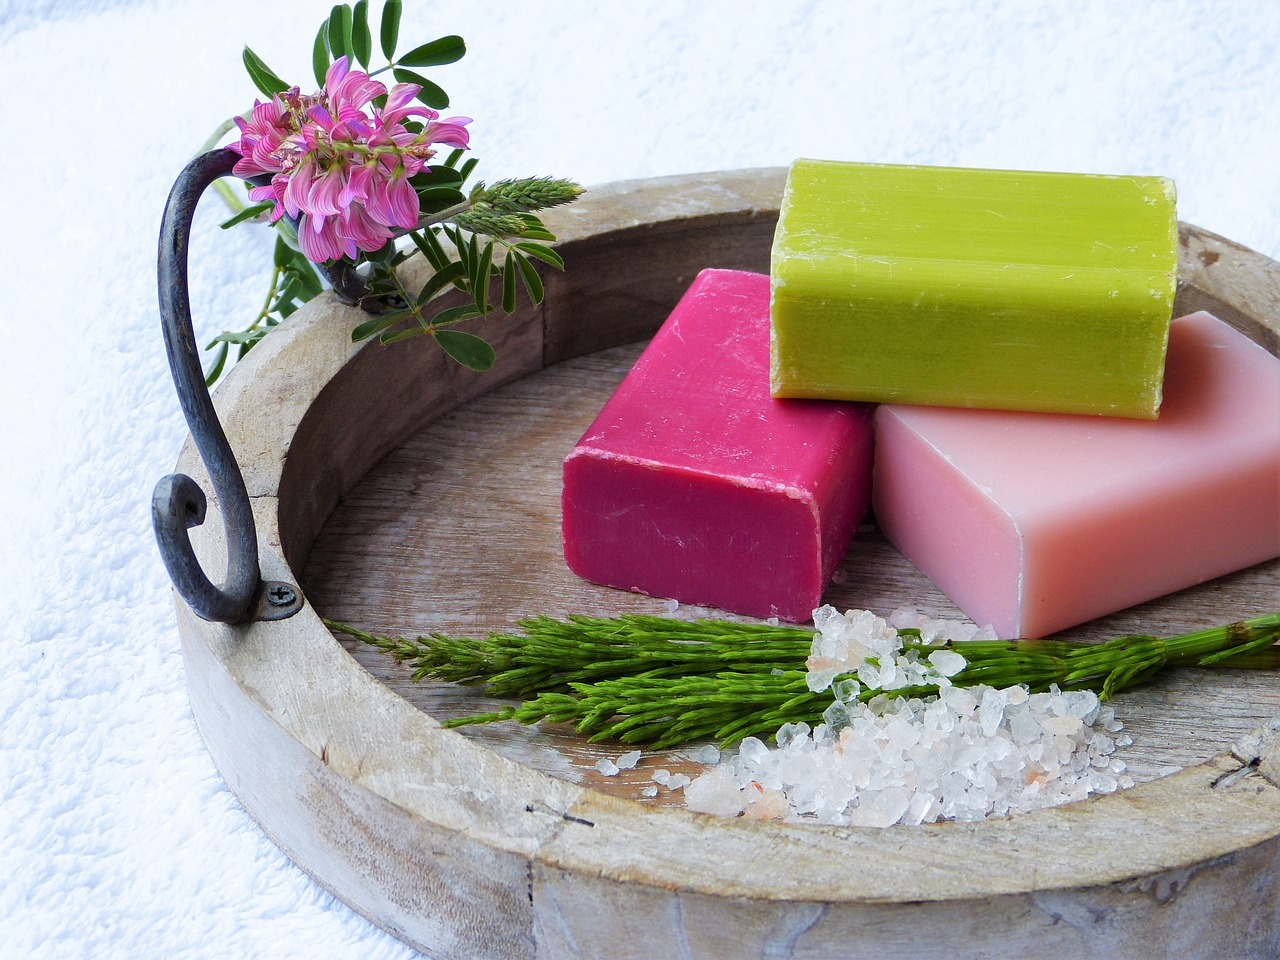
Adding colors and scents to your homemade soap is a fun and creative process that allows you to personalize your bars and create unique sensory experiences. Whether you prefer vibrant hues or soothing fragrances, there are various methods to enhance the visual appeal and aroma of your soap.
One popular way to add color to your soap is by using natural ingredients such as clays, herbs, and spices. These additives not only provide a beautiful tint to your soap but also offer additional benefits for the skin. For example, turmeric can give your soap a warm yellow hue while providing anti-inflammatory properties.
When it comes to scents, essential oils are a fantastic choice for adding fragrance to your soap. Essential oils are derived from plants and flowers, offering a wide range of captivating aromas. From calming lavender to invigorating peppermint, you can choose scents that cater to your preferences and mood.
Another way to incorporate colors and scents into your soap is by using cosmetic-grade micas and fragrance oils. These synthetic options provide a vast array of colors and fragrances that may not be achievable with natural ingredients. However, it's essential to ensure that the micas and fragrance oils you use are skin-safe and suitable for soap making.
Experimenting with different color combinations and scent blends can lead to stunning results, allowing you to create visually striking and aromatic soaps that delight the senses. Whether you opt for a subtle pastel palette or a bold and vibrant design, adding colors and scents to your soap is a delightful way to elevate your DIY creations.
Mastering Different Soap-making Techniques
When it comes to mastering different soap-making techniques, there are several methods to explore. Each technique offers its own unique approach to creating personalized soap that suits your preferences. Whether you prefer the traditional cold process, the quicker hot process, or the convenient melt-and-pour method, there is a technique that will align with your skills and desired outcome.
The cold process method involves mixing oils and lye to initiate saponification, resulting in a chemical reaction that transforms the ingredients into soap. This technique allows for more creativity in terms of colors, scents, and additives, giving you full control over the soap-making process. It requires patience and precision but offers the satisfaction of crafting soap from scratch.
On the other hand, the hot process technique accelerates the saponification process by applying heat, reducing the curing time significantly. This method is ideal for those who want to make soap quickly and use it shortly after production. While it may not offer as much design flexibility as the cold process, it is a practical option for efficient soap making.
If you prefer a simpler approach, the melt-and-pour technique involves melting pre-made soap base and adding colors, scents, and additives before pouring it into molds to set. This method is perfect for beginners or those looking for a fun and easy way to create custom soaps without dealing with lye or complex processes.
Regardless of the technique you choose, mastering different soap-making methods allows you to experiment with various approaches and find the one that best suits your preferences and skill level. Whether you enjoy the artistry of cold process soap making, the efficiency of hot process soap making, or the simplicity of melt-and-pour soap making, there is a technique waiting for you to explore and master.
Designing and Molding Your Soap
When it comes to creating your own soap, the design and molding process is where your creativity can truly shine. Whether you prefer simple and elegant bars or intricate and unique shapes, there are various techniques you can use to customize the appearance of your soap.
One popular method is to use silicone molds that come in a variety of shapes and sizes. These molds allow you to create soap bars with intricate designs and patterns, adding a touch of elegance to your creations. You can also experiment with layering different colored soap to create beautiful, multi-toned bars that are visually appealing.
If you're feeling adventurous, you can try your hand at hand-molding your soap into unique shapes and designs. This hands-on approach allows you to create one-of-a-kind bars that reflect your personal style and creativity. Additionally, you can use cookie cutters or other household items to create fun shapes and textures in your soap.
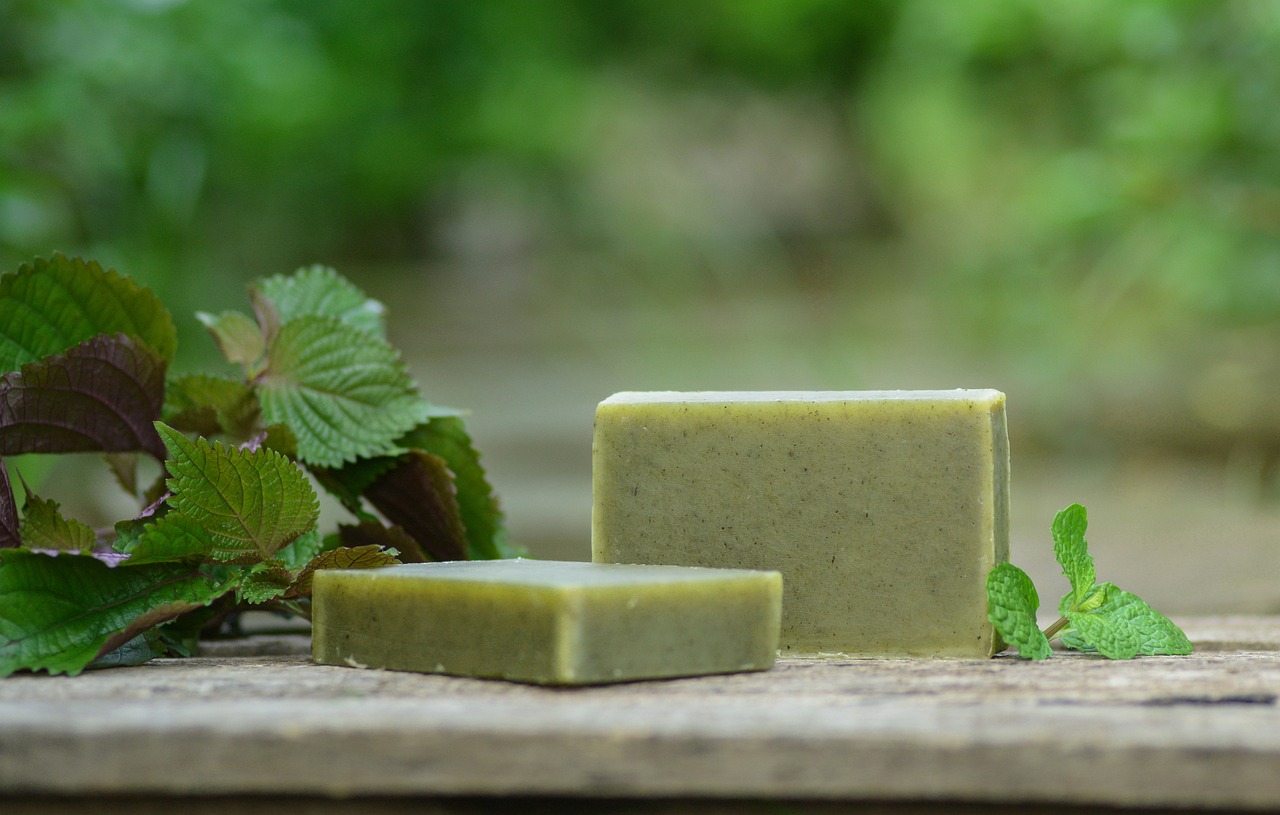
For a more rustic look, consider using loaf molds that give your soap a homemade feel. These molds are perfect for creating large batches of soap that can be cut into individual bars once they have hardened. You can also experiment with embedded designs by adding dried flowers, herbs, or exfoliants to your soap for a unique and textured appearance.
Remember, the design and molding process is where you can let your imagination run wild and create soap that is truly one-of-a-kind. Whether you prefer classic elegance or bold creativity, there are endless possibilities when it comes to designing and molding your homemade soap.

Curing and Storing Your Homemade Soap
When it comes to creating your own homemade soap, the process doesn't end once the soap is made. Curing and storing your handmade soap is a crucial step in ensuring its quality and longevity. Curing is the process of allowing the soap to dry and harden over a period of time, typically ranging from a few weeks to a few months. This step is essential for the soap to fully solidify and for excess moisture to evaporate, resulting in a harder and longer-lasting bar of soap.
Properly curing your soap not only improves its quality but also enhances its lather and mildness. During the curing process, the soap undergoes a chemical transformation that makes it milder on the skin. Additionally, curing allows the soap to develop its full fragrance potential, resulting in a more aromatic bathing experience.
When it comes to storing your homemade soap, it's important to keep it in a cool, dry place away from direct sunlight and humidity. Excessive heat and moisture can cause the soap to soften or melt prematurely, reducing its lifespan. Consider wrapping your cured soap in breathable materials such as wax paper or fabric to protect it from dust and maintain its scent.
If you're planning to store your soap for an extended period, ensure proper ventilation to prevent mold growth. Allow air to circulate around the soap by storing it in a well-ventilated area. Additionally, avoid storing your soap in airtight containers as this can trap moisture and compromise the quality of the soap.
By following proper curing and storing practices, you can ensure that your homemade soap remains fresh, effective, and enjoyable to use. Take the time to care for your creations, and you'll be rewarded with high-quality soap that nourishes your skin and delights your senses.
Sharing Your DIY Soap Creations
So, you've successfully crafted your own personalized soap at home, and now it's time to share your DIY soap creations with the world! Whether you want to surprise your friends with a thoughtful gift or showcase your soap-making skills to your family, there are numerous ways to spread the joy of handmade soap.
One creative way to share your DIY soap creations is by hosting a soap-making workshop or demonstration. Invite your friends or family members to join you in a fun and interactive session where they can learn the art of soap making firsthand. This hands-on experience not only allows them to appreciate the effort you put into crafting each bar of soap but also gives them the opportunity to create their own unique soaps.
If you're looking to reach a wider audience, consider setting up an online platform to showcase and sell your homemade soaps. Create a website or utilize social media platforms to display your soap creations, share your soap-making journey, and engage with potential customers. By sharing your passion for soap making online, you can connect with fellow DIY enthusiasts and even turn your hobby into a small business.
Another way to share your DIY soap creations is by participating in local craft fairs or markets. Setting up a booth or stall at these events allows you to interact with customers face-to-face, educate them about the benefits of handmade soap, and introduce them to your unique product line. Craft fairs provide an excellent opportunity to network with fellow artisans, gain exposure for your brand, and attract new customers who appreciate handcrafted goods.
Furthermore, you can consider gifting your homemade soap to friends, family members, or colleagues on special occasions or as a token of appreciation. Personalize each soap bar with different scents, colors, or designs to suit the recipient's preferences and create a memorable gift that reflects your creativity and thoughtfulness. Packaging your DIY soap elegantly adds an extra touch of charm and makes the gift even more special.
Remember, sharing your DIY soap creations is not just about spreading the joy of handmade products but also about sharing your passion for creativity and self-expression. Whether you choose to teach others the art of soap making, sell your soaps online, participate in craft fairs, or gift them to loved ones, sharing your homemade soap is a rewarding experience that allows you to connect with others and showcase your talent.
Frequently Asked Questions
- Can I make soap at home even if I'm a beginner?
Yes, making soap at home is a fun and rewarding activity that can be enjoyed by beginners. By following a simple recipe and safety precautions, you can create personalized soap with ease.
- Is it safe to use lye in soap making?
Lye is a crucial ingredient in soap making, but it should be handled with caution due to its caustic nature. By following proper safety measures, such as wearing protective gear and working in a well-ventilated area, you can use lye safely in your soap-making process.
- How long does it take for homemade soap to cure?
The curing process for homemade soap typically takes 4 to 6 weeks. During this time, the soap hardens and its pH levels stabilize, resulting in a milder and longer-lasting bar of soap.
- Can I customize the colors and scents of my homemade soap?
Absolutely! You can personalize your soap by adding various colors and scents to create unique combinations. Natural colorants and essential oils are popular choices for adding color and fragrance to homemade soap.
- What are the different soap-making techniques I can try?
There are several soap-making techniques to explore, including cold process, hot process, and melt-and-pour methods. Each technique offers a different experience and allows you to experiment with various ingredients and designs.


