How to Create a DIY Scrap Fabric Garland
Are you ready to add a charming and whimsical touch to your home decor? Creating a DIY scrap fabric garland is a fun and eco-friendly way to repurpose fabric scraps into a beautiful decoration. Follow this step-by-step guide to learn how to turn simple materials into a stunning garland that will brighten up any space.

Gathering Materials
When embarking on the creative journey of making a DIY scrap fabric garland, the first step is gathering all the necessary materials. To start this whimsical project, you will need an array of items to bring your vision to life. Among the essential supplies are fabric scraps, scissors, twine, and a trusty sewing machine. These tools will be your companions in transforming simple materials into a charming decoration that will brighten up any space.
Before diving into the crafting process, it's crucial to prepare your workspace and ensure that you have everything within reach. Setting up a designated area for your project will help you stay organized and focused. Clear a table or a cozy corner where you can spread out your materials and work comfortably. Having a well-prepared workspace will make the creative process smoother and more enjoyable.
As you gather your materials, take a moment to appreciate the potential of the fabric scraps you have collected. Each piece holds a story and a possibility to be repurposed into something beautiful. Consider the colors, patterns, and textures of the fabrics as you envision how they will come together in your garland. Let your imagination roam freely as you select the perfect combination of scraps to create a visually captivating design.
Once you have all your materials at hand and your workspace ready, you are one step closer to crafting your DIY scrap fabric garland. The gathering of materials marks the beginning of a creative adventure where ordinary fabrics will be transformed into a delightful decoration that reflects your unique style and personality.
Selecting Fabric Scraps
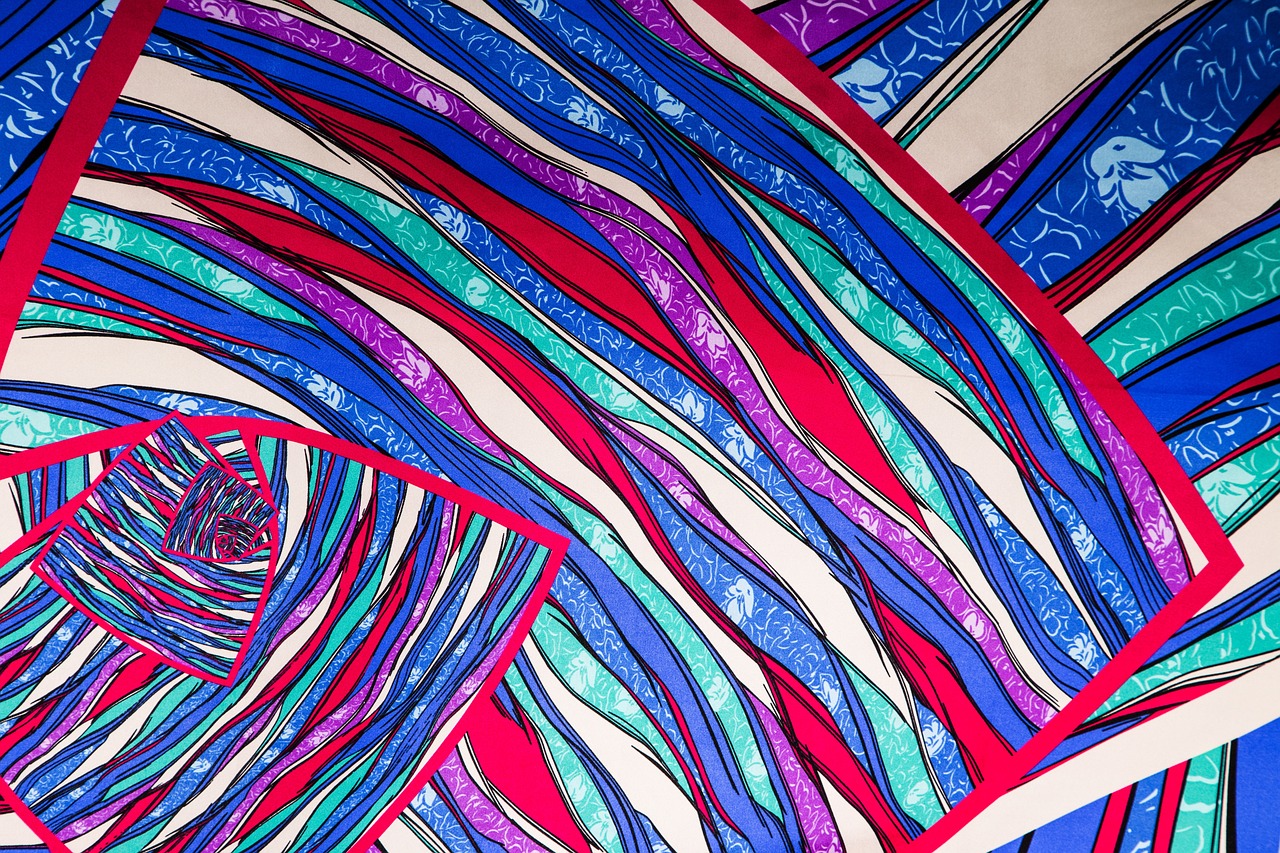
When it comes to selecting fabric scraps for your DIY scrap fabric garland, the possibilities are endless. The key is to choose fabrics that complement each other and fit the overall aesthetic you want to achieve. Consider the color scheme you want to work with - whether you prefer a monochromatic look or a mix of vibrant hues. Mixing patterns can also add a playful touch to your garland, so don't be afraid to experiment with different designs.
Texture is another important factor to consider when selecting fabric scraps. Mixing textures like cotton, linen, and silk can add depth and visual interest to your garland. Think about how the fabrics will interact with each other and how they will look when they are all strung together. Combining different textures can create a dynamic and eye-catching garland that will stand out in any space.
Before you start cutting your fabric scraps, lay them out and play around with different combinations to see how they look together. This will help you visualize the final result and make any adjustments before you start sewing. Don't be afraid to mix and match fabrics to create a unique and eclectic garland that reflects your personal style.
Cutting Fabric Strips
When it comes to creating a DIY scrap fabric garland, one of the key steps is cutting fabric strips from your chosen scraps. This process allows you to transform ordinary fabric remnants into beautiful pieces that will adorn your space with charm and creativity.
To begin, gather your fabric scraps and select the ones that best complement each other in terms of color, pattern, and texture. Consider how these different elements will come together to form a cohesive design once the fabric strips are cut and assembled.
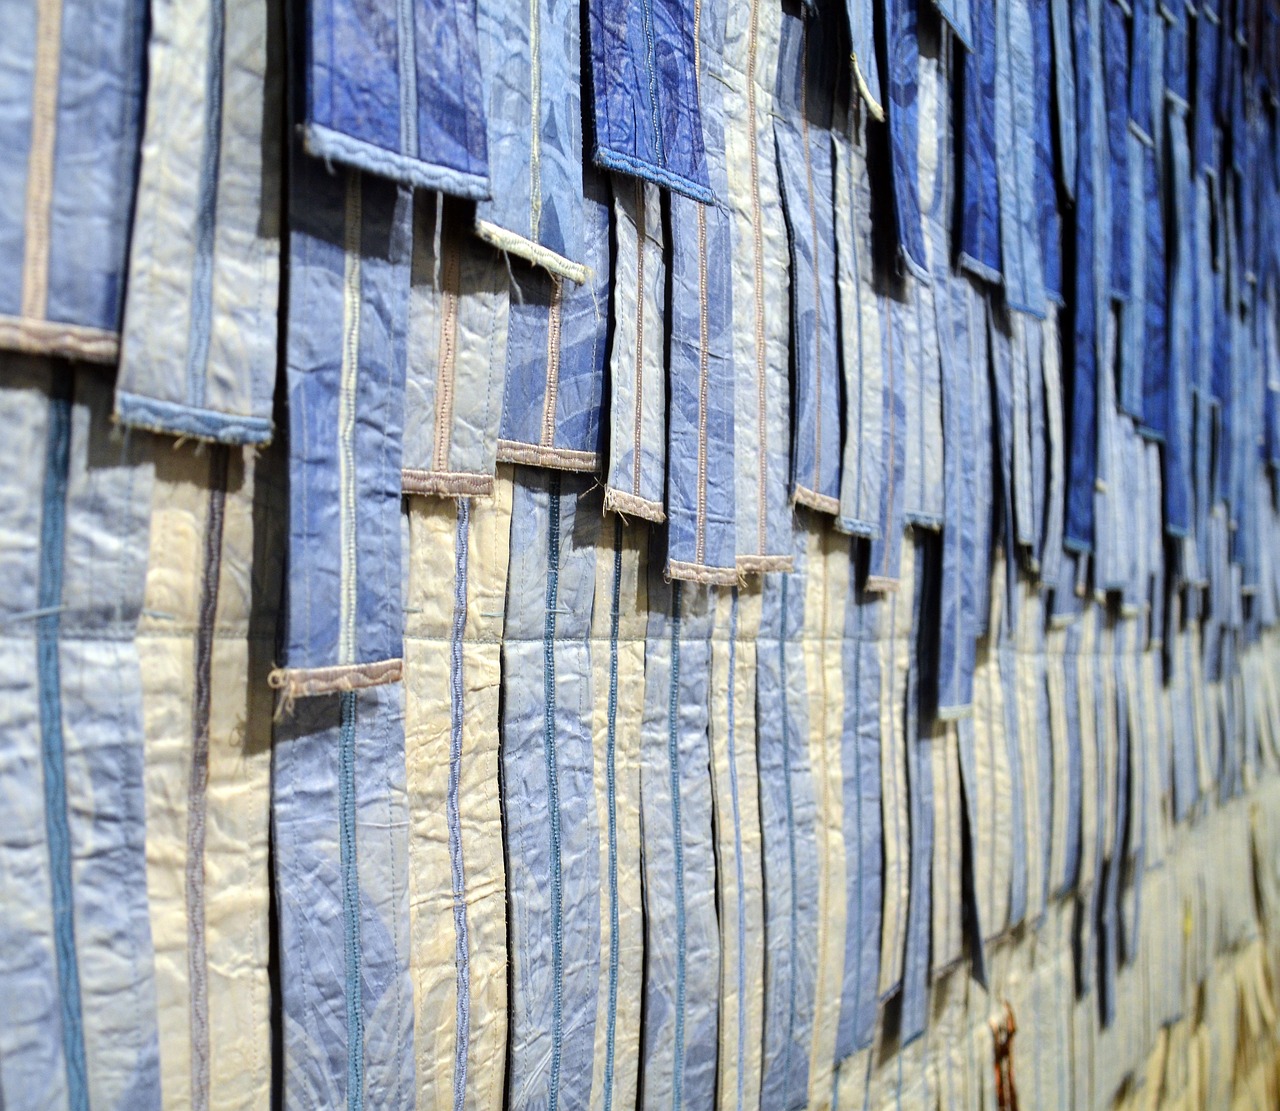
When cutting fabric strips, it's essential to vary the lengths and widths to add visual interest and depth to your garland. Experiment with different sizes to create a dynamic look that will catch the eye and enhance the overall aesthetic of your creation.
Make sure to use sharp scissors or a rotary cutter for clean and precise cuts. This will not only make the process easier but also ensure that your fabric strips are uniform in shape and size, resulting in a polished final product.
As you cut the fabric strips, consider the overall theme or style you want to achieve with your garland. Whether you're aiming for a rustic, bohemian, or modern look, the way you cut and arrange the fabric strips will play a significant role in defining the character of your creation.
Remember that the beauty of a DIY project lies in its uniqueness and personal touch. Don't be afraid to experiment with different cutting techniques and styles to create a fabric garland that truly reflects your individual taste and creativity.
Sewing the Fabric Strips
When it comes to sewing the fabric strips for your DIY scrap fabric garland, you have the opportunity to get creative with different techniques and styles. Whether you're a sewing novice or an experienced crafter, there are various ways to attach the fabric strips to the twine to achieve the desired look.
One common method is using a simple straight stitch on a sewing machine to secure the fabric strips onto the twine. This technique is straightforward and efficient, making it ideal for beginners. Alternatively, you can experiment with more intricate sewing patterns, such as zig-zag stitches or decorative embroidery stitches, to add a unique touch to your garland.
Before sewing the fabric strips, it's essential to lay out the design and plan the placement of each strip along the twine. You can create a pattern by arranging the fabric strips in a specific order or mixing different colors and textures to achieve a dynamic look. Take your time to ensure that the fabric strips are evenly spaced and securely attached to the twine.
If you prefer a more rustic or handmade look, you can also sew the fabric strips onto the twine by hand using a needle and thread. This method allows for greater control over the placement of the fabric strips and adds a personal touch to your garland. Experiment with different sewing styles and techniques to find the one that best suits your design aesthetic.
Remember to backstitch at the beginning and end of each fabric strip to secure the stitches and prevent them from unraveling. Take care to sew the fabric strips evenly along the twine to create a balanced and visually appealing garland. Once you've completed sewing all the fabric strips, step back and admire your handiwork before displaying your beautiful DIY scrap fabric garland.

Adding Embellishments
Adding embellishments to your scrap fabric garland is a fantastic way to elevate its visual appeal and make it truly unique. By incorporating elements like pom-poms, tassels, or beads, you can add a touch of whimsy and personality to your creation.
Consider experimenting with different types of embellishments to find the perfect fit for your garland. Whether you prefer a more bohemian look with tassels and beads or a playful vibe with colorful pom-poms, the options are endless.
One creative idea is to create a pattern with your embellishments, alternating between different types or colors along the length of the garland. This can add depth and interest to the design, making it visually captivating.
Another way to enhance your scrap fabric garland is by playing with the placement and spacing of the embellishments. Try clustering them in groups or evenly spacing them out for a balanced look. This allows you to customize the appearance of your garland to suit your personal style.
Remember, the key to adding embellishments is to have fun and let your creativity shine. Don't be afraid to experiment and try out different combinations until you achieve the perfect look for your DIY scrap fabric garland.
Creating a Pattern
Creating a pattern for your fabric garland is a crucial step in ensuring a cohesive and harmonious design. Before sewing the fabric strips onto the twine, take the time to plan out the layout and arrangement of the different fabrics. Consider the colors, textures, and patterns of the fabric scraps you have selected, and think about how they will complement each other when combined.
One approach to creating a pattern is to group similar fabrics together to form clusters of color or pattern. This can help create visual interest and balance in your garland. You can also experiment with alternating different fabric strips to create a more dynamic look. Mixing solid colors with patterns can add depth and complexity to your design.
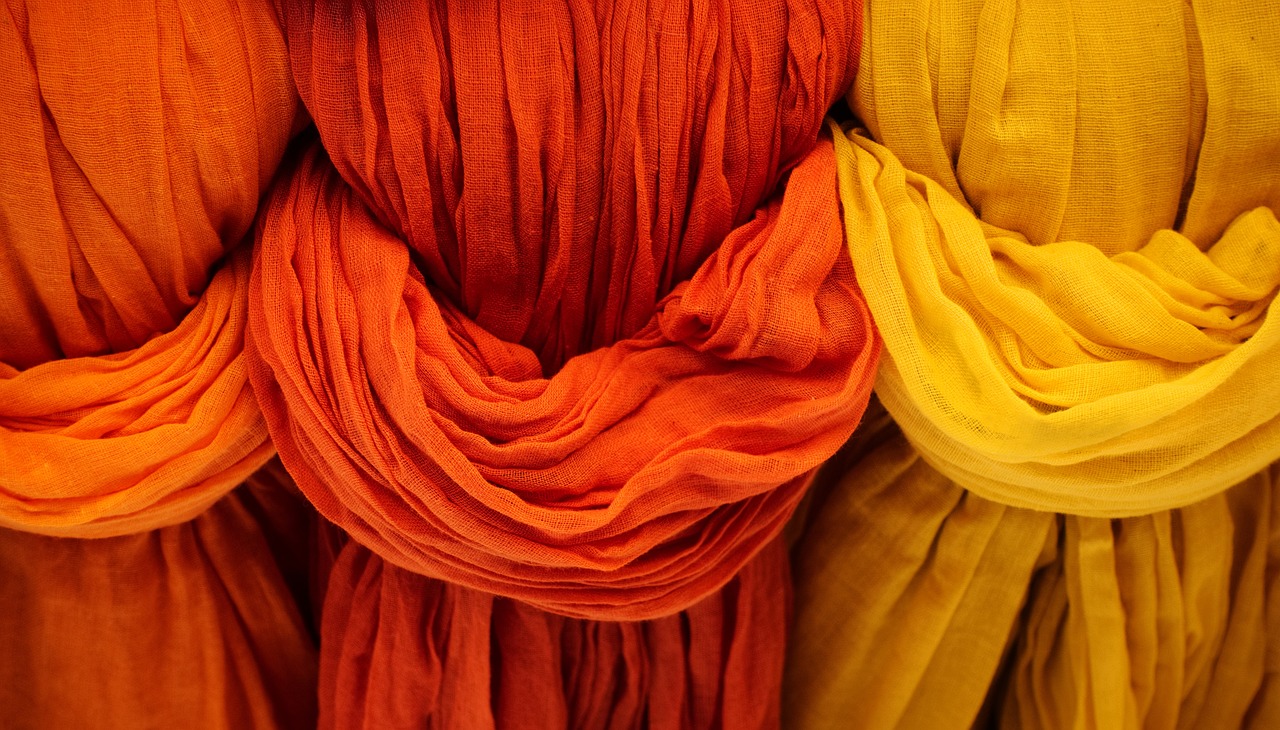
Another option is to create a gradient effect by arranging the fabric strips in a gradual transition of colors. This can give your garland a cohesive and flowing appearance, like a rainbow cascading down the twine. Play around with different arrangements until you find a pattern that speaks to your personal style and aesthetic preferences.

Displaying Your Garland
After creating your beautiful DIY scrap fabric garland, it's time to showcase your creation in your home. Displaying your garland can add a festive and whimsical touch to any space. There are various creative ways to exhibit your handmade garland and make it a focal point of your decor.
You can hang your scrap fabric garland on a mantel to add a pop of color and texture to your living room or bedroom. The garland can beautifully frame a fireplace or a mirror, creating a charming and cozy atmosphere in the room. Consider mixing your garland with fairy lights for a magical effect.
Draping your fabric garland across a shelf or a bookcase can also be a stylish way to showcase it. The garland can bring a playful and artistic element to your shelving unit, making it a standout feature in the room. Experiment with different arrangements and lengths to find the perfect placement.
If you're hosting a party or a special event, use your DIY scrap fabric garland as a decorative accent. Hang it as a backdrop for a dessert table or a photo booth to add a festive and personalized touch to the occasion. Your guests will be impressed by your creativity and attention to detail.
For a more permanent display, consider incorporating your fabric garland into your everyday decor. You can use it as a curtain tieback in a nursery, a bed canopy in a child's room, or a valance in a kitchen. The garland can bring a touch of whimsy and color to any room, enhancing the overall aesthetic.
Frequently Asked Questions
- Can I use different types of fabric scraps for the garland?
Absolutely! Mixing various types of fabric scraps such as cotton, linen, or even lace can add depth and texture to your garland. Feel free to experiment with different materials to create a unique and visually appealing design.
- Do I need to be an experienced seamstress to make a fabric garland?
Not at all! This DIY project is perfect for beginners as it involves simple sewing techniques like attaching fabric strips to twine. It's a great way to practice basic sewing skills while creating a beautiful decoration for your home.
- How long does it typically take to complete a scrap fabric garland?
The time it takes to finish a fabric garland can vary depending on the length and complexity of the design. On average, it may take a few hours to complete, making it a perfect weekend or evening project to unwind and get creative.
- Can I wash the fabric garland if it gets dirty?
While it's best to spot clean the fabric garland to preserve its shape and colors, some fabric types may be machine washable on a gentle cycle. Be sure to check the care instructions for the fabrics you used before attempting to wash the garland.
- Is it possible to customize the size of the fabric strips for a different look?
Absolutely! Adjusting the length and width of the fabric strips can completely change the appearance of the garland. Experiment with different sizes to achieve a more tailored or whimsical look based on your personal style preferences.