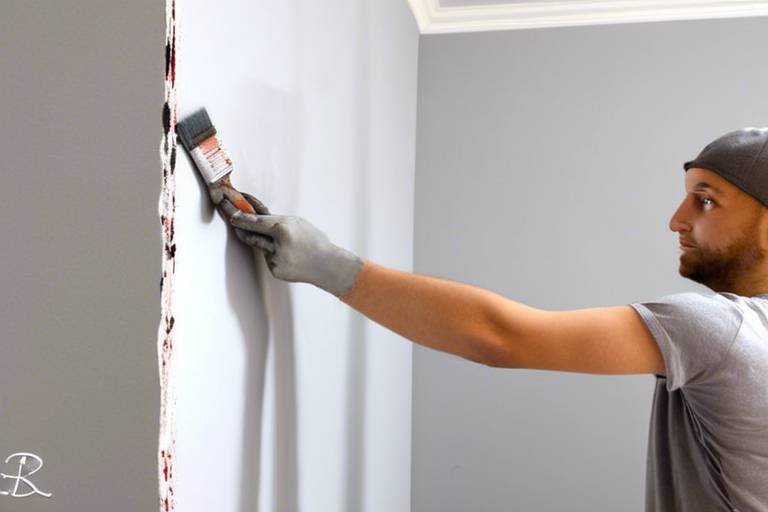
How to Use Chalk Paint to Revamp Old Furniture
Revamping old furniture with chalk paint is a fantastic way to breathe new life into worn-out pieces and add a touch of creativity to your living space. Whether you're a seasoned DIY enthusiast or a beginner looking to try your hand at furniture upcycling, chalk paint offers a versatile and easy-to-use solution to transform outdated items into stylish decor elements.
When it comes to choosing the right furniture pieces for your chalk painting project, opt for items with interesting shapes and details that will stand out with a fresh coat of paint. Old wooden chairs, tables, dressers, or even picture frames can all be excellent candidates for a chalk paint makeover. Before diving into the painting process, ensure that the furniture is clean, free of dust and grime, and in good structural condition.
Preparing the surface of the furniture is crucial to achieving a professional-looking finish with chalk paint. Start by cleaning the piece thoroughly with a mild soap and water solution to remove any dirt or residue. Sanding the surface lightly will help the paint adhere better and create a smooth base for painting. Applying a primer specifically designed for chalk paint can further enhance the durability and adhesion of the final finish.
Now comes the fun part - applying the chalk paint! Whether you prefer a solid color or a distressed look, chalk paint offers endless possibilities for customization. Use a high-quality brush or roller to apply thin, even coats of paint in the direction of the wood grain. Experiment with different techniques like dry brushing or layering to achieve unique textures and effects on your furniture.
To add character and charm to your revamped furniture, consider distressing and aging techniques using chalk paint. Lightly sanding the edges and corners of the piece can create a worn, vintage look, while applying a dark wax or glaze can enhance the depth and richness of the paint color. Play around with different distressing methods to achieve the desired level of antiquity and character.
Once you're satisfied with the paint job, it's essential to seal the finish to protect the surface and ensure longevity. Choose a wax or polyurethane sealant suitable for chalk paint to provide a durable and water-resistant coating. Apply the sealer in thin, even layers, following the manufacturer's instructions for best results.
Adding decorative elements to your chalk-painted furniture can elevate its visual appeal and make it truly unique. Consider using stencils, decals, or freehand designs to personalize the piece and make a statement in your home decor. These embellishments can add a pop of color, pattern, or whimsy to complement your overall design aesthetic.
As with any DIY project, it's essential to be prepared for common issues that may arise during the chalk painting process. From paint drips and streaks to uneven coverage, troubleshooting these challenges with patience and the right techniques can help salvage your project and achieve a professional finish. Don't be afraid to experiment and learn from mistakes along the way.
Once your chalk-painted furniture is complete, proper cleaning and maintenance are key to preserving its beauty and finish over time. Avoid harsh chemicals and abrasive cleaners that can damage the paint, and instead opt for gentle cleaning solutions and regular dusting to keep the piece looking fresh. With proper care, your revamped furniture can become a timeless and cherished addition to your home.

Choosing the Right Furniture Pieces
When it comes to revamping old furniture with chalk paint, choosing the right pieces is crucial for a successful transformation. Look for solid wood or veneer furniture with good structural integrity. Pieces with intricate details or interesting shapes can truly shine with a fresh coat of chalk paint. Avoid furniture with peeling veneer or extensive damage, as these may require more extensive repairs before painting.
Before diving into the makeover process, assess the condition of the furniture. Check for any repairs needed, such as loose joints or hardware. Ensure the piece is clean and free of dust or grime that could affect the paint adhesion. Remember, the beauty of chalk paint is its versatility to work on various surfaces, so don't be afraid to experiment with different furniture styles.
Consider the size and function of the furniture piece. Are you looking to create a statement piece or blend it seamlessly with your existing decor? Think about the color palette of the room where the furniture will be placed. Neutral tones like white, grey, or pastels are versatile choices that can complement a variety of interior styles.
When selecting furniture for a chalk paint makeover, think outside the box. Old dressers, nightstands, chairs, and even outdated cabinets can be transformed into unique and stylish pieces with a fresh coat of chalk paint. Embrace the imperfections and character of vintage furniture, as they can add charm and personality to your space.
Preparing the Surface
Are you ready to breathe new life into your old furniture pieces? Using chalk paint is a fantastic way to transform worn-out items into stylish and trendy decor pieces. In this guide, we will walk you through the step-by-step process of revamping your furniture with chalk paint, from selecting the right pieces to adding decorative elements.
Before you can start painting, it's crucial to prepare the surface of your furniture properly. This step ensures that the chalk paint adheres well and provides a smooth and durable finish. Begin by cleaning the furniture thoroughly to remove any dirt, dust, or grime that may interfere with the paint's application.
Once the surface is clean, consider sanding it lightly to create a smooth texture for the paint to grip onto. This step is especially important if the furniture has a glossy finish or previous layers of paint. After sanding, wipe down the furniture with a damp cloth to remove any sanding residue.
Next, apply a coat of primer to the furniture. Primer helps the chalk paint adhere better and prevents any stains or wood tannins from bleeding through the paint. Choose a primer that is compatible with chalk paint for the best results.
If you're looking to create a distressed or aged look on your furniture, you can skip the primer in certain areas to allow the original finish to show through later. This technique adds character and depth to the final piece.
Remember, the key to a successful chalk paint makeover is in the preparation. Taking the time to clean, sand, and prime your furniture will ensure a professional-looking finish that lasts for years to come.
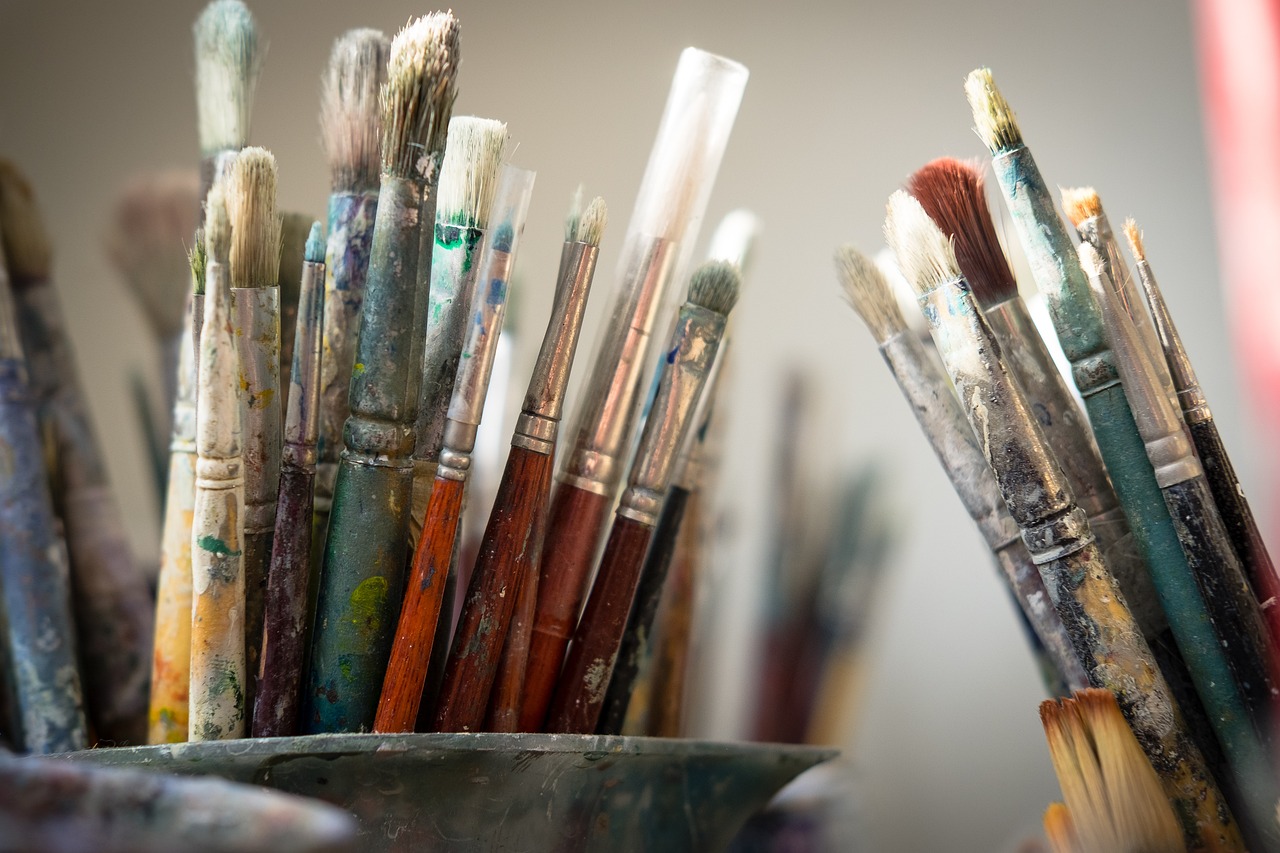
Applying Chalk Paint
When it comes to revamping old furniture, using chalk paint can be a game-changer. Not only does it provide a unique and stylish finish, but it also allows for creativity and customization. Let's dive into the process of applying chalk paint to breathe new life into your furniture pieces.
Before you begin, make sure to gather all the necessary materials, including chalk paint in your desired color, brushes, sandpaper, and a clean cloth. Ensure that your workspace is well-ventilated and properly covered to avoid any mess.
Start by cleaning the furniture thoroughly to remove any dirt, dust, or grease that may affect the paint's adhesion. Use a mild soap and water solution and let the piece dry completely before moving on to the next step.
Next, lightly sand the surface to create a smooth base for the chalk paint. This step is crucial for achieving a professional-looking finish. Use a fine-grit sandpaper to gently roughen up the surface and remove any existing finish or imperfections.
Once the surface is prepped, it's time to apply the chalk paint. Dip your brush into the paint and begin painting in smooth, even strokes. You can choose to apply multiple thin coats for better coverage and durability. Experiment with different techniques like layering, distressing, or blending colors to create unique effects.
Allow each coat to dry completely before applying the next one. This will ensure a seamless finish and prevent any smudging or uneven patches. Remember, patience is key when working with chalk paint.
If you want to add depth and dimension to your furniture piece, consider using wax or a sealant after the paint has dried. This will protect the surface and enhance the color of the chalk paint, giving it a professional look and feel.
Once you've completed the painting process, step back and admire your handiwork. Chalk paint has the power to transform old and worn-out furniture into stunning pieces that breathe new life into your space. Get creative, experiment with different colors and techniques, and let your imagination run wild!
Distressing and Aging Techniques
When it comes to giving your old furniture a new lease on life, distressing and aging techniques with chalk paint can truly work wonders. These methods add character, depth, and a touch of vintage charm to your pieces, transforming them into unique statement pieces that tell a story of their own.
One popular distressing technique is the "dry brushing" method, where a small amount of chalk paint is applied lightly over the surface using a dry brush. This technique highlights the texture and imperfections of the furniture, giving it a weathered and worn look.
For a more dramatic effect, you can use sandpaper to distress the edges and corners of the furniture, simulating years of wear and tear. This technique works particularly well on pieces with intricate details, such as molding or carvings, as it accentuates the design and adds a sense of history to the furniture.
If you prefer a subtler aged look, consider using a dark wax or glaze over the chalk paint. This method adds depth and richness to the color, giving the furniture a patina that mimics years of use and exposure to elements.
Additionally, layering different colors of chalk paint and then distressing the top layers to reveal the base coat can create a beautiful multi-dimensional effect that adds depth and interest to the furniture.
Experimenting with various distressing and aging techniques allows you to unleash your creativity and customize the look of your furniture to suit your personal style and aesthetic preferences. Whether you want a shabby chic, farmhouse, or vintage-inspired finish, chalk paint offers endless possibilities for revamping your old furniture with a touch of nostalgia and character.
Sealing the Finish
When it comes to sealing the finish of your chalk-painted furniture, it is crucial to choose the right method to protect the surface and ensure its longevity. One popular option is using a clear wax sealant, which not only adds a protective layer but also enhances the overall look of the piece. Applying the wax with a soft cloth or brush in a circular motion can help achieve a smooth finish and prevent streaks or uneven coverage.
Alternatively, you can opt for a polyurethane sealant for a more durable and water-resistant finish. This type of sealant comes in various finishes, such as matte, satin, or gloss, allowing you to customize the final look of your furniture. When applying polyurethane, make sure to use a high-quality brush to avoid brush marks and ensure even coverage.
If you prefer a more natural and eco-friendly option, consider using a linseed oil finish. Linseed oil not only seals the chalk paint but also brings out the natural beauty of the wood, giving your furniture a warm and organic look. However, keep in mind that linseed oil may take longer to dry compared to other sealants, so patience is key when using this method.
Before applying any sealant, make sure the chalk paint is completely dry to avoid any smudges or imperfections in the finish. Additionally, lightly sanding the painted surface between coats of sealant can help achieve a smoother and more professional finish. Remember to follow the manufacturer's instructions for the specific sealant you choose to ensure the best results.

Adding Decorative Elements
When it comes to revamping old furniture with chalk paint, adding decorative elements can take your project to the next level. These finishing touches can elevate the overall look of the furniture piece and make it truly unique. Whether you prefer a subtle design or a bold statement, there are various ways to enhance your chalk-painted furniture with decorative elements.
One popular way to add decorative elements is by using stencils. Stencils come in a wide range of designs, from intricate patterns to simple shapes. By carefully applying chalk paint over a stencil, you can create a customized look that suits your style. Stencils are versatile and can be used on different parts of the furniture, such as the drawers, doors, or tabletop.
Another option for adding decorative elements is by incorporating decals. Decals are pre-designed stickers that can be easily applied to the furniture surface. They come in various themes, including floral motifs, geometric patterns, and vintage designs. Decals are a quick and easy way to add a decorative touch to your chalk-painted furniture without much effort.
If you're feeling creative, you can also experiment with freehand designs using chalk paint. Whether you want to add a personal monogram, a whimsical illustration, or a hand-lettered quote, freehand painting allows you to express your artistic side. With a steady hand and some practice, you can create one-of-a-kind decorative elements that make your furniture piece truly special.
Additionally, you can consider adding hardware accents to your chalk-painted furniture for a more polished look. Swapping out old knobs and handles with new, stylish hardware can instantly transform the appearance of the piece. Choose hardware that complements the overall style of the furniture and enhances its aesthetic appeal.
Troubleshooting Common Issues
When it comes to chalk painting furniture, it's not uncommon to encounter some common issues that may arise during the process. However, with a bit of know-how and the right troubleshooting techniques, you can easily overcome these challenges and achieve a beautiful finished product. One common problem that DIY enthusiasts often face is streaky or uneven paint coverage. This can occur due to various reasons such as improper application techniques or using low-quality chalk paint. To address this issue, make sure to apply the paint in thin, even coats, and consider using a high-quality brush or roller for a smoother finish.
Another issue that may crop up is excessive chipping or flaking of the chalk paint once it has dried. This can be frustrating, especially after putting in the time and effort to revamp a piece of furniture. To prevent this problem, ensure that the surface was properly cleaned and prepared before painting. Additionally, consider lightly sanding the furniture and applying a clear wax or topcoat to seal the paint and protect it from wear and tear.
If you find that the paint is not adhering well to the furniture surface or is peeling off easily, it could be due to residue or oils on the surface preventing proper adhesion. In such cases, thoroughly clean the furniture with a mild detergent or TSP solution to remove any contaminants. Sanding the surface lightly can also help the paint adhere better and create a more durable finish.
One more common issue that DIYers face is bleeding or yellowing of the paint over time, especially when using light-colored chalk paints. This can be caused by tannins in the wood bleeding through the paint layers or the paint itself yellowing due to exposure to sunlight. To combat this problem, consider using a stain-blocking primer before applying the chalk paint to prevent tannin bleed-through. Additionally, keep the painted furniture away from direct sunlight to minimize yellowing over time.
Lastly, if you notice cracking or crazing of the paint on the furniture surface, it could be due to applying thick layers of chalk paint or environmental factors such as temperature fluctuations. To avoid this issue, always follow the manufacturer's instructions for paint application, and ensure that each coat is allowed to dry completely before adding another layer. Maintaining a consistent room temperature during the painting process can also help prevent cracking or crazing of the paint.
Cleaning and Maintaining Chalk-Painted Furniture
After putting in the effort to revamp your old furniture with chalk paint, it's essential to know how to properly clean and maintain it to ensure its longevity and beauty. Cleaning and maintaining chalk-painted furniture is relatively easy, but there are specific guidelines to follow to preserve the finish and keep your pieces looking fresh for years to come.
When it comes to cleaning chalk-painted furniture, avoid using harsh chemicals or abrasive cleaners that can damage the paint. Instead, opt for a gentle cleaning solution made of mild soap and water. Dampen a soft cloth with the soapy water and gently wipe down the surface of the furniture to remove any dust or dirt buildup. Remember to dry the furniture thoroughly after cleaning to prevent any moisture damage.
For tougher stains or spills on chalk-painted furniture, you can use a mild vinegar solution or a magic eraser to spot clean the affected area. Always test any cleaning solution on a small, inconspicuous area of the furniture first to ensure it doesn't react negatively with the paint.
Regular dusting is also crucial in maintaining chalk-painted furniture. Use a soft, lint-free cloth or a feather duster to gently remove dust from the surface of the furniture. Avoid using abrasive materials that can scratch the paint and always dust in the direction of the wood grain to prevent any damage.
When it comes to maintaining chalk-painted furniture, consider applying a thin coat of furniture wax or sealer every year to protect the paint and enhance its durability. Furniture wax can help seal the chalk paint and provide an additional layer of protection against wear and tear. Be sure to follow the manufacturer's instructions when applying wax or sealer to ensure the best results.
Additionally, avoid placing hot items directly on chalk-painted furniture to prevent heat damage, and use coasters or placemats under glasses and other items to protect the surface from moisture rings and scratches. By following these simple cleaning and maintenance tips, you can enjoy your beautifully revamped chalk-painted furniture for years to come.
Frequently Asked Questions
- Can chalk paint be used on all types of furniture?
Yes, chalk paint is versatile and can be used on various surfaces such as wood, metal, plastic, and more. It adheres well to most materials, making it a popular choice for furniture revamping projects.
- Do I need to sand furniture before using chalk paint?
While sanding is not always necessary with chalk paint, it is recommended to lightly sand the surface for better adhesion and a smoother finish. Sanding can also help remove any existing finish or imperfections on the furniture.
- How many coats of chalk paint should I apply?
The number of coats needed may vary depending on the desired coverage and color intensity. In general, two coats of chalk paint are usually sufficient to achieve a solid and even finish. However, additional coats can be applied for a more opaque look.
- Is it necessary to seal chalk-painted furniture?
While chalk paint dries to a matte finish, it is recommended to seal the furniture with a wax or polyurethane topcoat to protect the surface from wear and tear. Sealing also helps enhance the color and durability of the chalk paint.
- Can I distress chalk-painted furniture?
Absolutely! Distressing chalk-painted furniture is a popular technique to create a vintage or shabby chic look. You can use sandpaper or a damp cloth to gently distress the edges and corners of the furniture for a weathered appearance.
- How should I clean and maintain chalk-painted furniture?
To clean chalk-painted furniture, simply use a damp cloth or mild soap and water. Avoid harsh chemicals or abrasive cleaners that can damage the finish. Regular dusting and occasional waxing can help maintain the beauty and longevity of the painted furniture.


